13
Capturing Color Images
(Standard Detector)
4
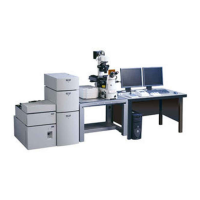
Chapter 4. Capturing Color Images (Standard Detector)
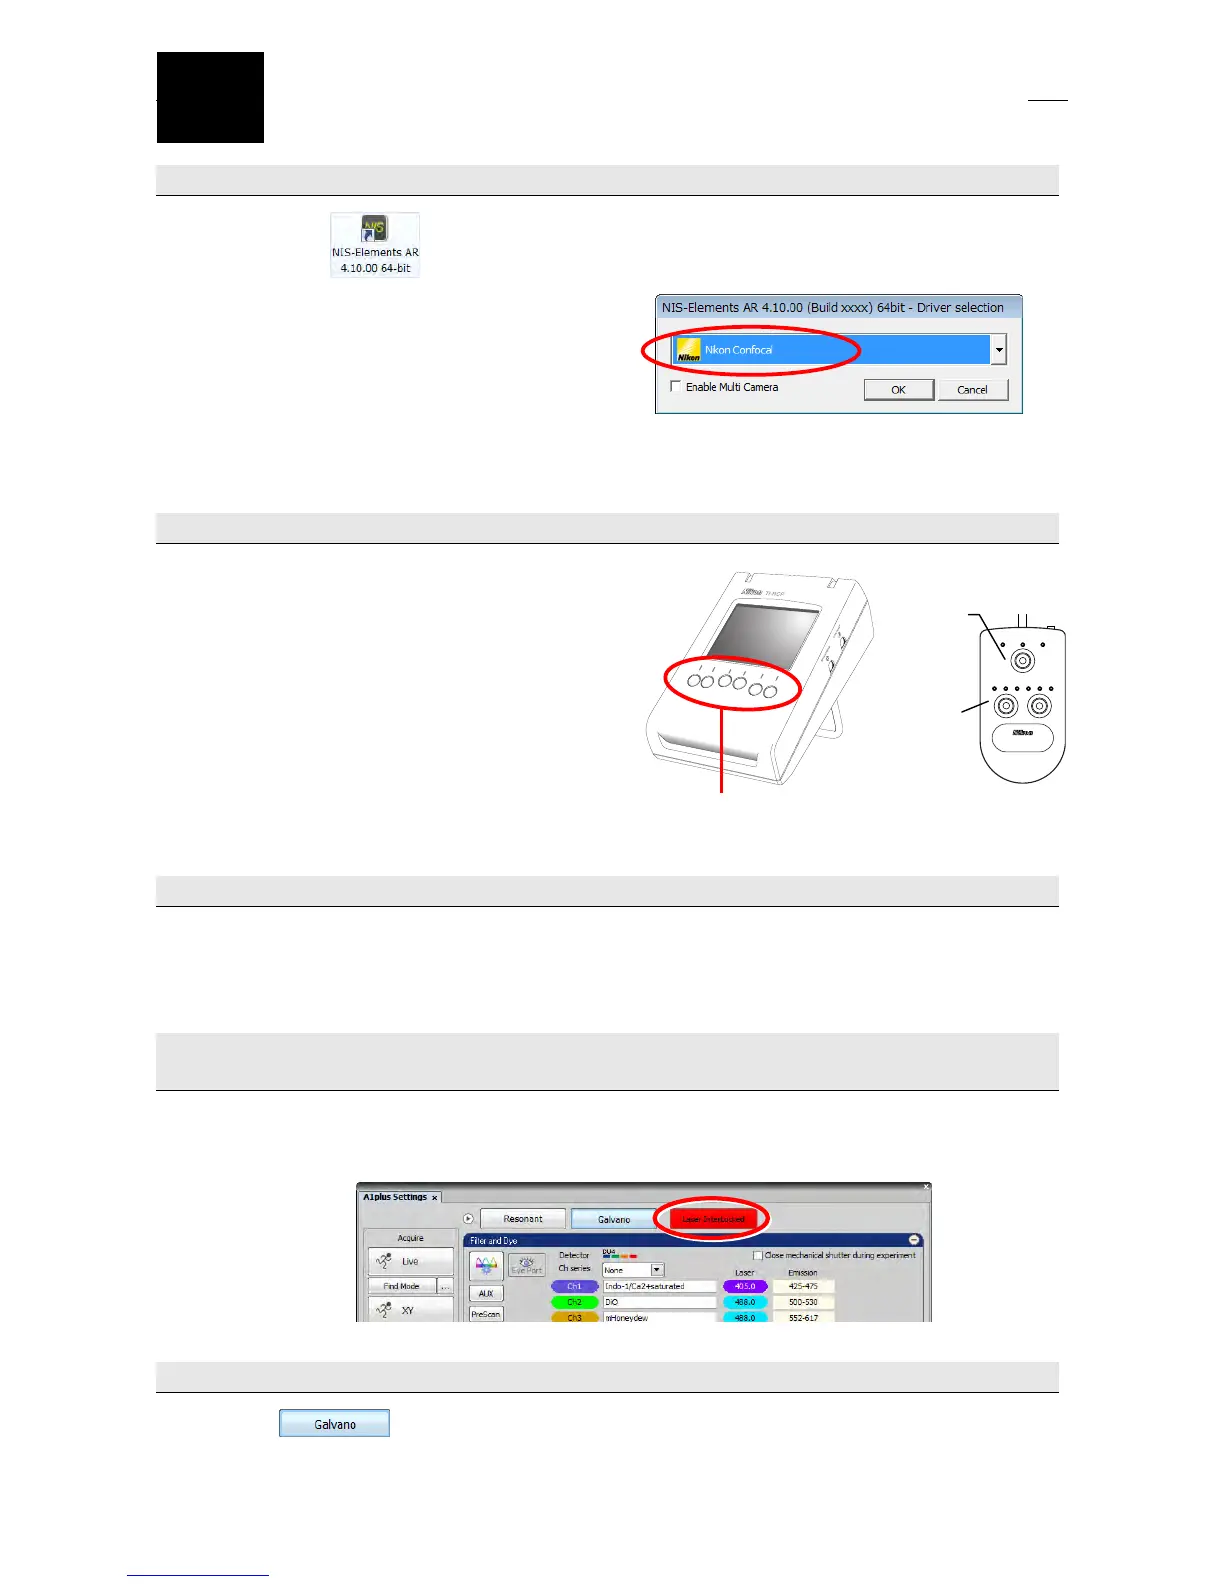
4.1 Run the NIS-Elements software.
(1) Click the icon to run the NIS-Elements software.
Note: When not only a confocal microscope is
connected but also a camera, the Driver
selection dialog box opens to select a
driver.
Select “Nikon Confocal” in the Driver
selection dialog box and click the [OK]
button.
4.2 Observe the sample through the microscope.
(1) Select the desired microscopy.
Press a function button on the Ti remote control
pad to select the desired microscopy.
Note: To prevent fading, close the fluorescent
shutter frequently. Use the ND filter to
look for the sample.
LAMP OPEN
C-HGFIE
HG CONTROLLER
POWER
SHUTTER
ND
32168421
4.3 Switch the optical path to A1.
When the Ti remote control pad is available, press the [A1] function button to switch the optical path to A1.
If the Ti remote control pad is not available, switch the optical path to L100.
4.4 Click the [Laser InterLocked] button to reset blinking and to enable laser oscillation
with the software.
Note: If the optical path is not switched to A1, blinking cannot be reset even though the button is
clicked.
4.5 Select a scan mode.
Select
[Galvano].
Function buttons
(for selecting microscopy and A1)
SHUTTER
button
ND select
buttons