20
NITTY GRITTY.IT
make it shine
1
2
3
4
5
6
CLINOX PRO • AIR • POWER • SURFACE
USER MANUAL
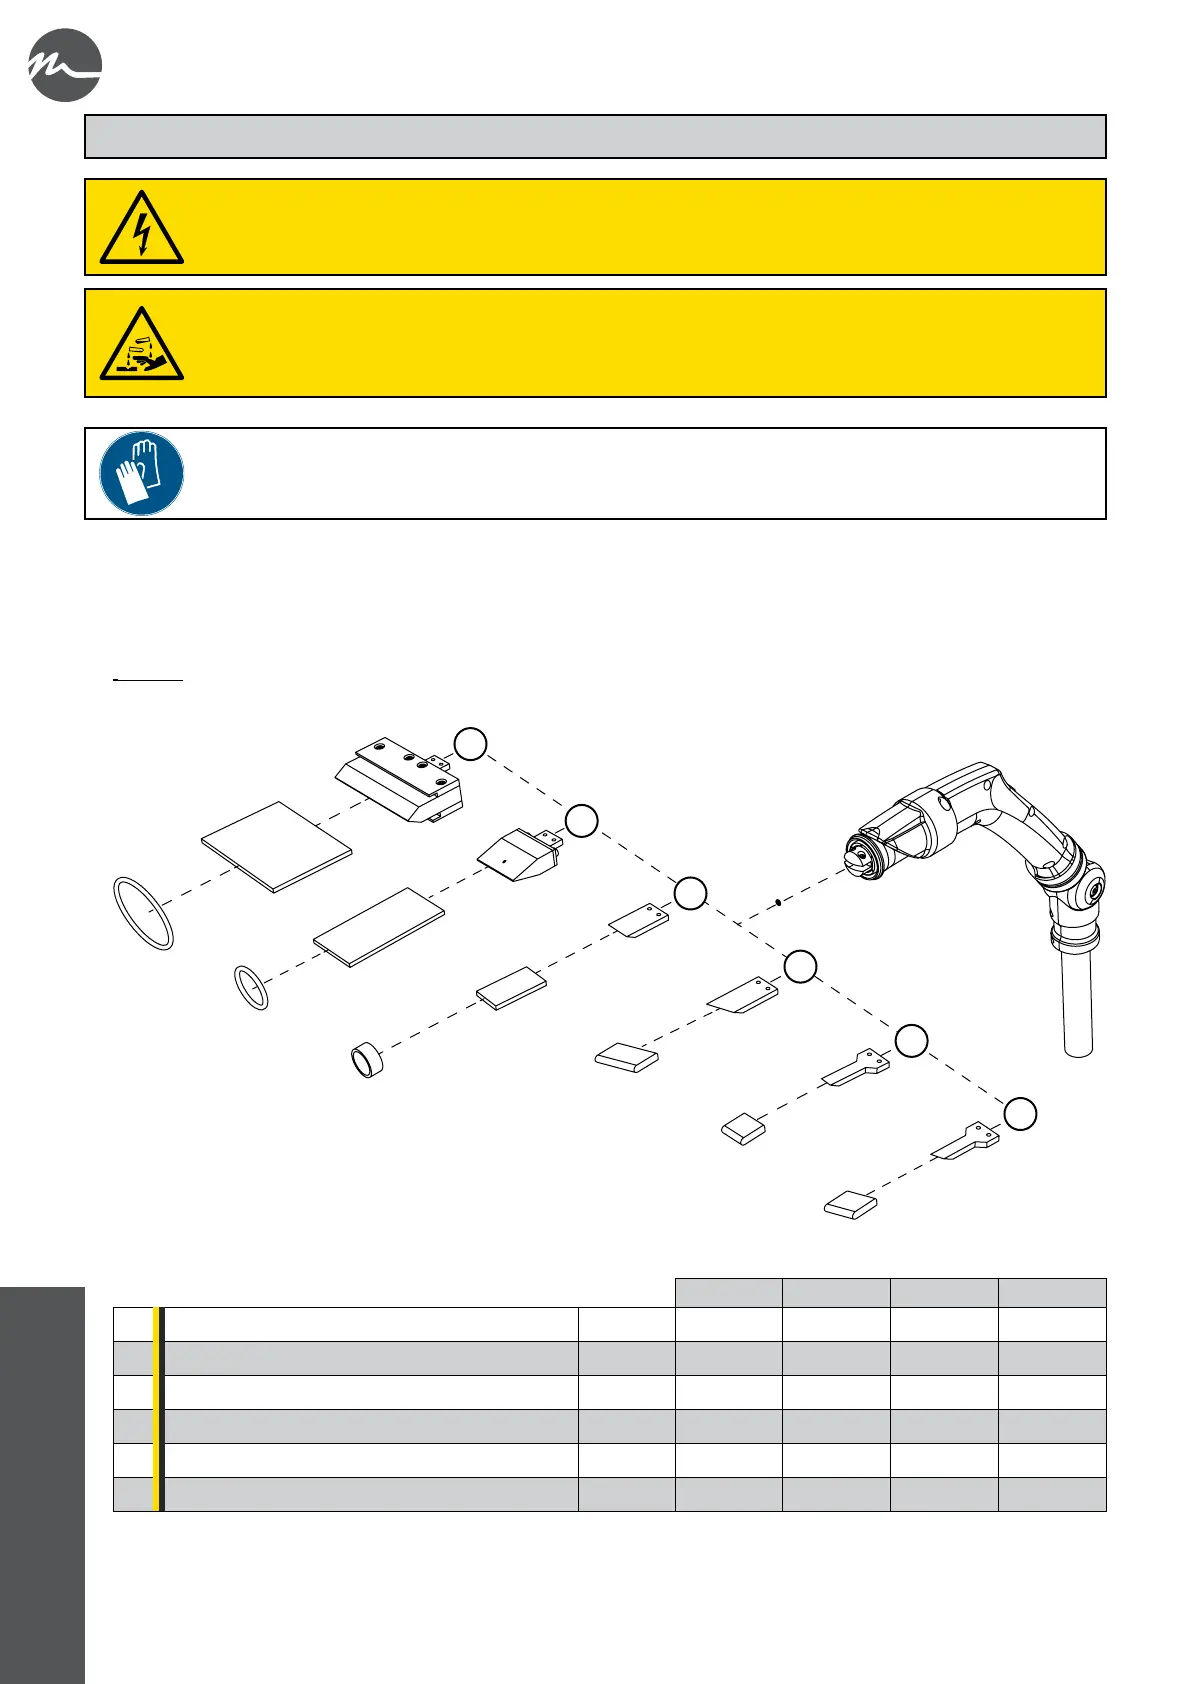
4. MOUNTING ACCESSORIES ON THE TORCH
During the installation of inserts, felts and brushes, the device must be switched o:
• Switch the main switch to the "O" position.
• Disconnect the device from the mains.
4.1.
PRO AIR POWER SURFACE
1 Graphite insert | 100 mm p. 23 - - - optional
2 Graphite insert | 45 mm p. 23 included included included included
3 Tungsten insert | 22 mm p. 24 included included included included
4 Tungsten insert | 22 mm | 70° p. 25 optional optional optional optional
5 Tungsten insert | 10 mm p. 25 optional optional optional optional
6 Tungsten insert | 10 mm | 70° p. 25 optional optional optional optional
INSERTS
For its normal operation, the appliance requires the use of particular acid solutions that can be dangerous (read
chapter 1 carefully).
When replacing an accessory on the torch, be very careful of any electrolyte residues remaining on the felt
pad or brush.
Always use suitable protective gloves when mounting/removing torch accessories in order to:
• Reduce the risk of direct contact between skin and acid solutions.
• Obtain a certain level of protection from burns if the inserts are still too hot.
 Loading...