48
NITTY GRITTY.IT
make it shine
A
B
A
CLINOX PRO • AIR • POWER • SURFACE
USER MANUAL
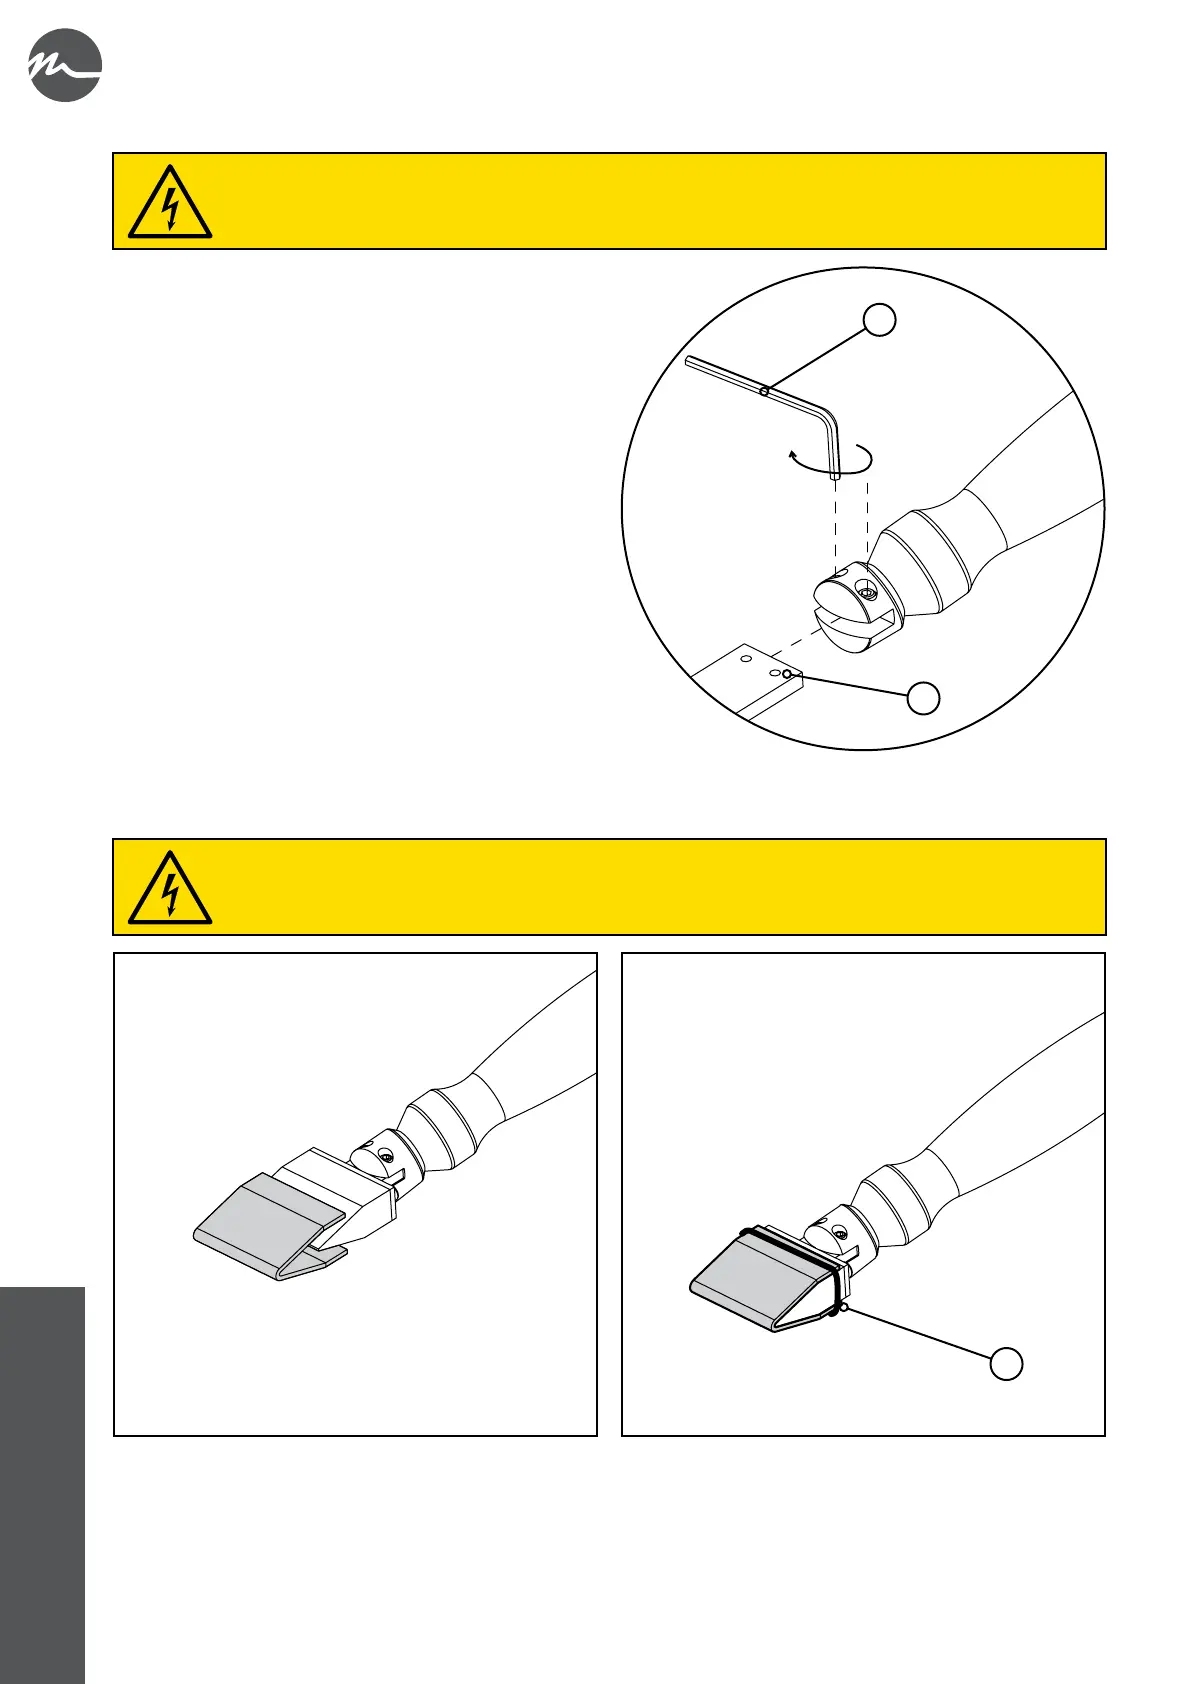
8.2.
• Take the desired insert or brush adapter.
• At the rear of the insert (or adapter) are the two countersinks
(A) where the grub screws of the D&W torch coupling will
be tightened.
• Place the insert (or adapter) on the D&W torch coupling
and tighten the two grub screws with a 2.5 mm hex wrench
(B); make sure the grub screws are aligned with the
countersinks (A).
8.3. mm
• Install the insert on the D&W torch (see chapter 8.2).
• Fold the felt into a "U" shape and stick it on to the electrode.
• Fasten the felt in place using the O-ring (A).
When installing the felts, the D&W torch must not be connected to the device.
When installing the inserts and adapter, the D&W torch must not be connected to the device.