b. Insert the end of a straightened paper clip or other narrow object into the hole in the Reset
button to reset the ONT.
END OF STEPS
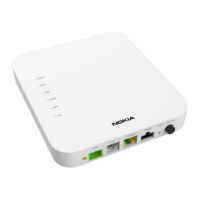
6.8 Wall mount an XS-2426X-A indoor ONT
This chapter provides the steps to mount an XS-2426X-A indoor ONT on a wall using a wall mount
bracket (3FE 49984 AA). The XS-2426X-A indoor ONT is shipped without the wall mount bracket.
The wall mount bracket (3FE 49984 AA) must be ordered separately.
6.8.1 Recommended tools
See section 6.5 “Recommended tools” (p. 63) for the recommended tools.
6.8.2 Procedure
Use this procedure to mount an XS-2426X-A ONT on a wall. Two installation options are available:
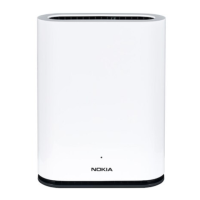
• Option 1—facing the room for the LEDs to be visible
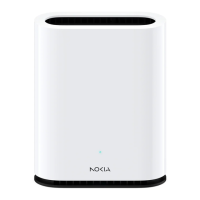
• Option 2—facing the wall for the connectors and buttons to be visible
1
Place the indoor ONT unit:
Figure 6-2 XS-2426X-A ONT in wall mounting bracket
36994
POWER
PO
N
INTERNET
TEL
WPS
WLAN
USB
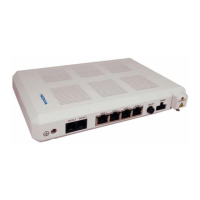
Install a XS-2426X-A indoor ONT
Wall mount an XS-2426X-A indoor ONT
Nokia ONT
Review Review
December 2021
Issue 1 67
© 2021 Nokia. Nokia Confidential Information
Use subject to agreed restrictions on disclosure and use.
3FE-49546-AAAA-TCZZA
 Loading...