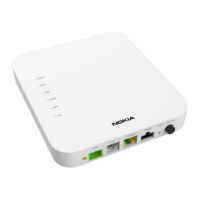
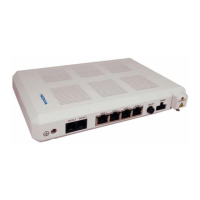
i. Connect the cables. See Chapter 6, “Install a XS-2426X-A indoor ONT”.
Figure 6-6, “ONT in wall mount bracket—facing the room / wall” (p. 70) shows the mounted
unit facing the wall with the cables (including the fiber) installed.
END OF STEPS
Figure 6-6 ONT in wall mount bracket—facing the room / wall
POWER
PO
N
INTERNET
TEL
WPS
WLAN
USB
WPS
WPS
USB
LAN1
LAN2
LAN3
LAN4
TEL2
ON/OFF
POWER
36749
Install a XS-2426X-A indoor ONT
Wall mount an XS-2426X-A indoor ONT
Nokia ONT
Review Review
December 2021
Issue 1 71
© 2021 Nokia. Nokia Confidential Information
Use subject to agreed restrictions on disclosure and use.
3FE-49546-AAAA-TCZZA
 Loading...