12
www.norcold.com
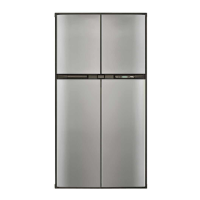
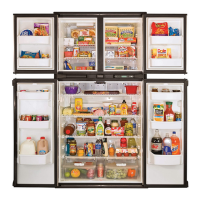
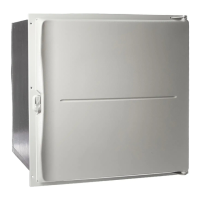
2118, 2118IM, 2118IMD Series
165
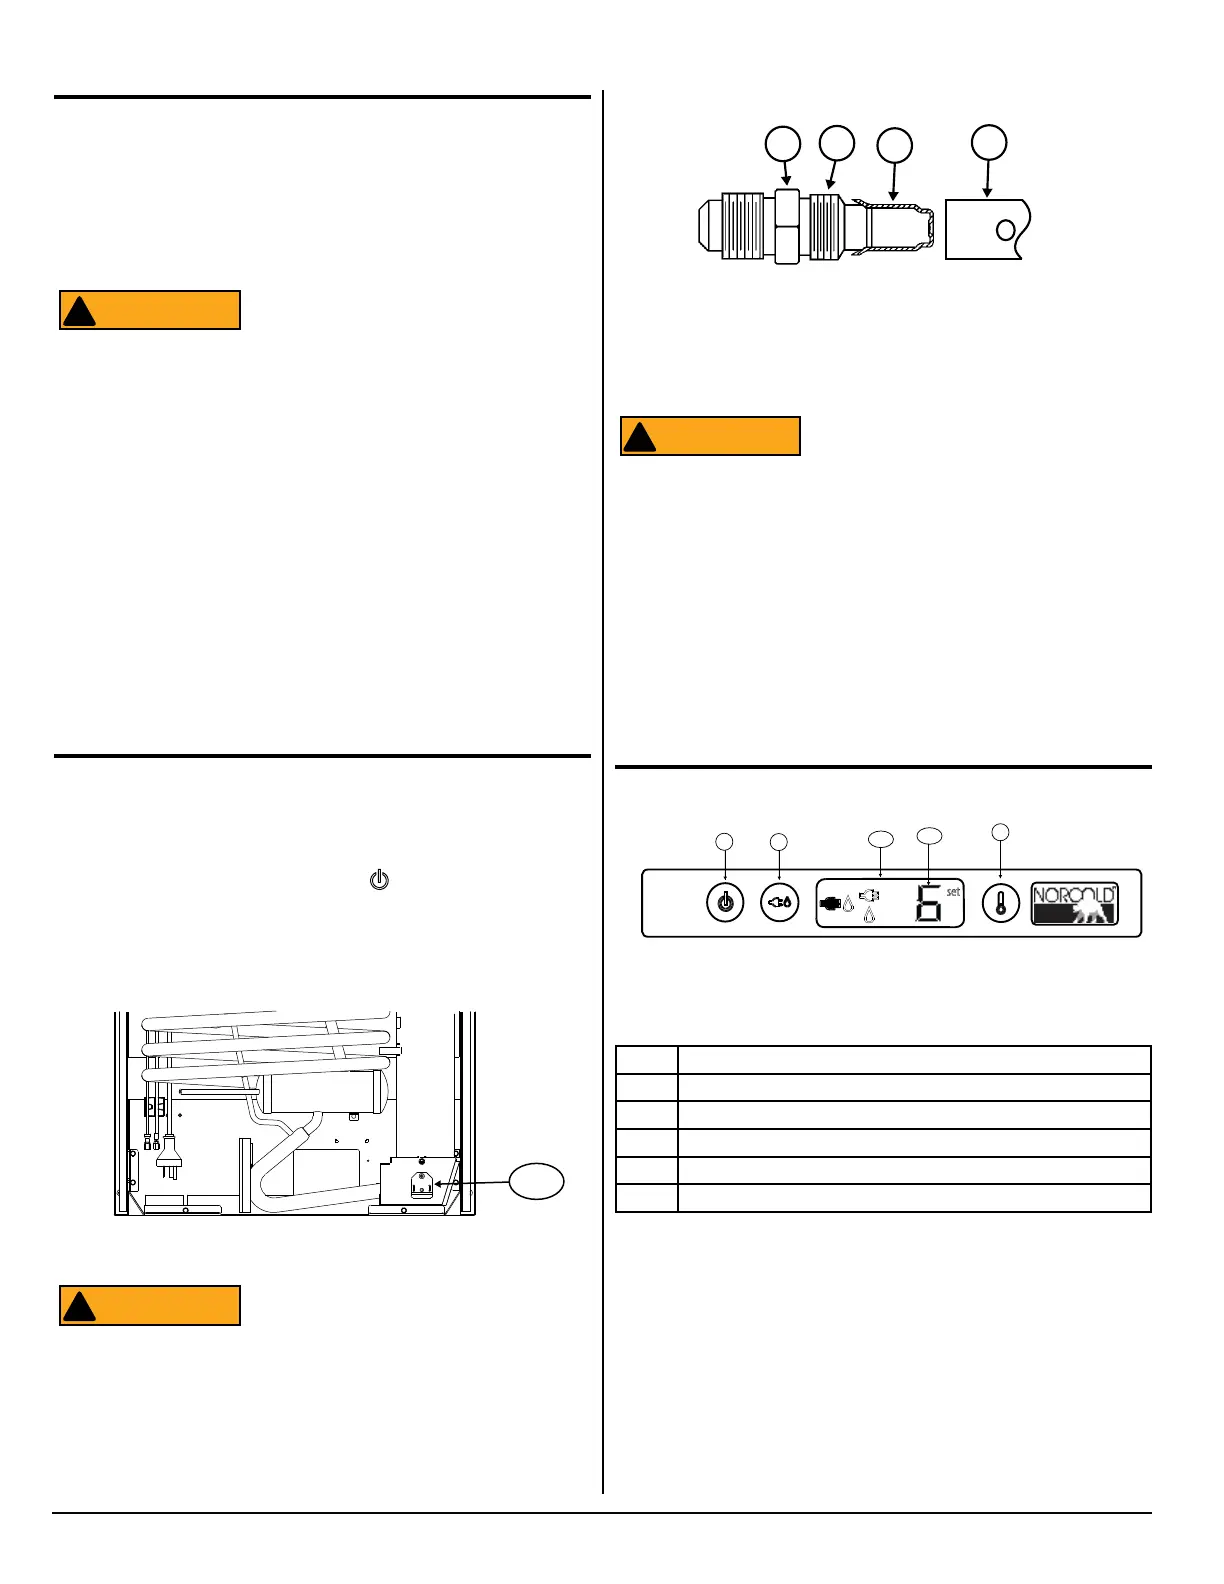
NOR000147A
Fig. 10 - Burner Box Location
Remove and Clean the Burner Orice
Clean the burner and the burner orice annually. To clean the
burner orice:
1. Close the valve at the vehicle propane gas tank(s).
2. Push and hold the ON/OFF button (
) for one (1) second to
turn the refrigerator off.
3. Open the lower intake vent.
4. Remove the burner box cover [165] (See Fig. 10) by removing
one (1) screw.
To avoid possible propane gas leaks, al-
ways use two (2)wrenches to loosen and
tighten the gas supply line at the 3/8 inch
male are tting.
ATTENTION
!
Fig. 11 - Burner/Orice Assembly
Art 00956
77
78
79
80
Gas Flame Appearance
While in propane gas operation, examine the appearance of the
gas ame:
■ Put the refrigerator on temperature setting 9 (the coldest tem-
perature setting).
■ Open the lower intake vent.
The burner box cover can be hot. Wear
gloves to avoid burns.
■ Open the burner box door and look at the gas flame:
■ The ame should be a darker blue inside and a lighter blue
outside and should be a constant and steady shape.
■ The ame should not be yellow and should not have an er-
ratic and unstable shape.
■ Make sure the ame does not touch the inside of the ue
tube.
■ Close the burner box door.
■ The burner orifice should be cleaned as part of routine main-
tenance. Follow the Remove and Clean Burner Orifice instruc-
tions. If the flame is not at peak performance after it has been
cleaned, contact Customer Service.
ATTENTION
!
5. Remove the are nut from the orice assembly [77] (See Fig.
11).
6. Remove the orice assembly from the burner [78].
When cleaning, do not try to remove the
orice [79] from the orice adapter [80].
Removal will damage the orice and can
cause a propane gas leak. Leaking pro-
pane gas can ignite or explode and result
in dangerous personal injury or death. Do
not clean the orice with a pin or other
objects.
7. Clean the orice assembly with alcohol only. Using a wrench,
assemble the orice assembly to the burner. Assemble the
are nut to the orice assembly. Examine all of the gas connec-
tions for leaks.
ATTENTION
!
Controls
No. Description
30 Power ON / OFF button
31 Mode button
32 Temperature set button
280 LCD (Liquid Crystal Display)
278 Temperature setting
Power ON / OFF Button
Push and release the Power ON / OFF button [30] (See Fig. 12) to
turn on the refrigerator.
Push and hold the Power ON / OFF button for one (1) second to
turn off the refrigerator.
Fig. 12 - Control Locations
set
30 31
32
280
278
Art02493