HEATER
RTD
HEATER
5
1
2
3
4
Repair
7-7
Part 237478_03
E 2012 Nordson Corporation
8. Cut off the eyelets on all the leads and discard the old heater cartridge
and leads.
9. Install the new heater cartridge as follows:
a. Trim the new heater cartridge leads to match the old lead length.
b. Strip about 6 mm (
1
/
4
in.) of jacket off all the leads.
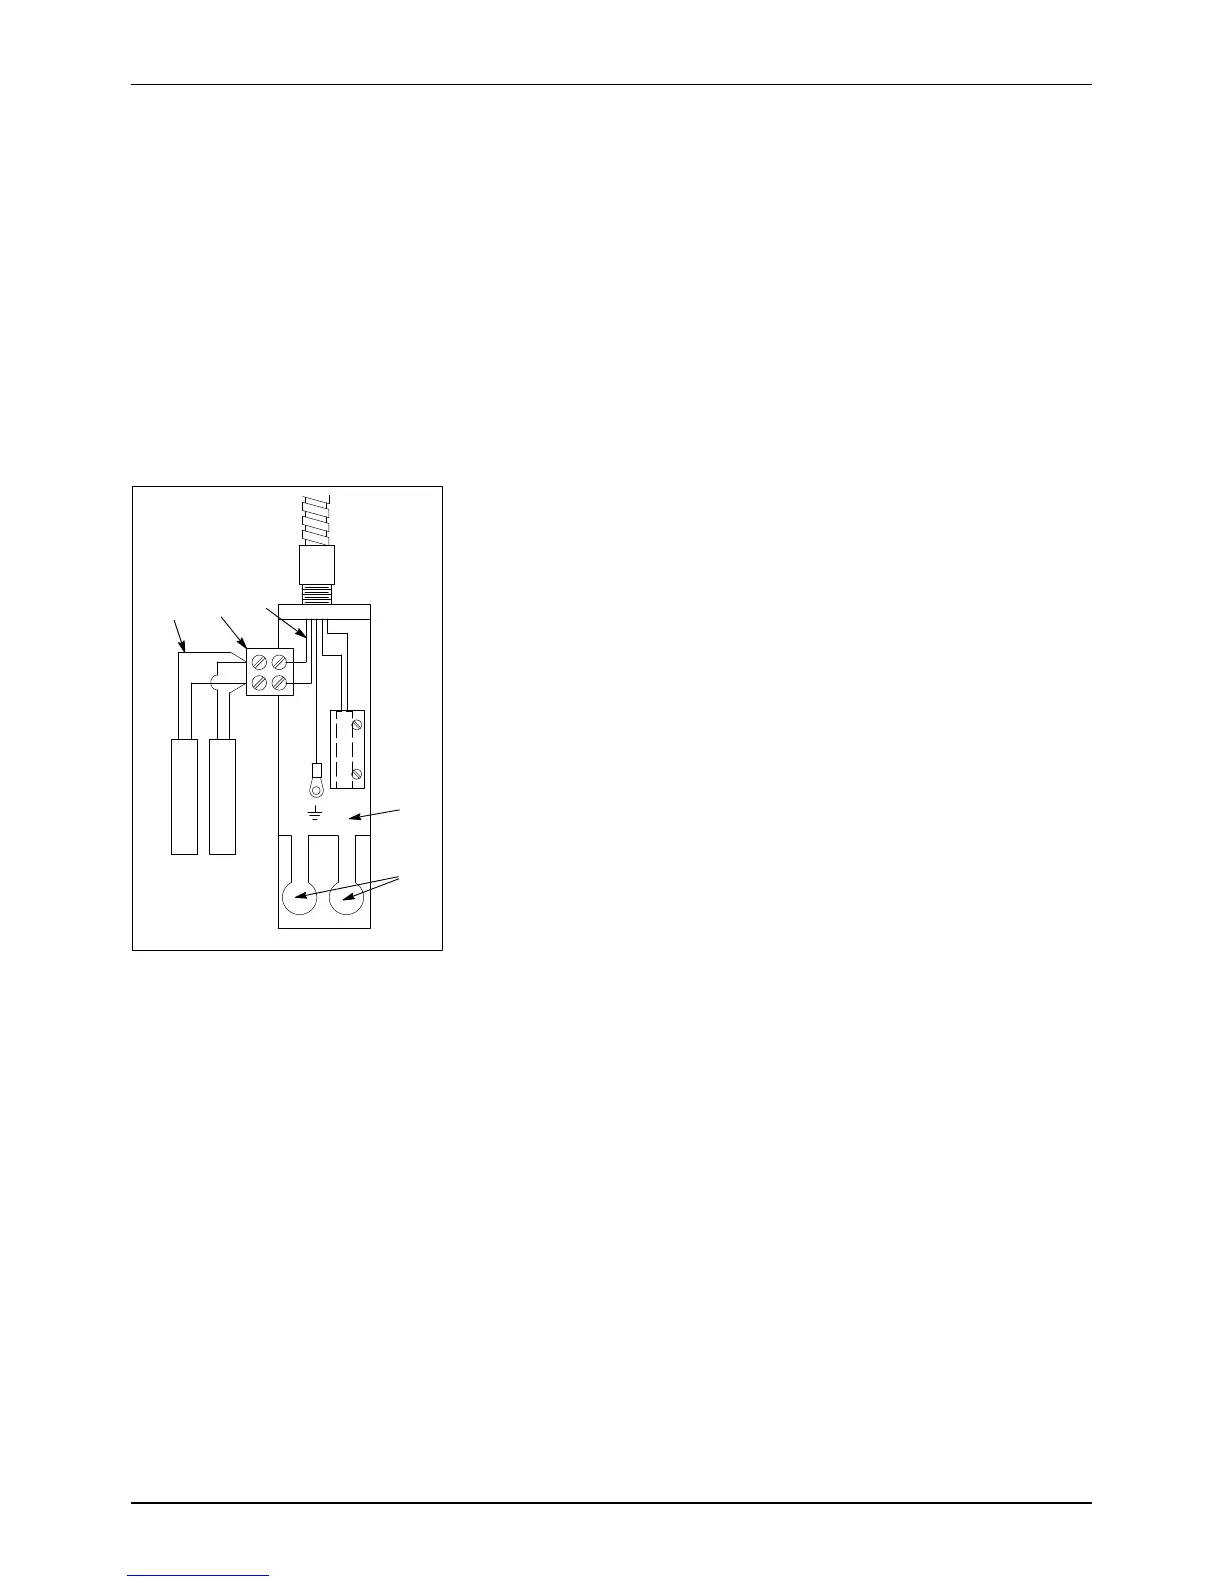
c. Take one lead from each heater, twist them together, and crimp them
into an eyelet. Be sure the heater leads are connected as shown in
Figure7‐7.
d. Insert the eyelets into the terminal block and tighten the terminal block
screws. Orient the terminal block such that the screws face the
service block, not the service block cover.
e. Insert the heater cartridges into the service block heater cartridge
bores.
Figure 7‐7 Cleaning an Extrusion
Nozzle
1. Heater cartridge leads
2. Terminal block
3. Cordset leads
4. Service block
5. Heater cartridge bores
10. Being careful not to pinch the wires, replace the service block cover and
secure it with the cover screws.
11. Reconnect the gun‐to‐hose electrical connection.
12. Restore the system to normal operation by following the instructions in
the applicator product manual.
 Loading...


