Repair
7-10
Part 237478_03
E 2012 Nordson Corporation
Replacing the Service Block
Use this procedure to replace the service block. The service block is also
referred to as the gun body.
Removing the Service Block
1. Relieve hydraulic pressure (refer to the Relieving Hydraulic Pressure
procedure in Section3, Installation).
2. Move the applicator circuit breaker to the OFF position, then disconnect
and lock out input electrical power to the applicator (seeFigures7‐1
and7‐2).
3. Reduce the air pressure to the gun to zero at the regulator.
4. Disconnect the gun‐to‐hose electrical connection.
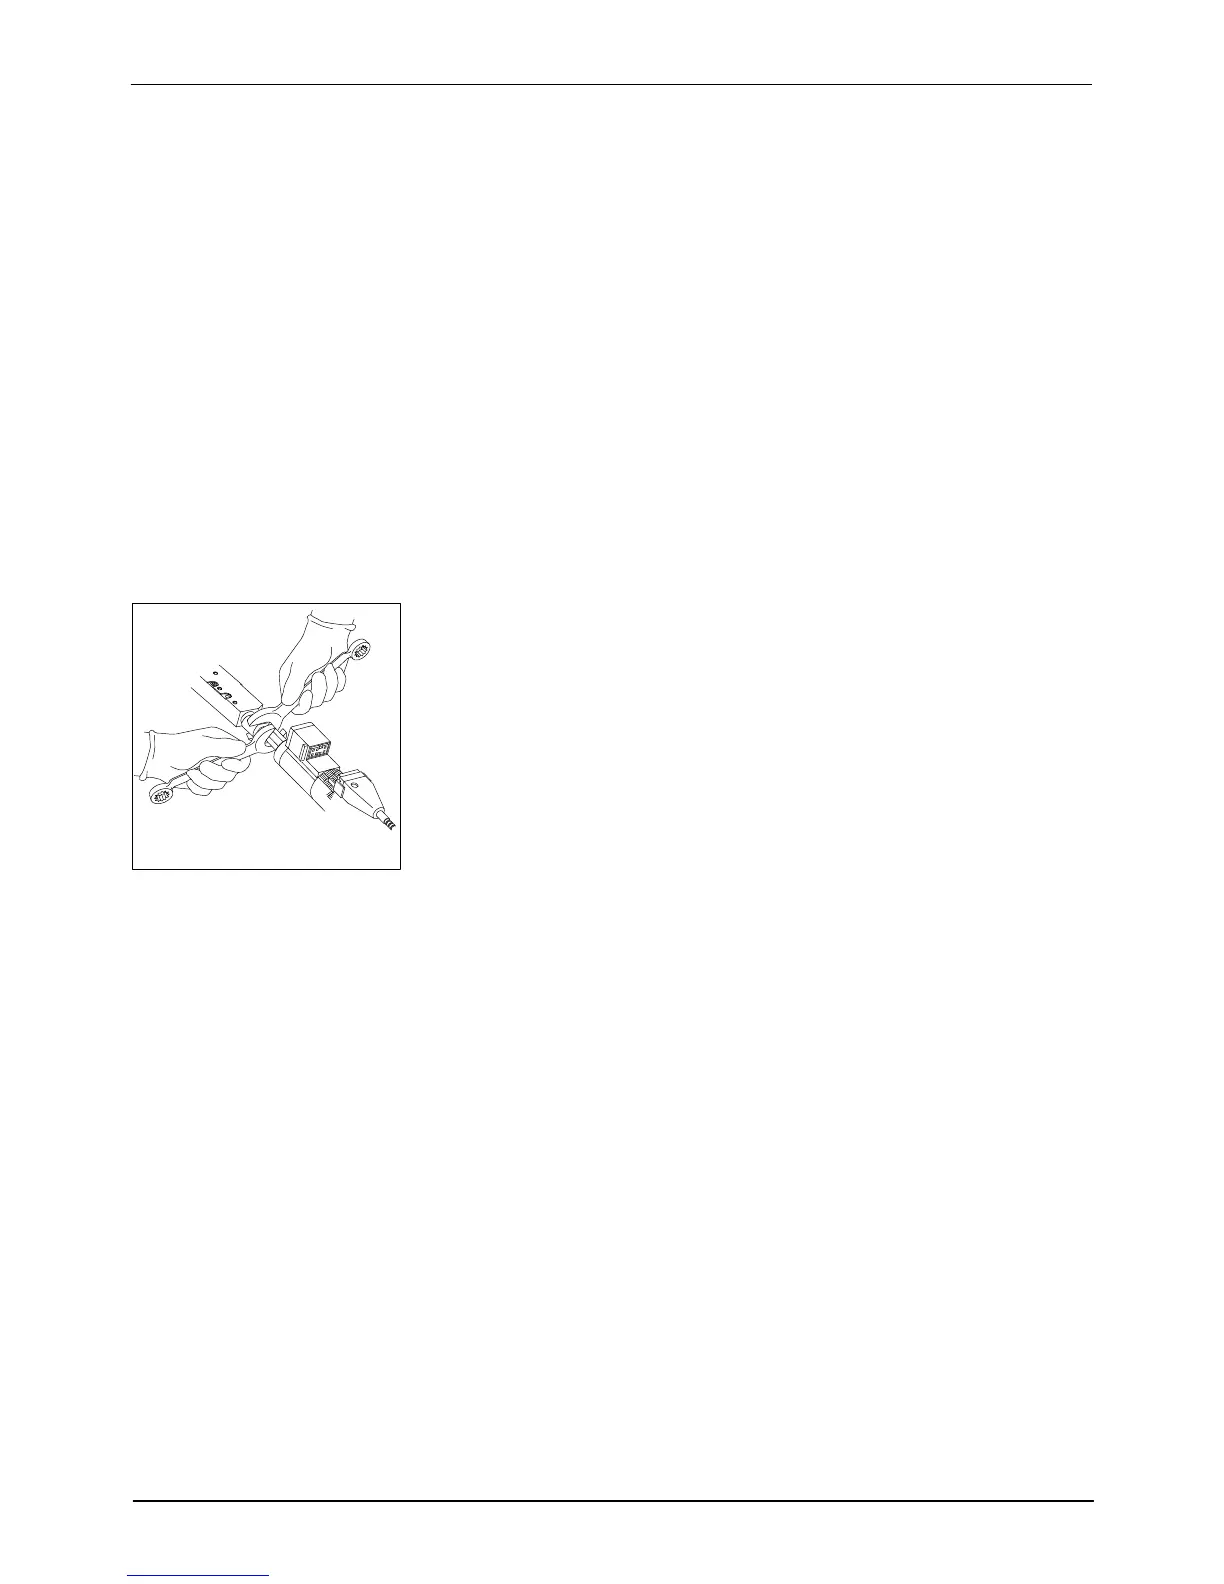
5. Use two wrenches to remove the hose fitting from the gun swivel fitting.
Place one wrench on the gun fitting and the other wrench on the hose
fitting.
6. Disconnect the extrusion and swirl (if applicable) air lines.
NOTE: To disconnect the extrusion air line, first unthread the tube nut
from the male connector, then unthread the male connector. To
disconnect a swirl line, unthread the tube nut from the male connector (it
is not necessary to remove the male connector from the air manifold).
Figure 7‐11 Disconnecting the
Gun from the Hose
7. Remove the six screws (three screws per side) from the service block,
then remove the service block cover (seeFigure7‐3).
8. Disconnect the heater cartridge leads from the cordset leads by
loosening the terminal block screws. Remove the heater cartridges and
set them aside.
9. Disconnect the ground wire and set the ground wire screw aside.
10. Remove the RTD mounting block screws, remove the RTD from its bore,
and set the mounting block and screws aside.
11. Unthread the cordset from the service block (the RTD and ground wire
are part of the cordset).
12. Disconnect the service block from the gun mounting plate by removing
the two socket‐head screws that secure the spacers to the gun mounting
plate. Set the socket‐head screws, split‐lock washers, spacers, and
insulator aside.
 Loading...


