Installation Procedure Overview
The installation procedure of ConnectX-7 adapter cards involves the following steps:
Step Procedure Direct Link
1 Check the system’s hardware and software
requirements.
System Requirements
2 Pay attention to the airflow consideration
within the host system
Airflow Requirements
3 Follow the safety precautions Safety Precautions
4 Unpack the package Unpack the package
5 Follow the pre-installation checklist Pre-Installation Checklist
6 (Optional) Replace the full-height mounting
bracket with the supplied short bracket
Bracket Replacement Instructions
7 Install the ConnectX-7 PCIe x16 adapter card in
the system
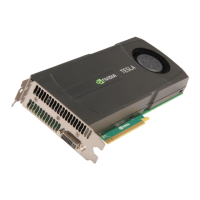
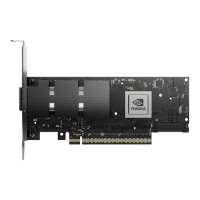
ConnectX-7 PCIe x16 Adapter Cards
Installation Instructions
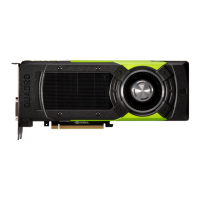
Install the ConnectX-7 2x PCIe x16 Socket
Direct adapter card in the system
ConnectX-7 Socket Direct (2x PCIe x16)
Installation Instructions
8 Connect cables or modules to the card Cables and Modules
9 Identify ConnectX-7 in the system Identifying Your Card
System Requirements
Hardware Requirements
ConnectX-7 Configuration Hardware Requirements
PCIe x16 A system with a PCI Express x16 slot is required for
installing the card.
Socket Direct 2x PCIe x16 (dual-slot server) A system with two PCIe x16 slots is required for installing
the cards.
Unless otherwise specified, NVIDIA products are designed to work in an environmentally
controlled data center with low levels of gaseous and dust (particulate) contamination.
The operating environment should meet severity level G1 as per ISA 71.04 for gaseous
contamination and ISO 14644-1 class 8 for cleanliness level.
For proper operation and performance, please make sure to use a PCIe slot with a
corresponding bus width that can supply sufficient power to your card. Refer to the
Specificationssection of the manual for more power requirements.
Please make sure to install the ConnectX-7 cards in a PCIe slot that is capable of supplying
the required power as stated in Specifications.