•
•
•
•
1.
2.
3.
1.
2.
Shut down your system if active;Turn off the power to the system, and disconnect the power
cord. Refer to the system documentation for instructions. Before you install the ConnectX-7
card, make sure that the system is disconnected from power.
(Optional) Check the mounting bracket on the ConnectX-7 or PCIe Auxiliary Connection
Card;If required for your system, replace the full-height mounting bracket that is shipped
mounted on the card with the supplied low-profile bracket. Refer to Bracket Replacement
Instructions.
Bracket Replacement Instructions
The ConnectX-7 card and PCIe Auxiliary Connection card are usually shipped with an assembled
high-profile bracket. If this form factor is suitable for your requirements, you can skip the
remainder of this section and move toInstallation Instructions. If you need to replace the high-
profile bracket with the short bracket that is included in the shipping box, please follow the
instructions in this section.
To replace the bracket you will need the following parts:
The new brackets of the proper height
The 2 screws saved from the removal of the bracket
Removing the Existing Bracket
Using a torque driver, remove the two screws holding the bracket in place.
Separate the bracket from the ConnectX-7 card.
Save the two screws.
Installing the New Bracket
Place the bracket onto the card until the screw holes line up.
Screw on the bracket using the screws saved from the bracket removal procedure above.
Installation Instructions
This section provides detailed instructions on how to install your adapter card in a system.
Choose the installation instructions according to the ConnectX-7 configuration you would like to use.
OPNs Installation Instructions
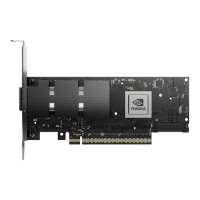
All ConnectX-7 cards
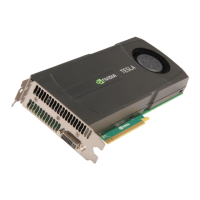
ConnectX-7 (PCIe x16) Adapter Card
During the bracket replacement procedure, do not pull, bend, or damage the EMI fingers
cage. It is recommended to limit bracket replacements to three times.
Be careful not to put stress on the LEDs on the adapter card.
Do not force the bracket onto the adapter card.
Use a torque driver to apply up to 2 lbs-in torque on the screws.