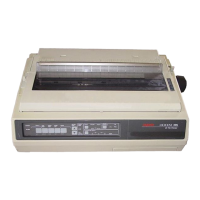
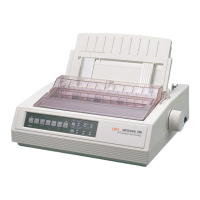
Page: 52
Service Guide ML395/395C
Chapter 3 Maintenance & Disassembly
3.2.18 Paper Bail Assembly
1. Remove the printer mechanism (3.2.08).
2. Remove the bail/ribbon motor assembly (3.2.17).
3. Detach the bail arm springs (1).
NOTE: The left bail arm spring is longer than the right bail arm spring. Be sure to install each spring on
the proper side.
4. Remove the bail arm idle gear (2).
5. Detach the E snap ring and remove the bail open cam (3).
6. Detach the E snap ring (4) and remove the left bail arm (5) from the indicator shaft assembly (6)
by pulling to the left.
7. Remove the right bail arm (7) by pulling to the right while expanding the clamps (8).
8. Detach the right bail arm from the indicator shaft assembly.
P/N 50054401 Indicator Bar Assembly RSPL B.2.06
, 10
P/N 50910701 Spring: Bail Arm (Left) RSPL B.2.06 , 10
P/N 50910801 Spring: Bail Arm (Right) RSPL B.2.06 , 10
P/N 51210201 Gear: Idler (Bail Arm) RSPL B.2.06 , 10
P/N 53478501 Bail Arm (Left) RSPL B.2.06 , 10
P/N 53478502 Bail Arm (Right) RSPL B.2.06 , 10