CMC 356 Reference Manual
20
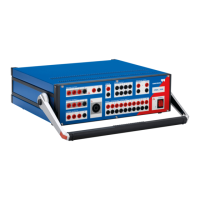
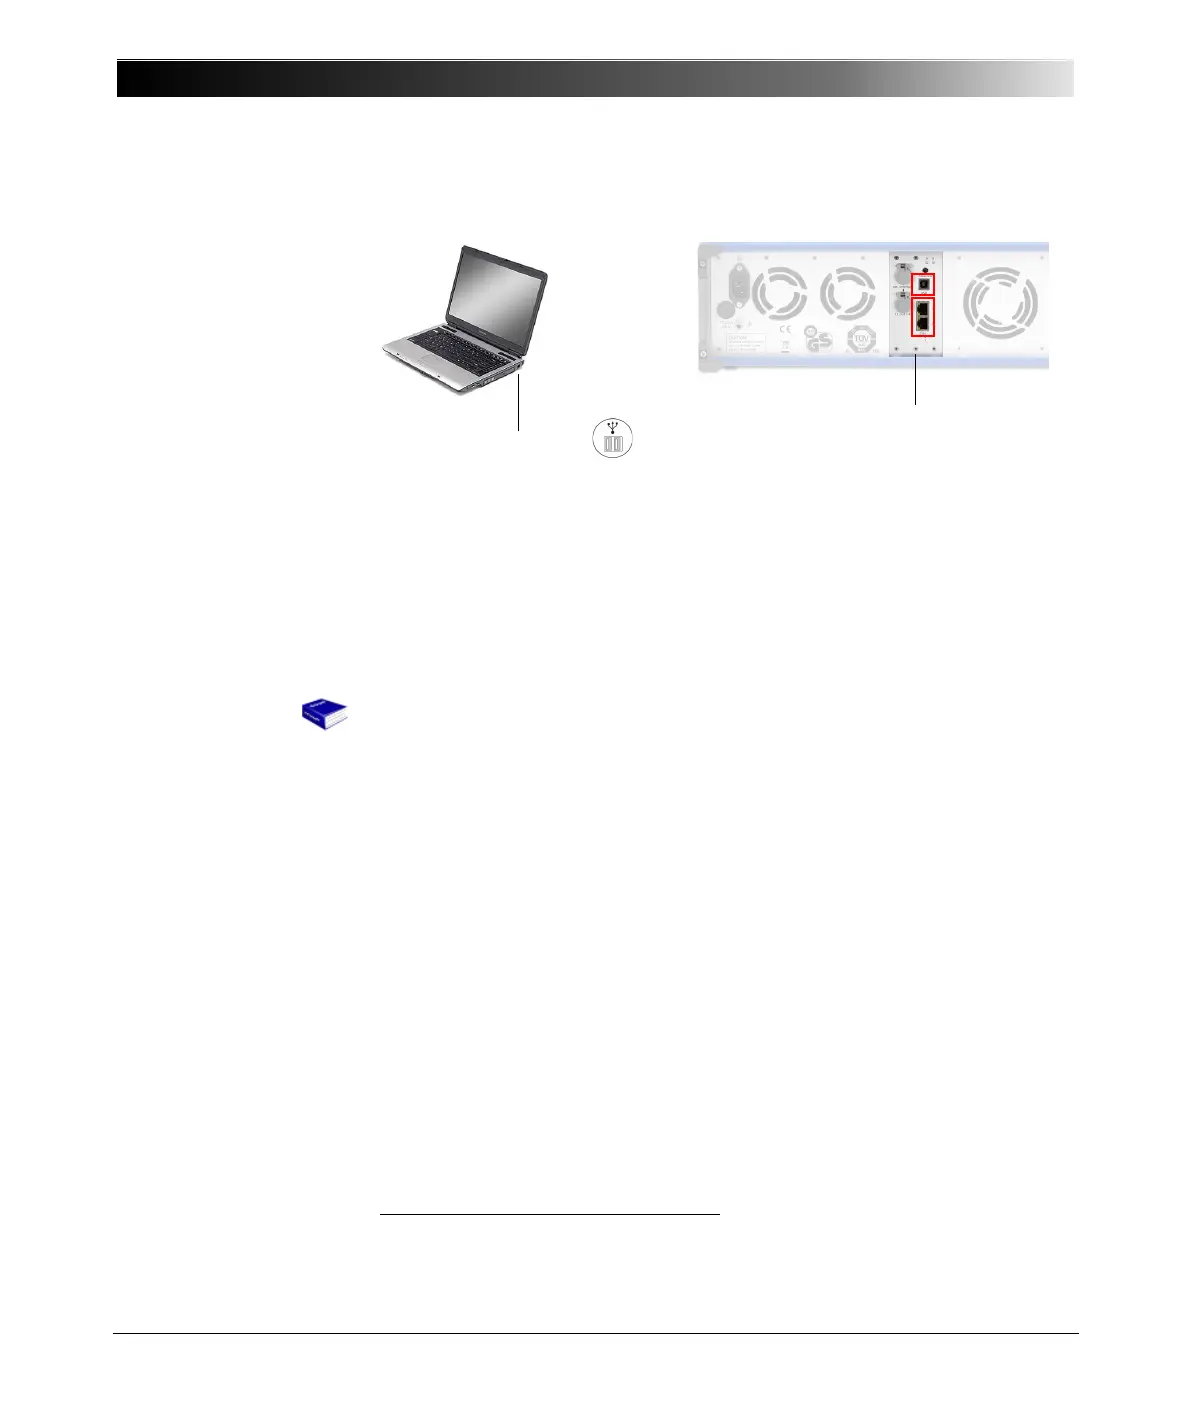
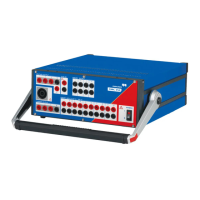
Connecting the system components
1
:
Figure 3-1:
Connecting the CMC 356
to the computer
1. Connect the CMC 356:
• from the Ethernet connector ETH1 at the CMC’s rear side (available
on NET-1, NET-1B & NET-1C board) to your computer’s Ethernet port
• or from the USB port of the CMC’s NET-1C board to your computer’s
USB port
For more information about the NET-1(x) boards, refer to section
“Technical Data of the Communication Ports” on page 76.
For instructions how to incorporate network-capable CMC test sets like
the CMC 356 into a computer network, refer to the Getting Started with
Test Universe manual. To view the manual, start the Test Universe Help
from the Start Page or any test module and navigate to the table of
contents entry User Manuals (at the beginning of the table of contents).
Click Test Universe Software Manuals. In this topic you find a direct
link at "Getting Started". To view the manual, click the link.
2. Connect the CMC 356 test set to the mains.
3. Turn on both devices.
4. Start the OMICRON Test Univ erse software.
A comprehensive hardware test is carried out on the CMC 356. In the
process, switching sounds from relays in the CMC test set can be heard.
If any irregularities are determined during the course of this self-test, the
software displays a corresponding error message on the PC monitor
(refer to section 8, "Troubleshooting" on page 105).
1
To ensure the required EMC compatibility, we strongly recommend to use the
OMICRON-supplied cable, only.
Either Ethernet or USB
NET-1C board
with USB and Ethernet
connectors