86
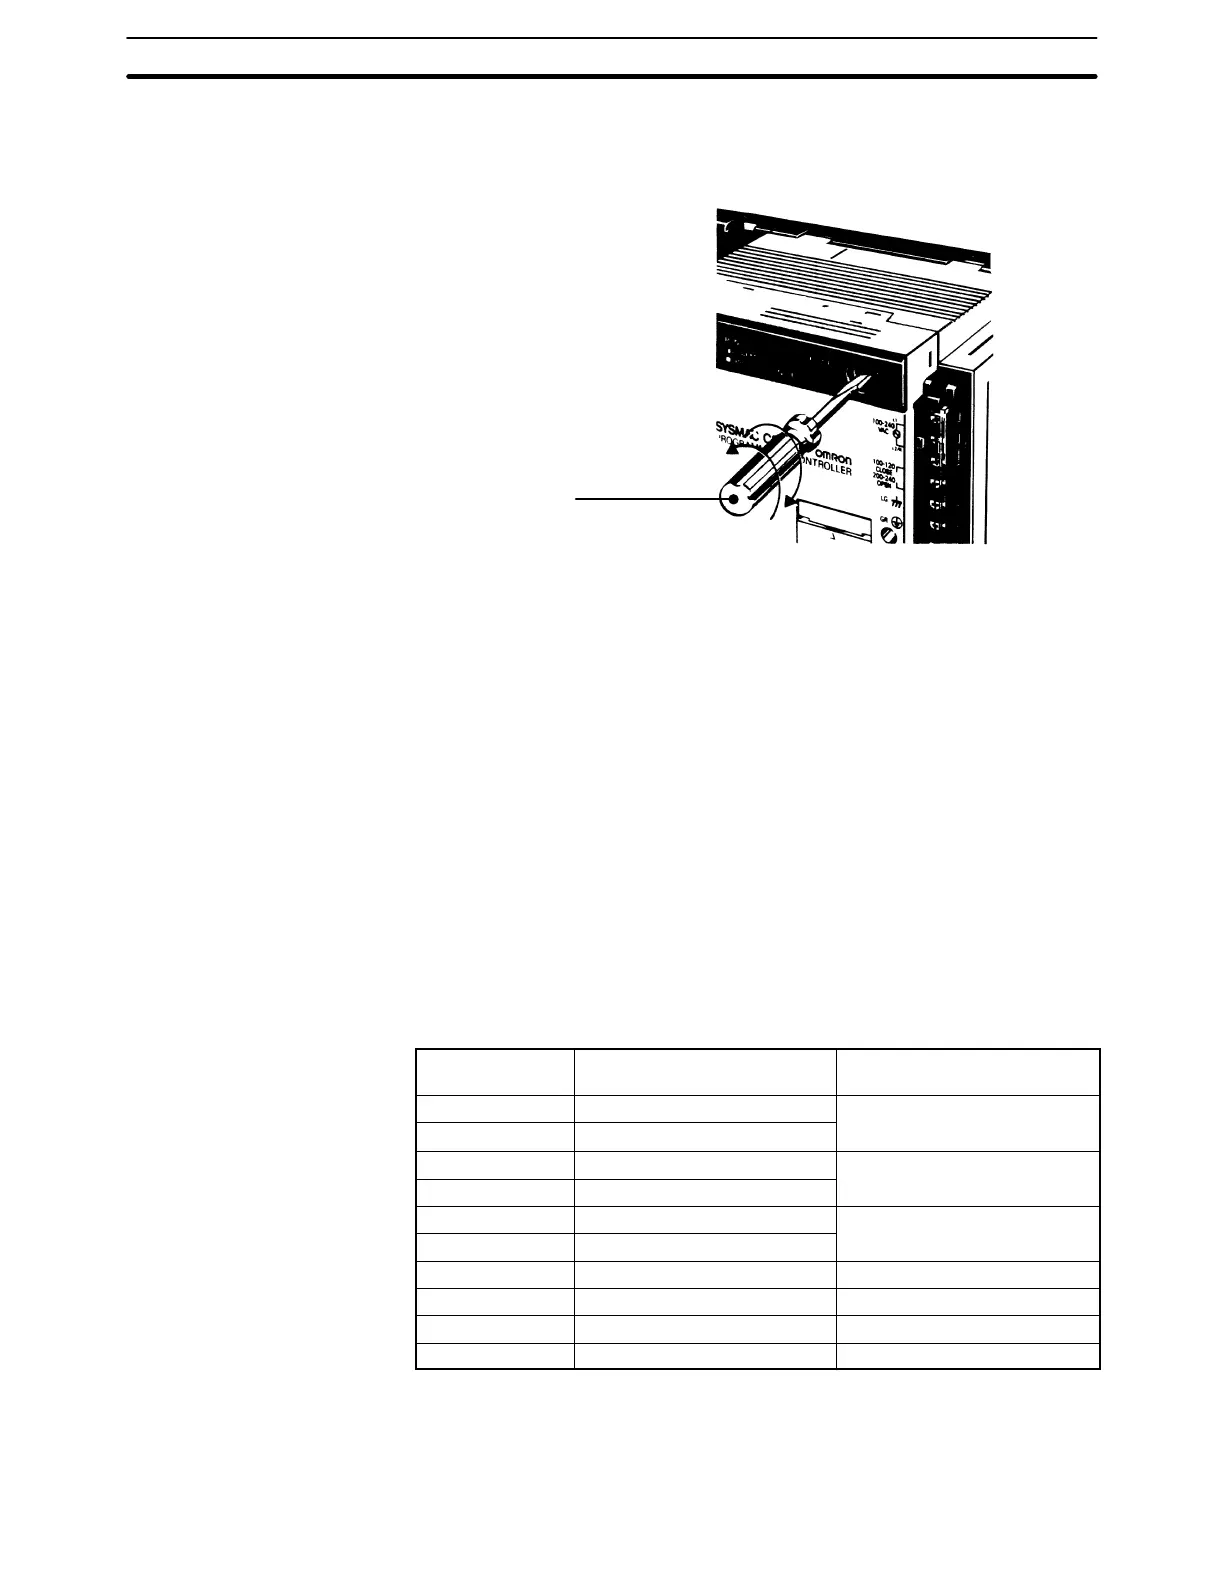
7-1 CPU and Power Supply Fuses
Standard
screwdriver
Turn counterclockwise
to remove, clockwise to
attach
To replace a fuse, follow the steps below.
1, 2, 3... 1. Turn OFF the power to the PC.
2. Remove the fuse holder by turning it approximately 50° counterclockwise
with a standard screwdriver.
3. Remove the fuse from the holder.
4. Insert a new fuse.
5. Reattach the fuse holder by turning it approximately 50° clockwise with a
standard screwdriver.
7-2 Output Unit Fuses
To replace a fuse, follow the steps below. Use only UL/CSA certified replace-
ment fuses.
Fuse Specifications (5.2-dia.x20)
Model F indicator (fuse blowout
detection circuit)
Rating
C200H-OD411 Yes 5 A 125 V
C200H-OD211 No
C200H-OD212 No 8 A 125 V
C200H-OD213 Yes
C200H-OA121-E Yes 5 A 125 V
C200H-OA122-E Yes
C200H-OA221 Yes 5 A 250 V
C200H-OA222V No 3 A 250 V
C200H-OA223 Yes 5 A 250 V
C200H-OA224 No 3.15 A 250 V
1, 2, 3... 1. Turn OFF the power to the PC.
2. Detach the terminal block by unlocking the lock levers at the top and bottom
of the terminal block.
Output Unit Fuses Section 7-2