Section 2 Installation
2 - 6
May 1992
MX-5050 Operation and Maintenance Manual
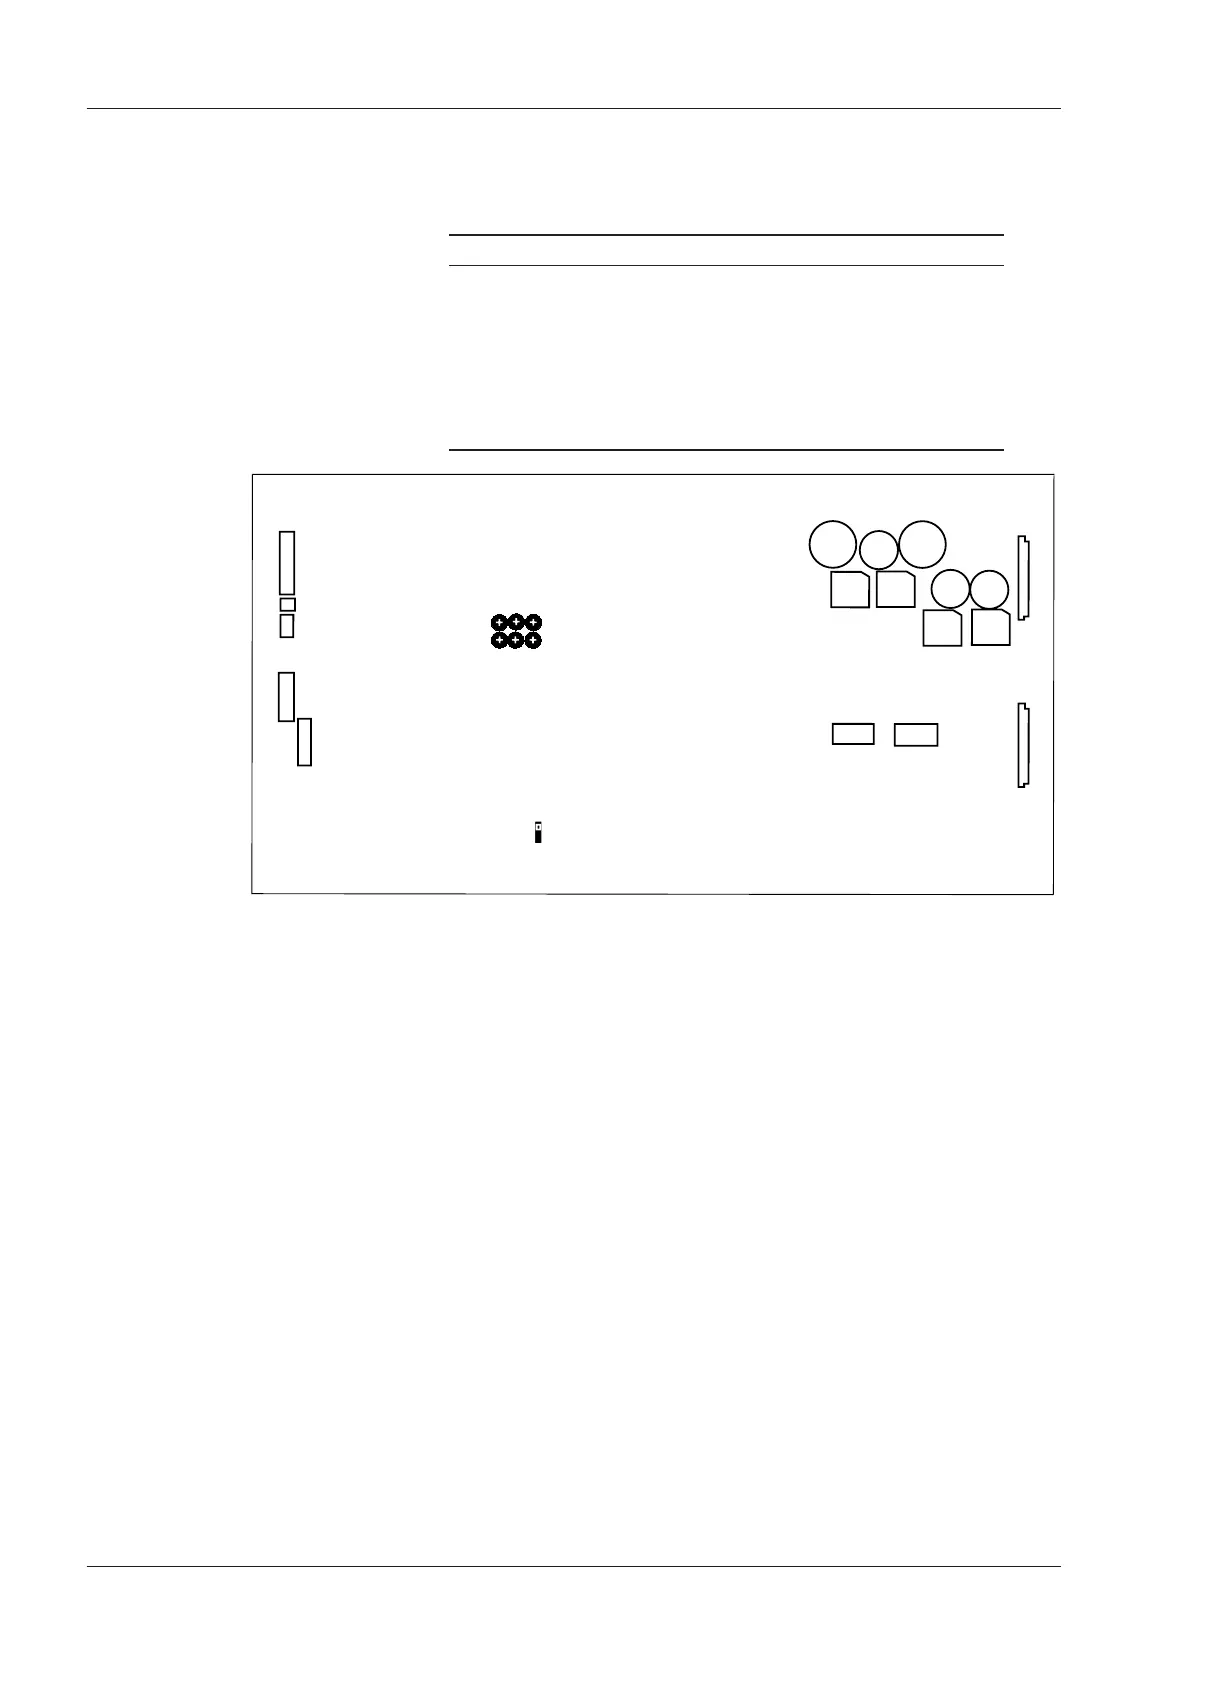
❏ DIP SW settings on the CONTROL PCB
Note: When any of the following DIP SW settings are changed, the machine
must be turned off and on for the settings to take effect.
SW1 SW2
SW1-1 Speed Version SW2-1 SEARCH 3 key Selection
SW1-2 Punch-In SW2-2 SEARCH 3 key Selection
SW1-3 Punch-Out SW2-3 Stop Mute Selection
SW1-4 Capstan PLL Reference SW2-4 Fast Wind Mute Selection
SW1-5 Capstan PLL Reference SW2-5 Play Start Mute
SW1-6 Punch-In Type Select SW2-6 Machine Type
SW1-7 REC LED Flashing Select SW2-7 Machine Type
SW1-8 External Control Select SW2-8 Not used
Refer to Fig 2-4 for the location of these DIP switches on the CONTROL PCB
Assembly.
SW1-1 Speed Version Selection (BIII-2)
ON 3.75/7.5 ips: Low Speed Version (Option)
OFF 15/7.5 ips: High Speed Version
The BIII-2 is set to High Speed at the factory. After receiving the BIII-2, it can
be changed to Low Speed with this switch. Refer to §2.8 for details. The
MKIV-2 cannot be changed to Low Speed.
SW1-2 Punch-In (Refer to § 3.2, [18] REC button)
ON Press REC and PLAY buttons in PLAY mode to begin Punch-In
OFF Press REC button in PLAY mode to begin Punch-In
SW1-3 Punch-Out (Refer to § 3.2, [19] PLAY button)
ON Press PLAY button to end the Punch-In Record
OFF Press STOP and REC button to end the Punch-In Record