70
7 Product Specic Instructions – Manual Wheelchairs
– BRAVO Racer –
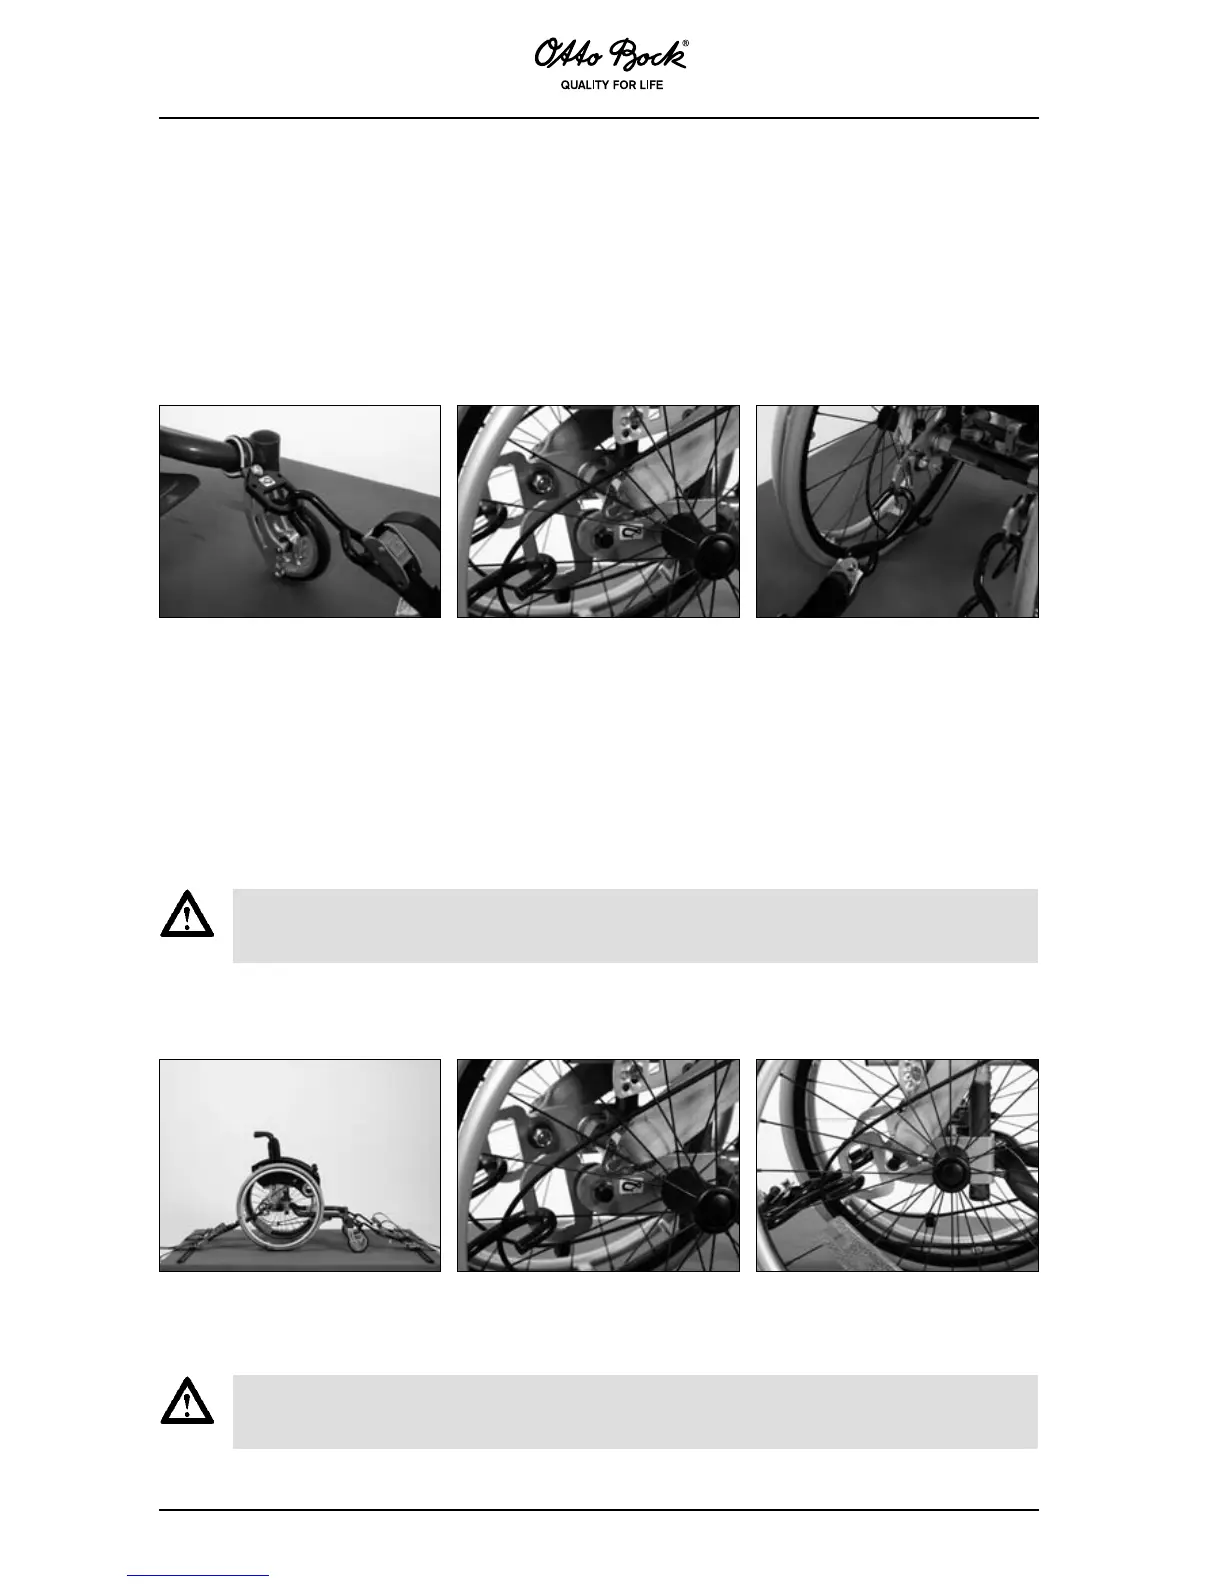
Routing the lap belt
Installation tip: Attach the clamps to the frame at the positions indicated. Do not fully tighten the screws until
you have installed all clamps and anchor plates and have turned them to the proper angles.
Screw one anchoring point to the left
and right sides of the front frame,
respectively, behind the caster jour-
nals. The xing eyelets must point
forward and the anchor symbols
must face up.
Screw one anchor plate to the left and right inside of the rear frame,
respectively. The xing eyelets and the anchor symbols must face out.
Pass one end of the lap belt through from each side of the seat to the
outside, respectively. Now clip the ends of the lap belt to the pins on the
anchor plates.
Pass one end of the lap belt through from each side of the seat to the
outside, respectively. Now clip the ends of the lap belt to the pins on the
anchor plates.
Attaching the anchoring points to the product
BRAVO Racer showing the correct
positioning of the tie-down straps.
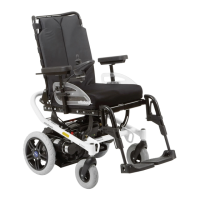
This wheelchair may be equipped with a xed angle-adjustable back rest. In order to assure the
safe transportation of the wheelchair user in a vehicle, the back rest must be installed in a close to
upright position . Observe the specications in the wheelchair instructions for use.
Unfortunately the xation kits cannot be used with all equipment and accessory combinations. For
existing restrictions in the combination of equipment and accessories, please refer to the 646F201
information sheet.
Securing with xing eyelets
For assembly of the 481S00=SK040 xation kit you will need the following tools:
Ring wrenches sizes 10 and 13, Allen keys sizes 4 and 5
 Loading...