73
8 Product Specic Instructions – Seating Shell Mobility Bases
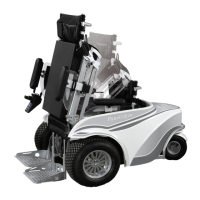
– Dino 3 –
For assembly of the 481S00=SK021 xation kit you will need the following tools:
ring wrenches sizes 10 and 13, Allen wrenches sizes 4 and 5
Guidance for tting the Pelvic Belt
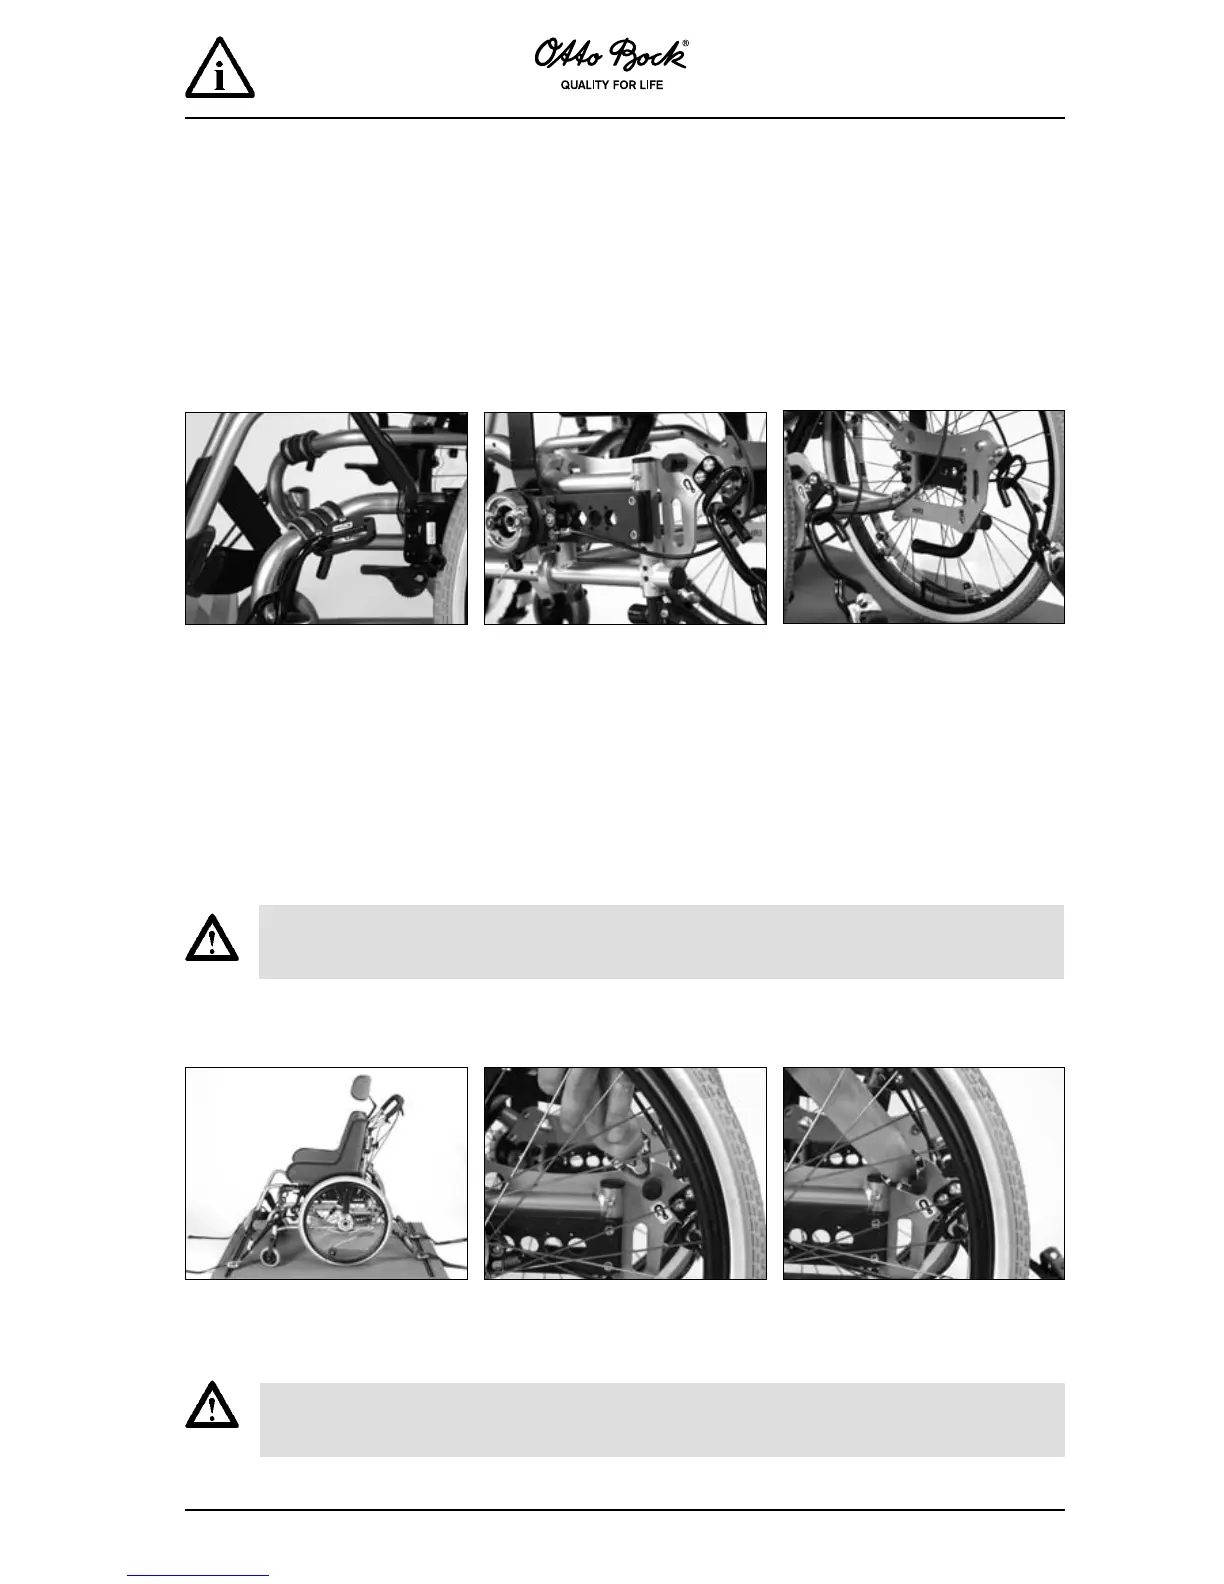
Assembly tip: Important – Only attach the anchor plates to the frame at the indicated points, using the pipe
clips/half-shells and screws provided. Do not fully tighten the screws until the pipe clips/half-shells and anchor-
ing plates have been positioned correctly.
Assemble two pipe clips around the
front frame on either side of the unit.
Then attach the anchor plates us-
ing the screws provided so the x-
ing eyelets and anchor symbols are
facing outwards.
Mount anchor plates to the inner sides on the left and right of the rear
frame part, so that the xing eyelets and anchor symbols are facing out-
wards.
Pass one end of the pelvic belt through from the seat side to the outside.
Now clip the pelvic belt buckle onto the "Anchor Pin" on the anchoring
plate. Then repeat on the opposite side for the other half of the pelvic belt.
Attaching the anchoring points to the product
Dino 3 showing the correct posi-
tioning of the tie-down straps.
This seating shell mobility base is equipped with seat tilt and back angle adjustment. Before starting
adjust the backrest to almost upright position and check if the locking mechanism has engaged.
Observe the specications in the Instructions for Use Manual of the mobility base for seating shells.
Unfortunately, the xation kits cannot be used with all equipment and accessories combinations. For
existing restrictions in the combination of equipment and accessories please refer to the 647F231
Info Sheet.
 Loading...