To configure the Directory List Select settings
1. Press the Options tab > User Options > Directory
List Select.
2. Select the directories you want to display on the
Contacts screen.
See "Details for Directory List Select Settings
(Page 116)".
3. Press OK.
Usage tips
• You can refresh the system speed dialing directory
and the extension directory information from the
PBX by pressing Refresh.
• For details about the Contacts screen, see
"Contacts Screen (Page 32)".
Details for Directory List Select
Settings
Local Directory
Select this to display the local directory (your
personal directory).
Extension List
Select this to display the extension directory from
the PBX.
Speed Dial
Select this to display the system speed dialing
directory from the PBX.
Note
• You must select at least one directory.
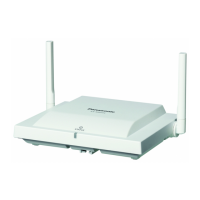
IP Camera Settings
The IP Camera settings allow you to register, edit, and
delete network cameras.
You can register a maximum of 20 cameras.
Registered cameras can be viewed on the Camera
screen.
To register or edit a camera
1. Press the Options tab > User Options > IP
Camera.
To register a new camera
a. Press
.
To edit a camera
a. Select a camera, and then press .
2. Enter the camera’s information as necessary.
See "Details for IP Camera Settings (Page 116)".
3. Press OK.
To delete a camera
1. Press the Options tab > User Options > IP
Camera.
2. Select a camera, and then press .
3. On the confirmation dialog window, press Yes.
Usage tips
• For details about network camera features, see
"Network Camera (Page 81)".
• For details about the Camera screen, see "Camera
Screen (Page 49)".
Details for IP Camera Settings
Page 1/3
Camera Name (required)
Enter the name to display for the camera in the
camera list.
• Maximum 20 characters
Camera Address (required)
Enter the IP address of the camera. Press Test to
verify the connection to the camera.
• Must be a valid IP address
116 Operating Instructions Document Version 2010-01
Customizing the Telephone
 Loading...