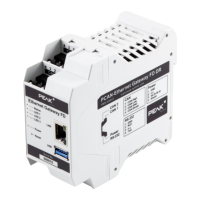
PCAN-Ethernet Gateway FD DR – User Manual
65
The difference here, when compared with the example in chapter
6.1, is solely that the opposite message forwarding from CAN bus B
to CAN bus A must also be realized.
The Routes on Gateway 1:
Incoming messages from Gateway 1 are to be transferred into the
LAN network. For this, a Send route with the following values must
be created.
Gateway 1 > Send Route A
Route Direction Send: CAN > IP
Status Activate
CAN Channel 1 (connected to CAN bus A)
IP-Address 192.168.1.202 (address of Gateway 2)
Port 50000
IP Interface
Protocol TCP
Gateway 1 is to accept the data packets sent via LAN network by
Gateway 2, and pass the containing CAN messages through CAN
channel 1 into CAN bus A. For this, a Receive route with the
following values must be created.
Gateway 1 > Receive Route B
Route Direction Receive: IP > CAN
Status Activate
Port 25000 (like the Send route B) IP Interface
Protocol TCP (like the Send route B)
CAN Channel 1 (connected to CAN bus A)
After saving, the routes on Gateway 1 will be displayed on the
Routing > Manage Routes
page as follows.