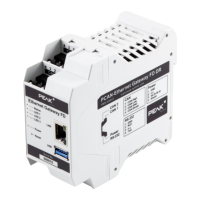
PCAN-Ethernet Gateway FD DR – User Manual
35
Add Route : This button opens the
Routing > Add Route
page on
which you can set up a new message forwarding instance.
Additional information:
Each route is provided with additional information about its
connection and data transfer status. This additional information can
be viewed by clicking on the triangle icon located on the right edge
of the route.
In Expert mode (see chapter 5.6.2
Device> User Management
)
detailed connection status information are displayed. With the
Reset button you can reset the values of the route to 0.
5.3.2 Add / Edit Route
On the
Routing > Add Route
page you can set up a new route.
Similarly, an existing route can be edited via the form displayed. For
this, the current settings are loaded into the form fields. Editing a
route is done via the page
Routing > Manage Routes
.
For saving routes, the PCAN-Gateway uses a table with 16 rows that
are addressed with a unique index. If a new route is to be set up, the
lowest free index will be assigned. Because of that, only up to 16
routes can be created regardless of the status. Then the
Add Route
function is no longer available.
Route Direction:
When you create a route, you should start with the selection of
direction since the following input and output fields are determined
by this.
Receive IP > CAN: With a Receive route the PCAN-Gateway receives
data via the IP interface and forwards it to a CAN channel. The IP
address shown in this case is "Local IP". The configuration of the
local IP interface is done on the
Network > LAN
page.