arrow indicating the direction where
example is the Trig Lvl setting as part of the
non-displayed values have been recorded.
This mode is used for observing periodic fluc-
tuations or possible trends. Each plot terminates
(if
HOLD is activated) or restarts (if RUN is
activated) after the set number of samples. The
trend plot is always autoscaled based on the
measured data, starting with 0 at restart. Limits
are shown as horizontal lines if enabled.
When the instrument is controlled from the
GPIB bus or the USB bus, the operating mode
changes to
Remote, indicated by the label
REM on the display. All front panel keys ex-
cept
CANCEL are then disabled. See also page
2-8 for more information on this key.
Sometimes you may want to enter constants
and limits in a value input menu, for instance
one of those that you can reach when you
press the
MATH/LIMIT key.
You may also want to select a value that is not
in the list of fixed values available by pressing
the
UP/DOWN arrow keys. One example is
Meas Time under SETTINGS.
A similar situation arises when the desired
value is too far away to reach conveniently by
incrementing or decrementing the original
value with the UP/DOWN arrow keys. One
Whenever it is possible to enter numeric val-
ues, the keys marked with 0-9;. (decimal
point) and ± (stands for Change Sign)take on
their alternative numeric meaning.
It is often convenient to enter values using the
scientific format. For that purpose, the
rightmost softkey is marked
EE (stands for
Enter Exponent), making it easy to switch be-
tween the mantissa and the exponent.
Press
EXIT/OK to store the new value or
CANCEL to keep the old one.
These keys are mainly used for opening fixed
menus from which further selections can be
made by means of the softkeys or the cur-
sor/select keys.
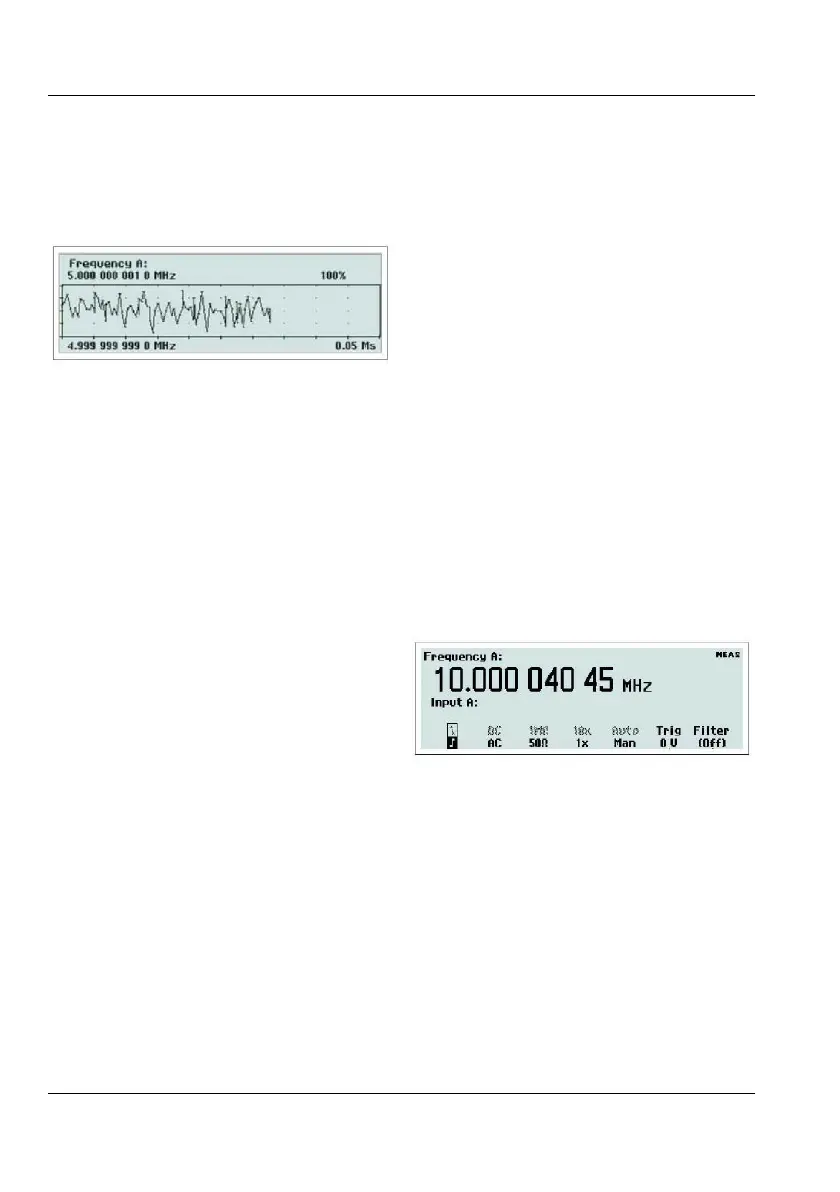
By depressing this key, the bottom part of the
display will show the settings for Input A (B).
The active settings are in bold characters and
can be changed by depressing the correspond-
ing softkey below the display. You can also
move the cursor, indicated by text inversion, to
the desired position with the
RIGHT/LEFT
arrow keys and then change the active setting
with the
ENTER key.
The selections that can be made using this
menu are:
USER MANUAL ● CNT 9x Series ● Rev.22 February 2020