Performing an Exam Imaging Modes
94 Lumify Ultrasound System
Philips Healthcare 4535 618 58571_A/795 * MAY 2016
• To increase or decrease the distance from the face of the transducer to the deepest
point in the displayed image, use the Depth
dial.
• To increase or decrease the power output, use the Power dial.
• To view part of the image in more detail, spread your thumb and finger to zoom in on
that area of the image. For more information, see “Zoom Magnification” on page 95.
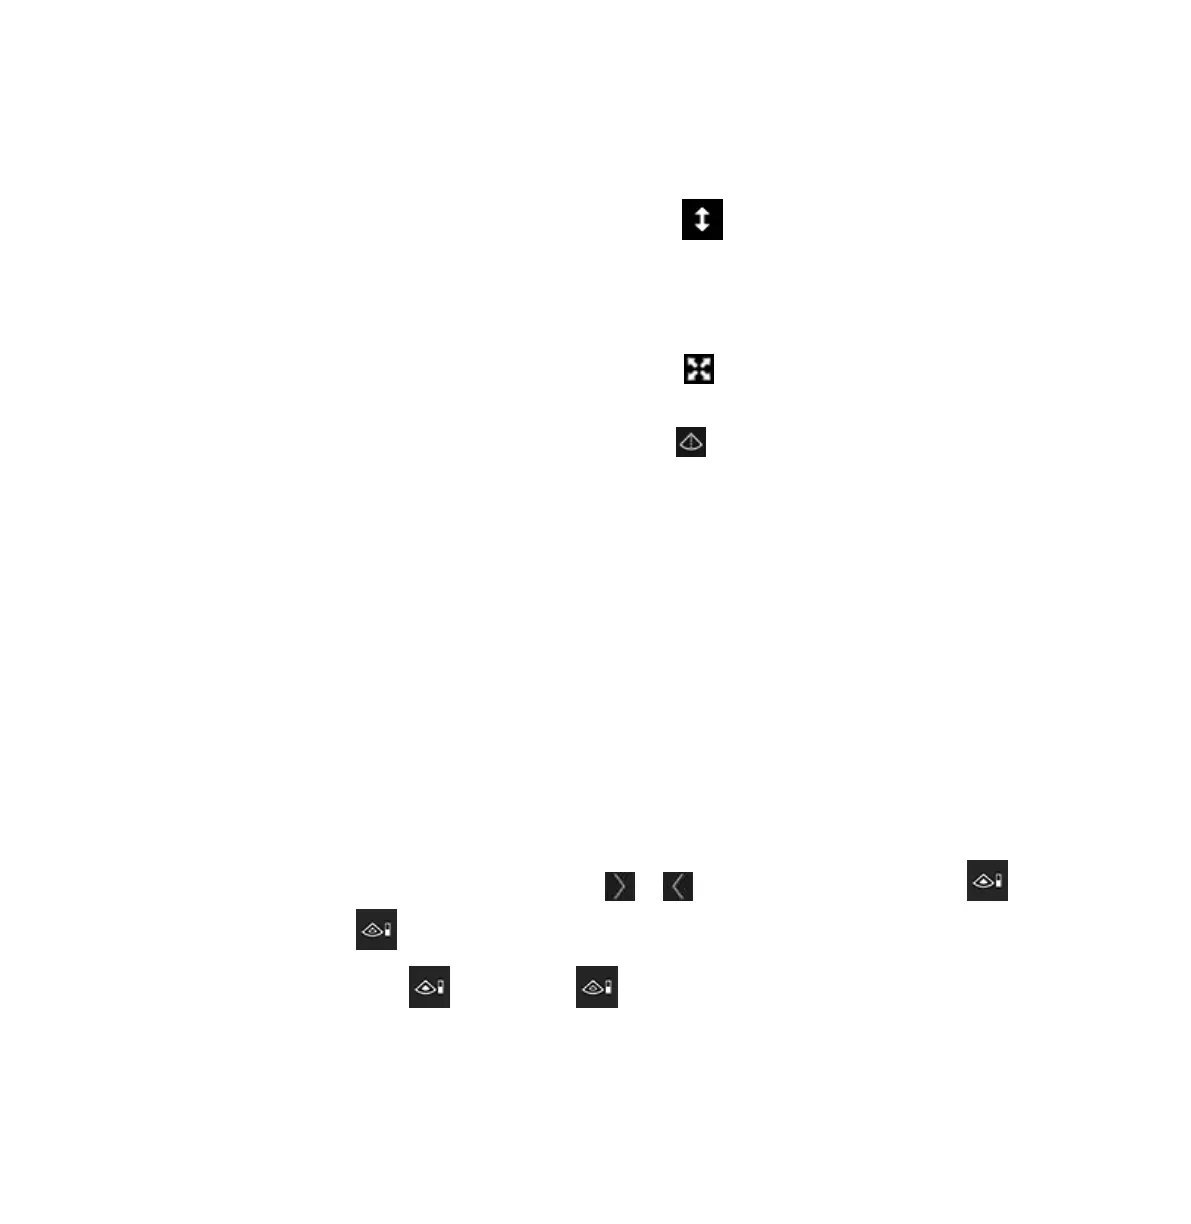
• To view the image in full-screen view, touch in the lower right corner of the image.
For more information, see “Full-Screen View” on page 96.
• To display a centerline on the image, touch . For more information, see “Displaying a
Centerline” on page 96.
Color Mode
In Color mode, a color box is overlaid on the 2D image; its size and position can be adjusted
within the 2D image. The velocity and direction of flow in the color box are represented with
different colors for direction and different shades for velocity. The colors being used appear in
the color bar in the upper right corner of the imaging display.
Two color modes are available: Fast Flow (high color scale for arterial flow) and Slow Flow (low
color scale for venous flow).
Using Color Mode
1. In 2D mode, optimize the image.
2. If necessary, touch the page indicator ( or ) or swipe to display Fast Flow or
Slow Flow .
3. Touch Fast Flow or Slow Flow .
4. To position the color box on the anatomy of interest, drag the color box. (If you drag
outside the color box, you pan the image.)