9 CONTROL PANEL
24 Planmeca ProOne User’s Manual
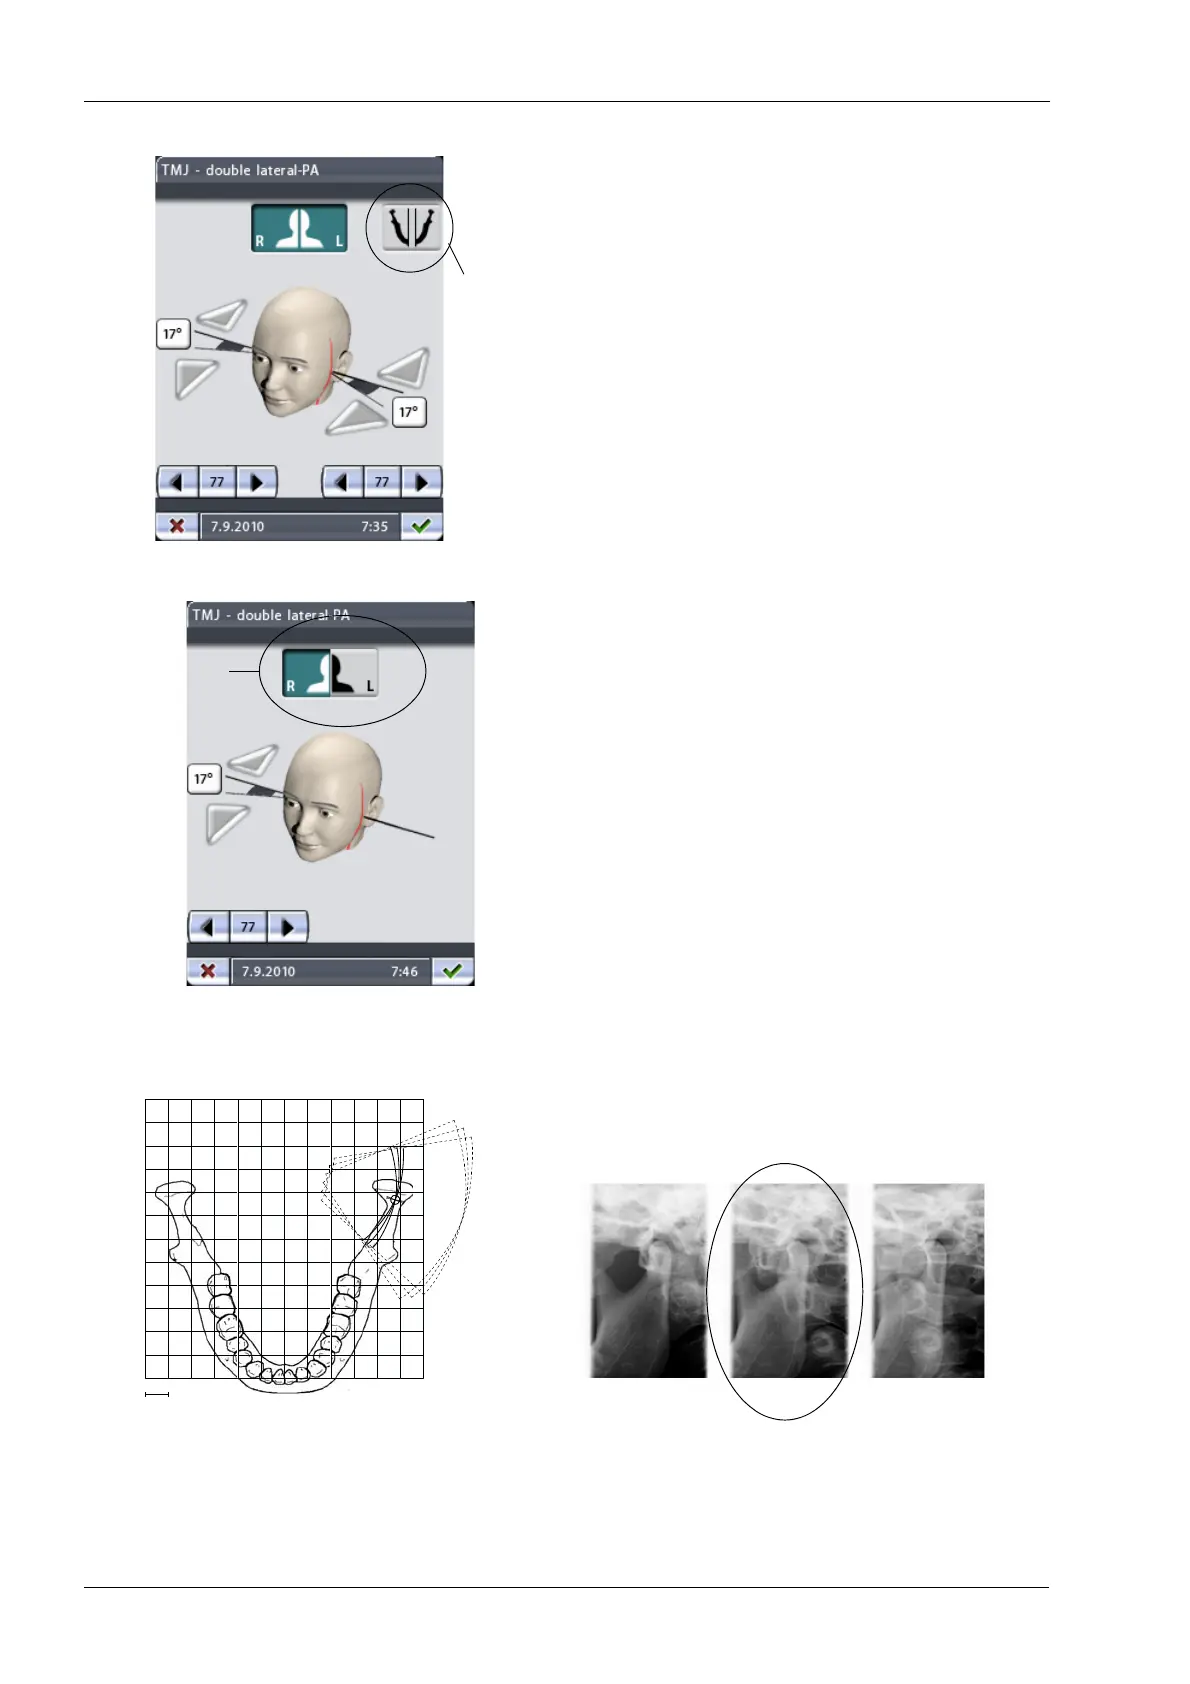
If the patient’s right and left side are asymmetric you will
need to set the target position and imaging angle (lateral
views) separately on the other side. To do this, touch the
icon for symmetric/asymmetric setting to select the
asymmetric setting and adjust the other side as required.
In the asymmetric setting the icon shows a divided jaw
(two lines in the middle).
In the asymmetric setting, touching the target position
arrows on the main TMJ display will adjust the imaging
position only on the patient’s left side.
The right/left buttons at the top of the display allow you to
select on which side the exposures will be taken. You can
set the unit to take TMJ exposures on one side or on both
sides. The button(s) of the selected side(s) will be
highlighted. Note that the buttons refer to the patient’s
(not your) right and left side.
In multi-angle exposures the selected imaging angle is in
image no. 2.
Symmetric/
asymmetric
setting
Patient’s
right/left side
1 cm
1 2 3
3 angles lateral, left
First exposure = Selected angle - 7°
Second exposure = Angle selected by the user
Third exposure = Selected angle + 7°
(factory default angle: 17°)
Imaging angle selected by the user
1.
2.3.