13 CROSS-SECTIONAL EXPOSURE (OPTIONAL)
User’s Manual Planmeca ProOne 69
13.2 Taking an exposure
Make sure that you have selected the right patient and the
panoramic exposure mode in the Romexis program before
you take an exposure. Refer to the Romexis User’s
Manual.
Images can be saved on a USB memory stick instead of
the computer. Refer to section 14.2.6 “Imaging without PC
(P2600)” on page 96 for more information.
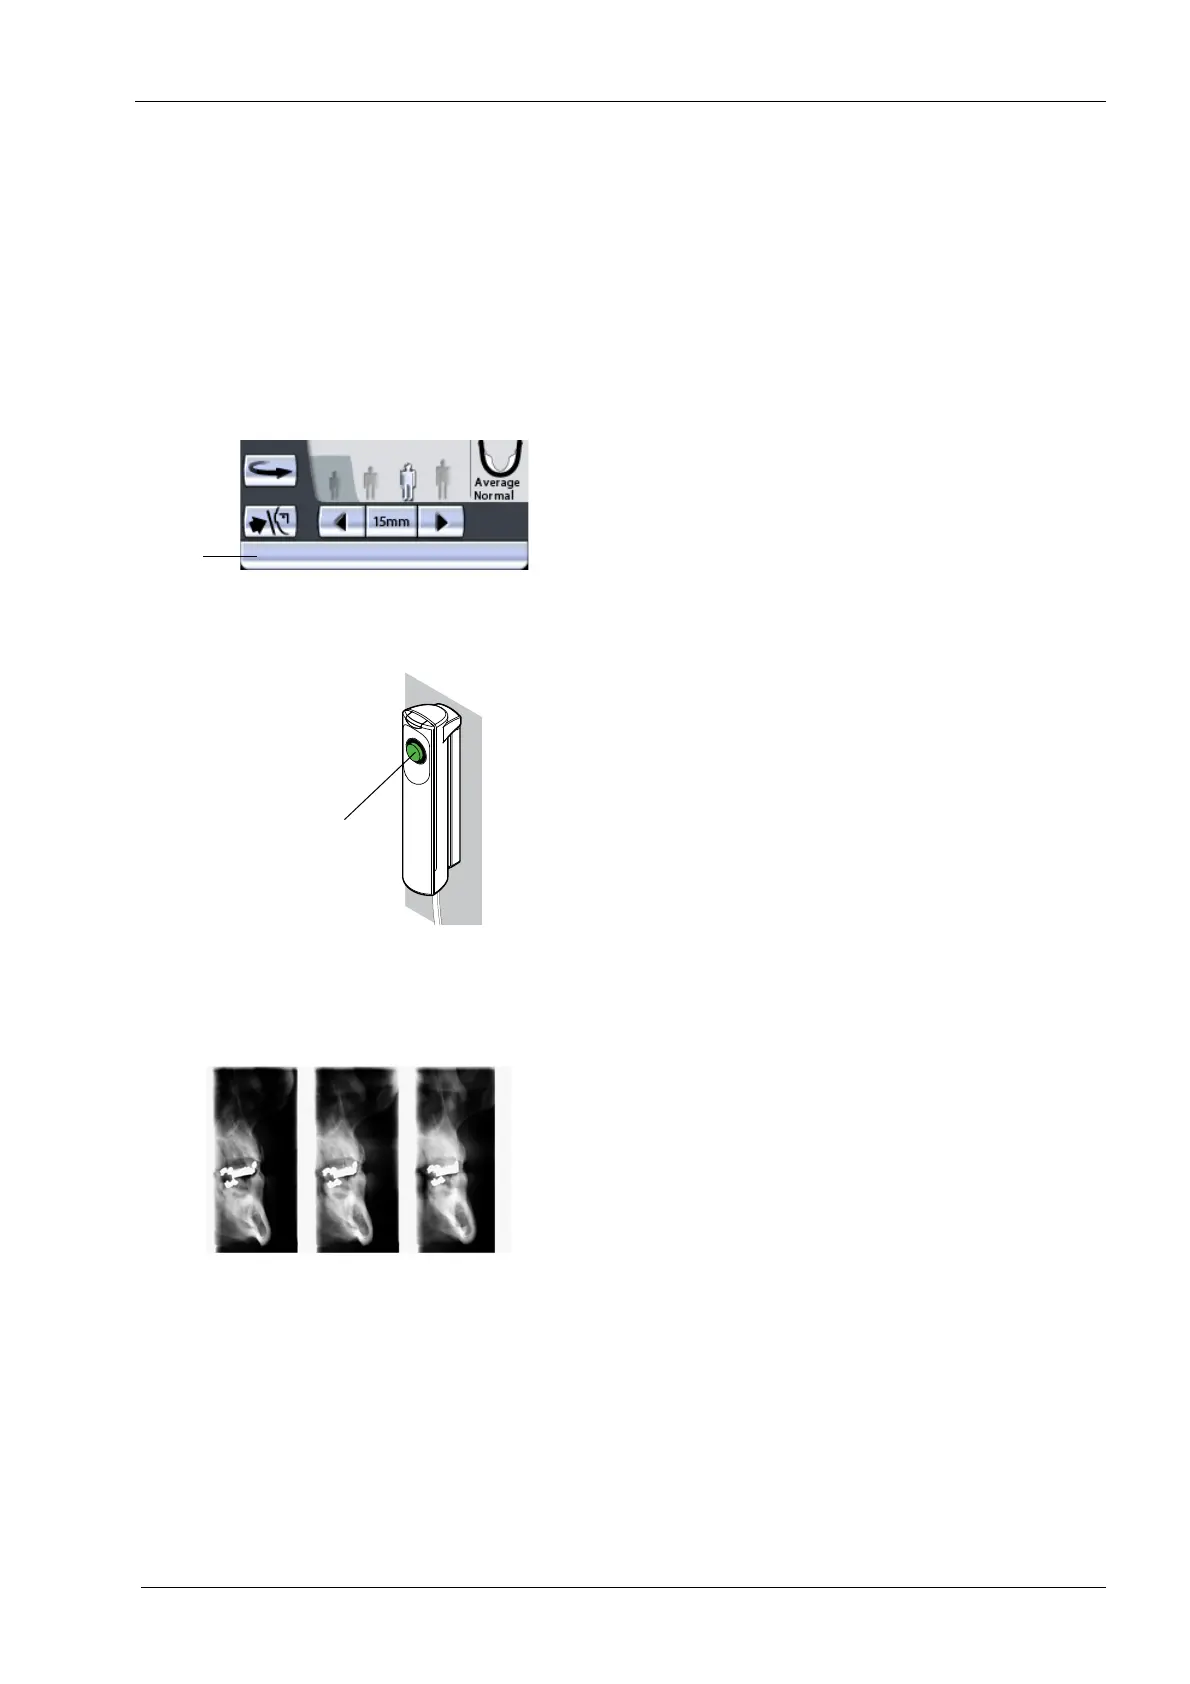
The status bar at the bottom of the display will turn green
when the unit is ready to take an exposure.
On the exposure button a green indicator light will come
on. The Romexis program will show the
Waiting for
Exposure
message on the computer screen.
13.2.1 Manual exposure
In the manual exposure program you can take 1-3
exposures in one image.
Between exposures you can manually:
• change the exposure values (kV and mA)
• change the target position
• change the position of the patient.
Ask the patient to close their lips on the bite piece,
swallow, and remain as still as possible. Tell the patient
how many exposures you will take so that they do not
move before the end of the exposure cycle.
Move to a protected area.
Green = Ready for exposure
Grey = Not ready for exposure
Status
bar
Green
ready indicator light