11 TEMPOROMANDIBULAR JOINT EXPOSURE
52 Planmeca ProOne User’s Manual
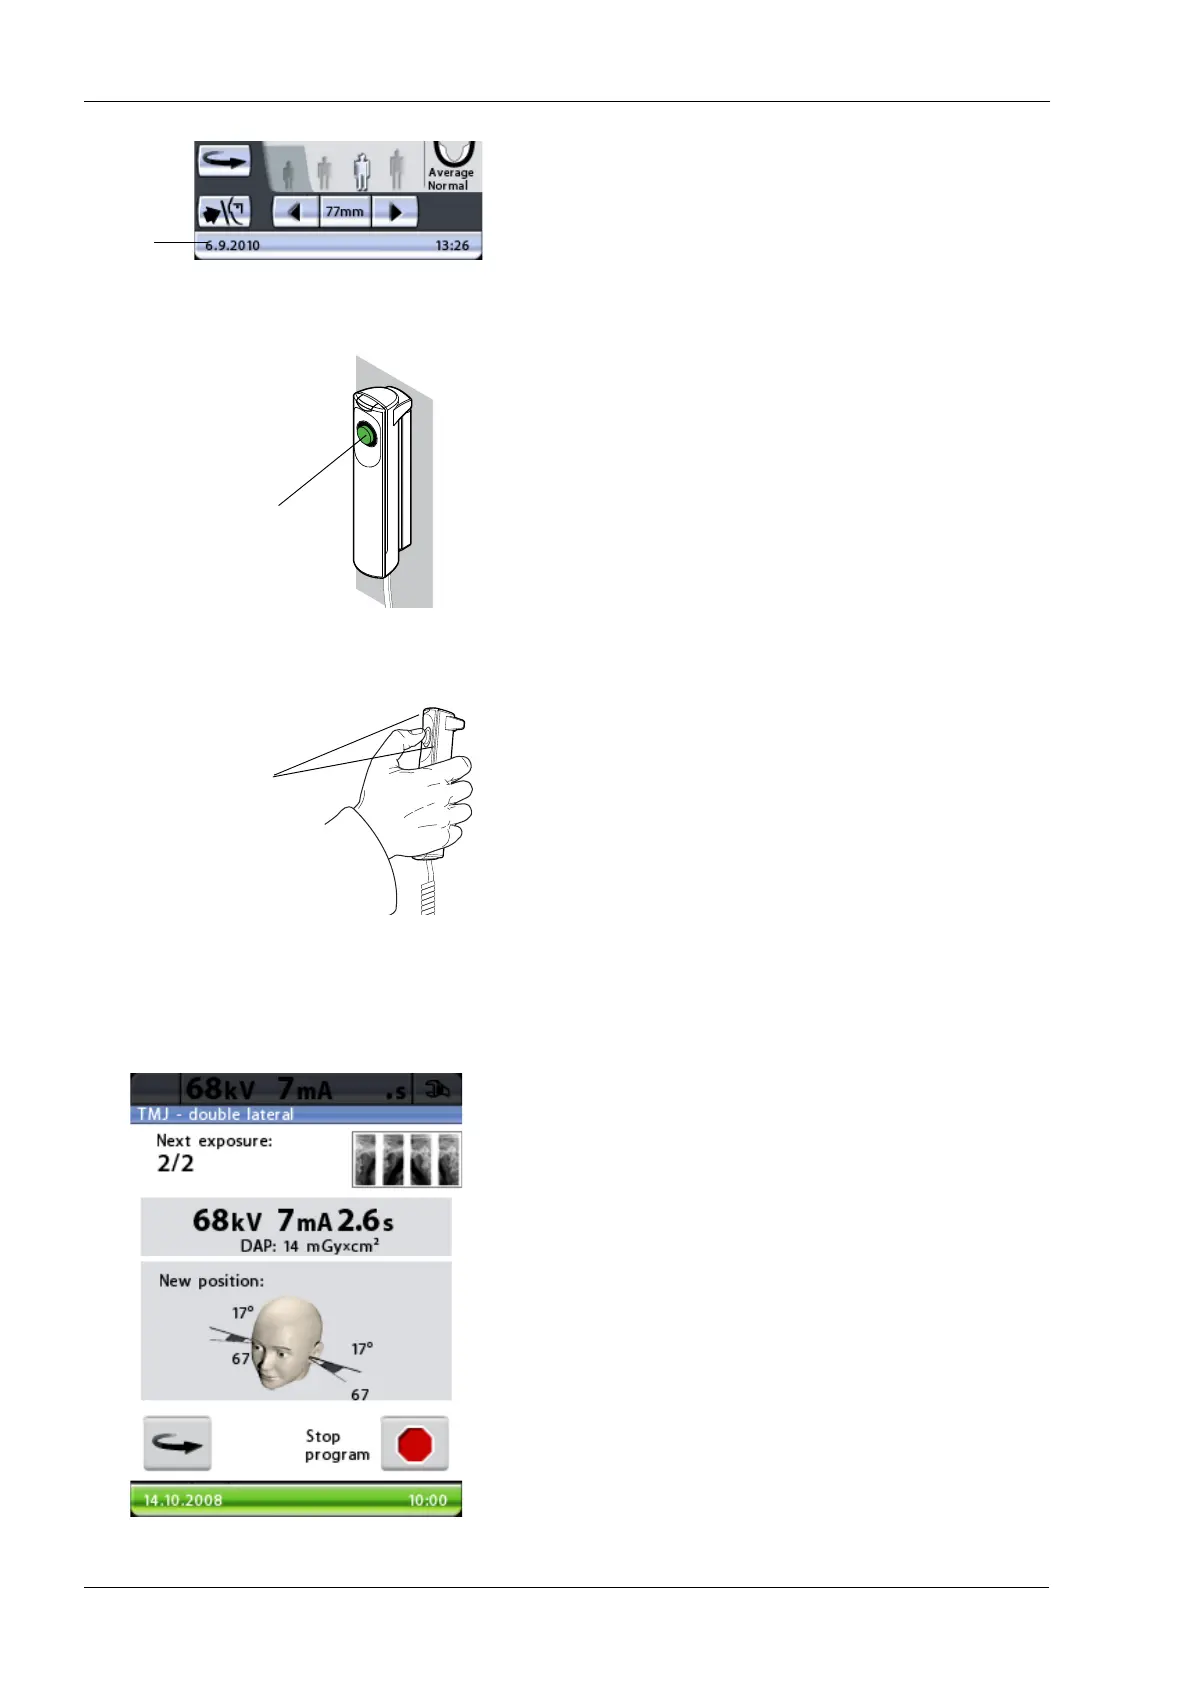
The status bar at the bottom of the display will turn green
when the unit is ready to take an exposure.
On the exposure button a green indicator light will come
on. The Romexis program will show the
Waiting for
Exposure
message on the computer screen.
Ask the patient to stand as still as possible.
Move to a protected area.
Press and hold down the exposure button for the duration
of the exposure. The C-arm will move through one
complete exposure cycle and then automatically return to
the ready position. The temple supports will remain closed
and hold the patient in position for the second exposure.
During the exposure cycle the radiation warning light on
the exposure switch and on the display will come on and
you will hear a radiation warning tone.
Maintain audio and visual contact with the patient and unit
during exposure. If the C-arm stops moving during
exposure, or moves in an erratic way, release the
exposure button immediately.
Between exposures a display is shown where you can
change the exposure values (kV and mA) and view the
imaging position for the second exposure.
To change the exposure values, touch the exposure value
field in the middle of the display and select new values on
the display that appears.
The X-ray image in the top right corner of the display
shows in which order the images will appear on the
radiograph. The active exposure is shown in full colour.
The number in the top left corner (2/2) indicates the
number of the active exposure.
You can move the C-arm to the starting position, if it is not
already there, by touching the C-arm return button in the
bottom left corner.
If necessary, you can stop the exposure procedure by
touching the stop button in the bottom right corner.
Green = Ready for exposure
Grey = Not ready for exposure
Status
bar
Green ready
indicator light
Amber exposure
indicator light