FINAL DRIVE
7.11
2. Removecotter pin and castle nut from A-armball
joint.
3. Disconnect A-arm from ball joint using a tie rod
fork.
4. Slidestrut off end of driveshaft and tie it up out of
the way of the shaft.
NOTE: Be carefulnot to damagethewheel coilwires
whenpositioning thestrut. Front DriveShaft CVJoint
Boot Replacement Cont.
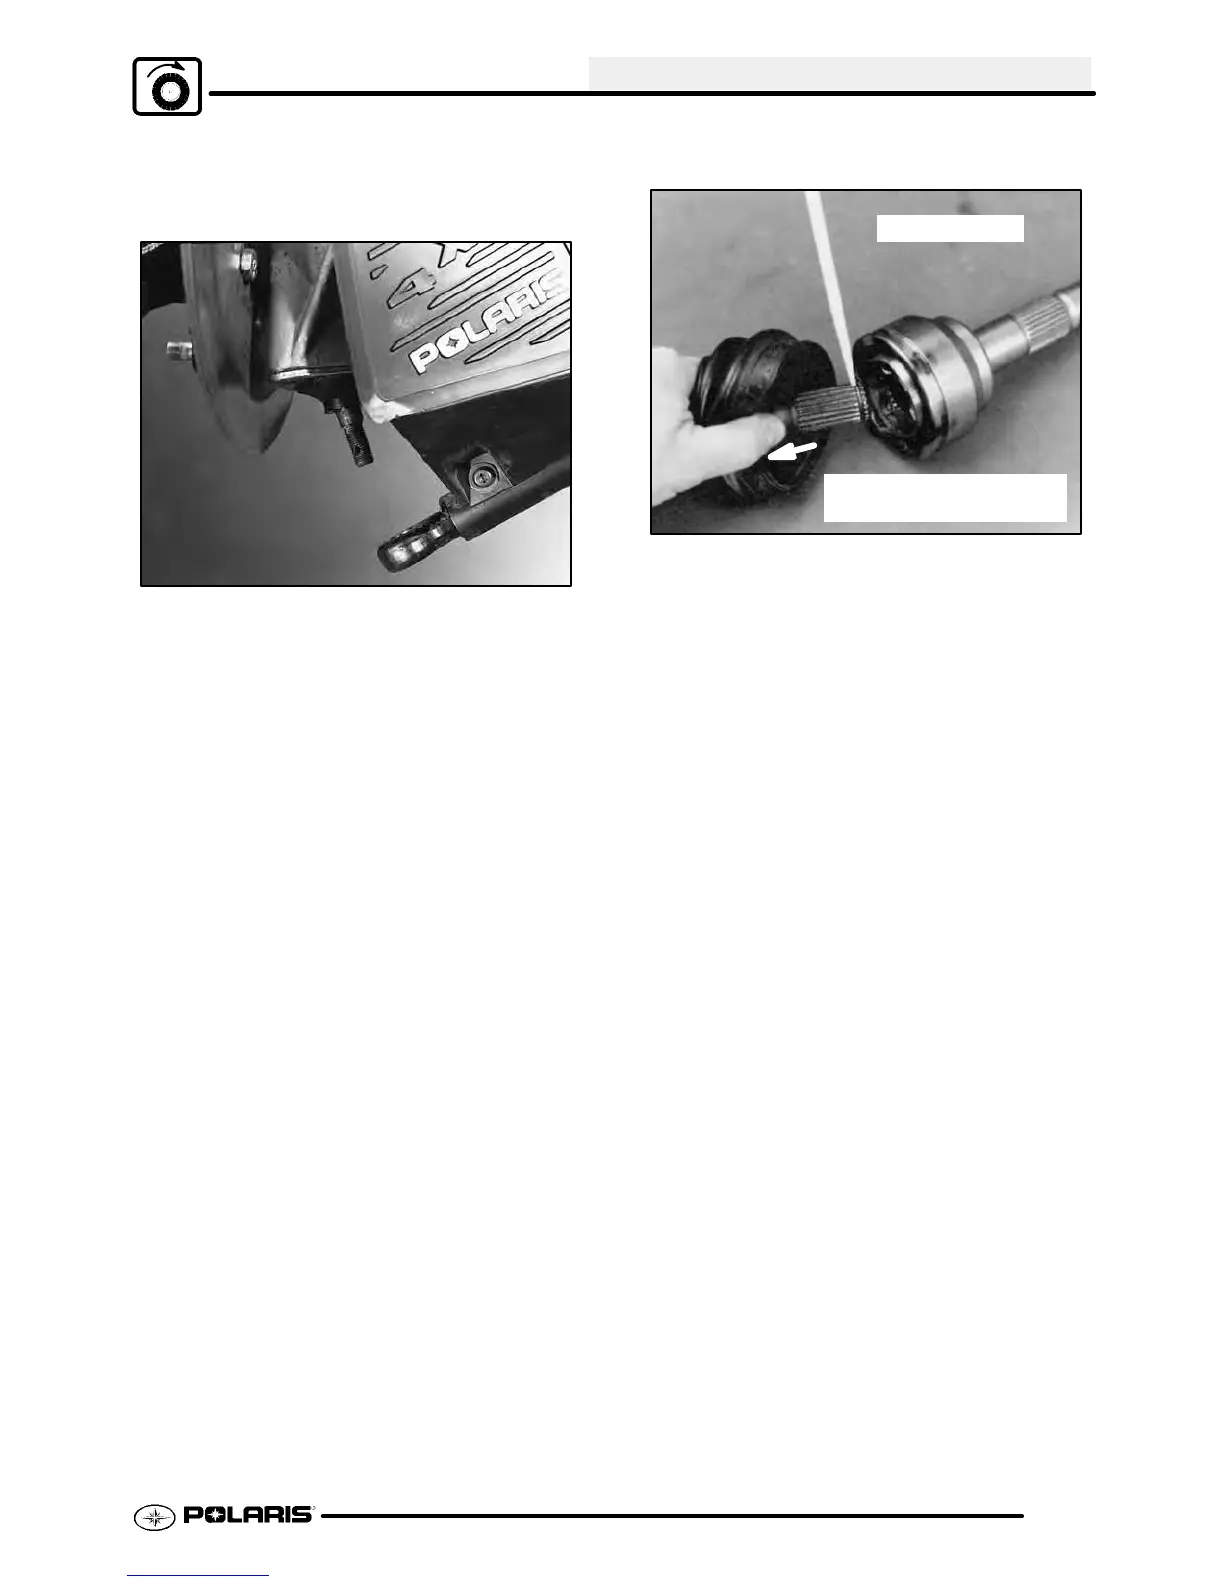
5. Remove clamps from rubber boot using the
proper boot clamp pliers.
Retaining ring
Pull shaft to remove from
CV joint
6. Remove the large end of the boot from the CV
joint, slide the boot back and separate the wheel
spindle and CV joint assembly fromtheaxleshaft
by pulling the shaft sharply outward, away from
the CV joint. It may be necessary to tap the CV
jointassemblyoutwardwith asoft facedhammer.
7. Remove small clamp and boot from driveshaft.
If the ATV has been operated with a damaged boot,
theCVjointgreasemaybecontaminated. Inspectthe
greasecarefully for contamination, andcleanthejoint
thoroughly if necessary. Front drive axle CV boot
replacement requires 30g of grease. If CV joint is
cleaned, an additional 30g of grease is required.
Refer to information below.
8. Before installing the new boot, remove all grease
from the boot area and shaft.
NOTE: Itis very importanttousethe correct typeand
quantity of grease by using the grease contained in

 Loading...