955725_4
65
Settings
Settings on the Setup Menu will allow the user to manage data, change display configurations as
well connect to a wifi network for cloud syncing.
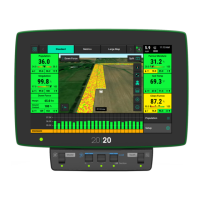
Overview
The Overview page shows the Software version,
Cloud connection and Wifi Network at a glance.
Clicking any of these will jump to the Software
Update, 20|20 Cloud, or Wi-Fi page, respectively.
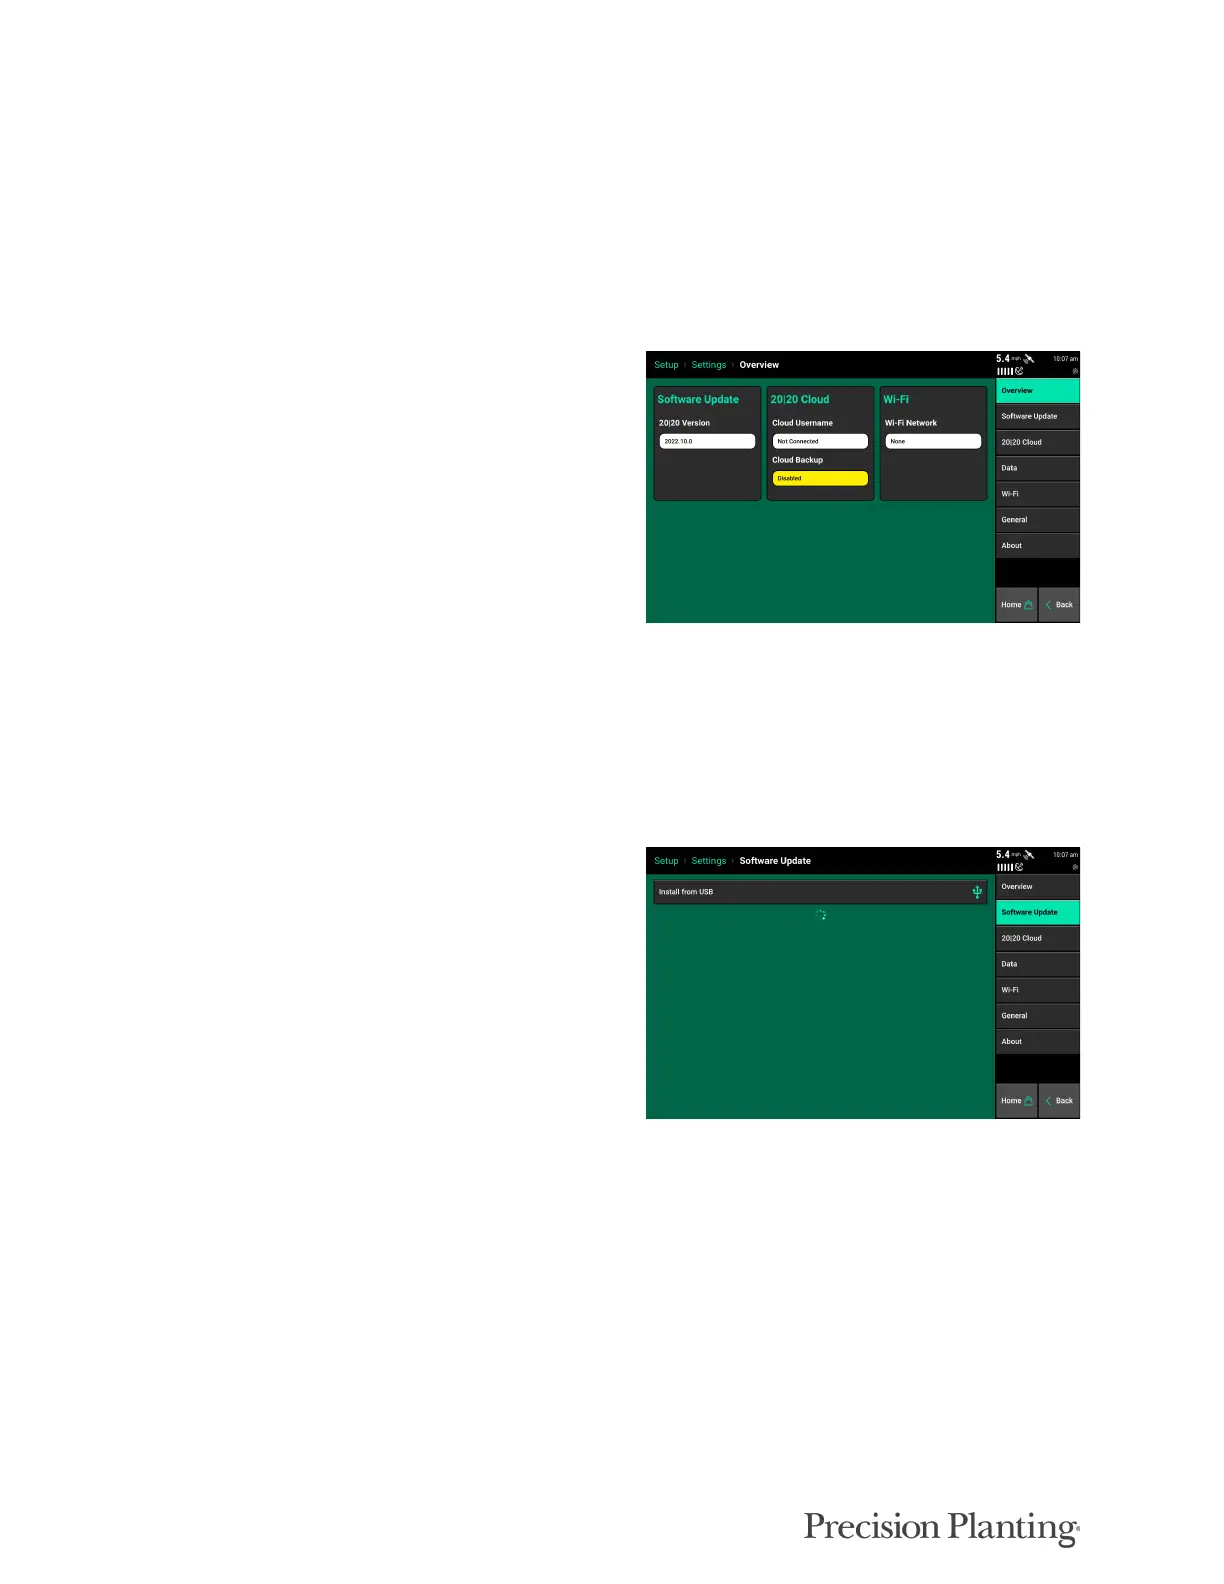
Software Update
Select the Software Update button on the navigation tab to change the software version on the
Display Base Module and Display.
Install from USB – Software can be downloaded
for free from the Precision Planting website and
saved to a USB drive. Ensure the software file is
on the root directory on the USB drive. Place the
USB drive in the side of the display and then
select “Install from USB”. All software versions
that are correctly saved to the USB drive will be
displayed. Select the software version to update
the monitor too and wait for the monitor to
reboot. This process will update both the Display
Base Module and Display. If two displays are
connected, an extra reboot may be necessary for
the second display to update (or go through the
update process a second time, with the USB stick
plugged into the second display.)
Install over WiFi – Software can be downloaded over WiFi once the system has been connected
to WiFi. There will be a list of software versions below ‘Install from USB’ that the system can be
upgraded/downgraded to.