Lock release lever (back le)
Determine which holes to use on rack
InStall tHe SlIdIng raIlS and Place devIce In rack
Follow these steps to install the sliding rails in the rack system, then place the Vess A3340 onto the rails and
secure the device to the rack.
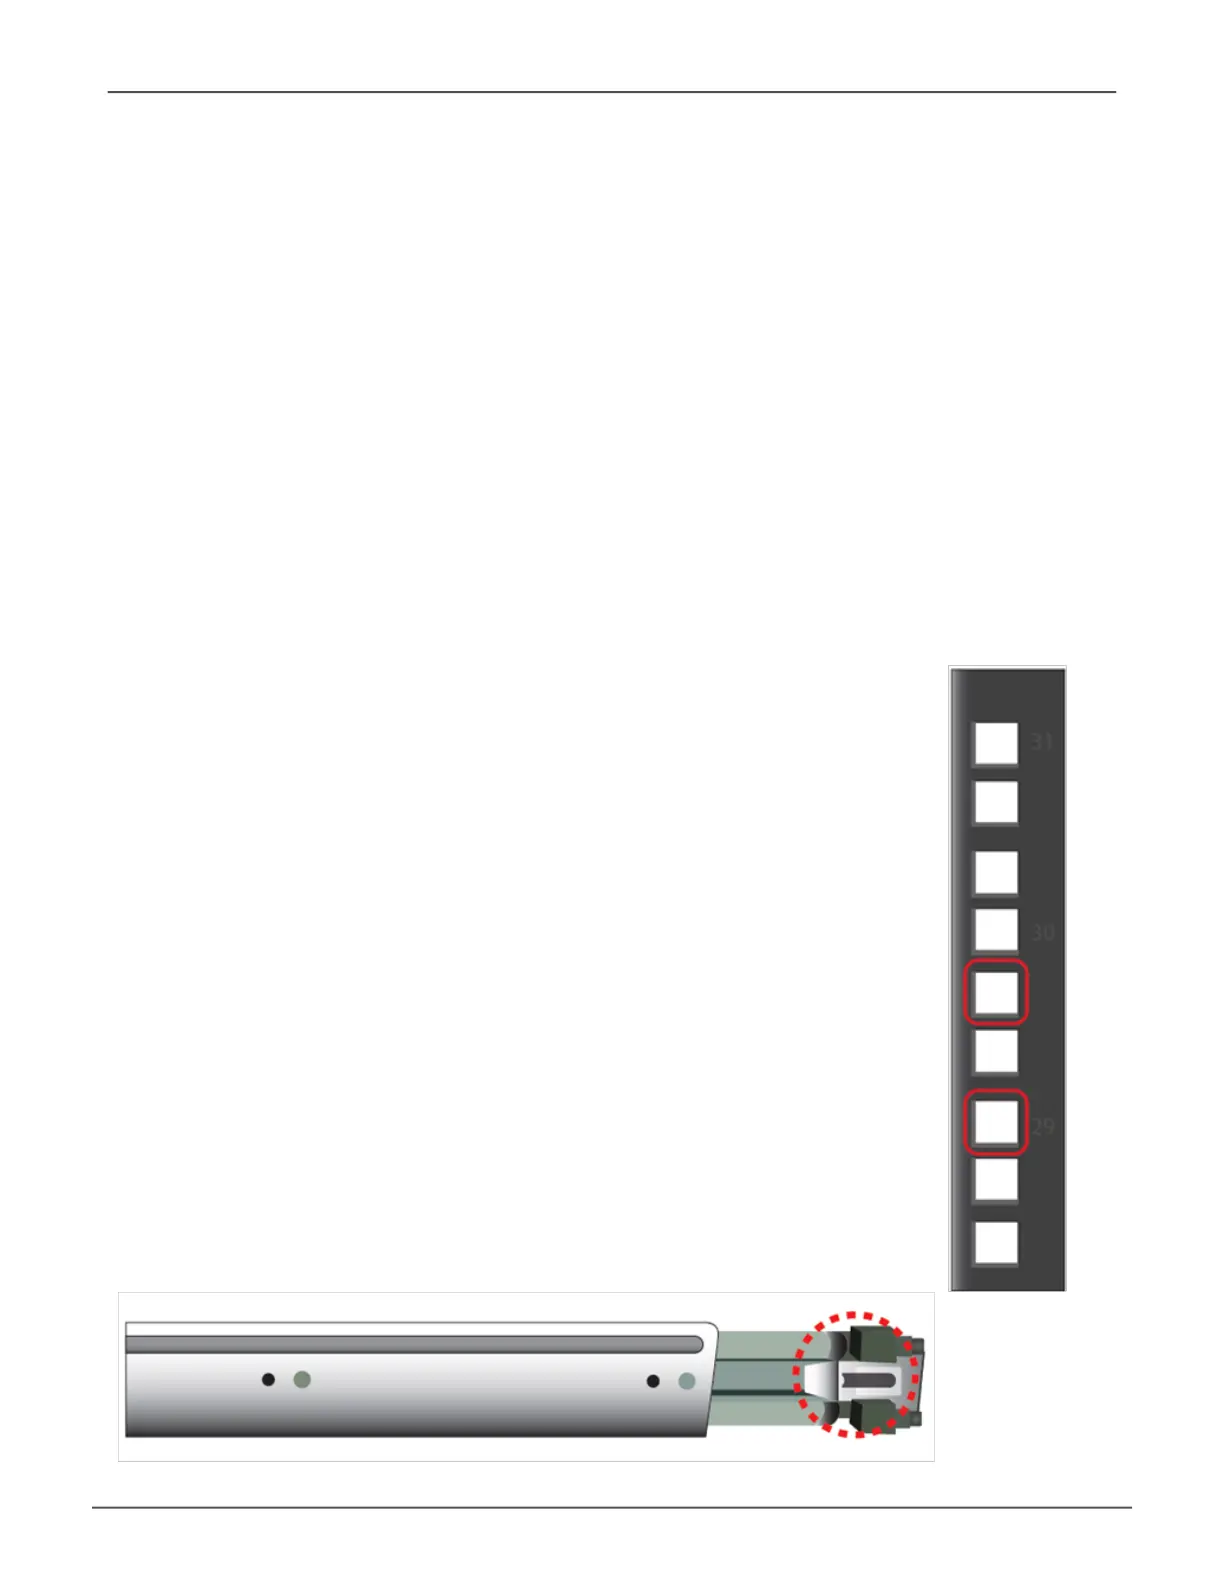
1. Determine what height to place the 2U enclosure in the rack, then place the right and left rack rails at the
same height on in the right and left rack position. Choose the mounting holes accordingly for your rack
system. Note that three holes are required on each front post, the uppermost of the three to be used
for the ange nuts to anchor the enclosure to the rack posts. Adjust the length of the mounting rails as
needed.
Notice that each end of the sliding rails have a lever to
operate the lock mechanism that grips the rack post.
13
Hardware SetupVess A3340 Product Manual
 Loading...