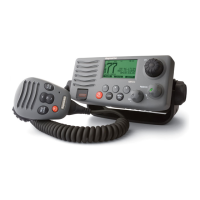
1.Checktheselectedlocationfortheunit.Aclear ,flatareawithsuitableclearancebehindthe
panelisrequired.
2.Fixthesuppliedmountingtemplatetotheselectedlocation,usingmaskingorself-adhesivetape.
3.Usingasuitableholesaw(thesizeisindicatedonthetemplate),makeaholeineachcorner
ofthecut-outarea.
4.Usingasuitablesaw,cutalongtheinsideedgeofthecut-outline.
5.Ensurethattheunitfitsintotheremovedareaandthenfilearoundtheroughedgeuntilsmooth.
6.Drill4holesasindicatedonthetemplatetoacceptthefixings.
7.Removethebackingsfromthesuppliedgasket.
8.Placethegasketinpositiononthebackoftheunitandpressfirmlyontotheflange.
9.Connectthepower,andothercablestotheunit.
10.Slidetheunitintoplaceandsecureusingthefixingsprovided.
11.Attachthefrontbezel.
Note:
Thesuppliedgask etprovidesasealbetweentheunitandasuitablyflatandstiffmountingsurface
orbinnacle.Thegasketshouldalwaysbeused.Itmayalsobenecessarytouseamarine-grade
sealantifthemountingsurfaceorbinnacleisnotentirelyflatandstifforhasaroughsurfacefinish.
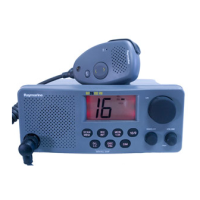
A ttachingthefrontbezel
AfterinstallationoftheRadiothefrontbezelcanbeattachedfollowingthestepsbelow.
Thefollowingprocedureassumesthattheunithasalreadybeenmountedinposition.
62
 Loading...