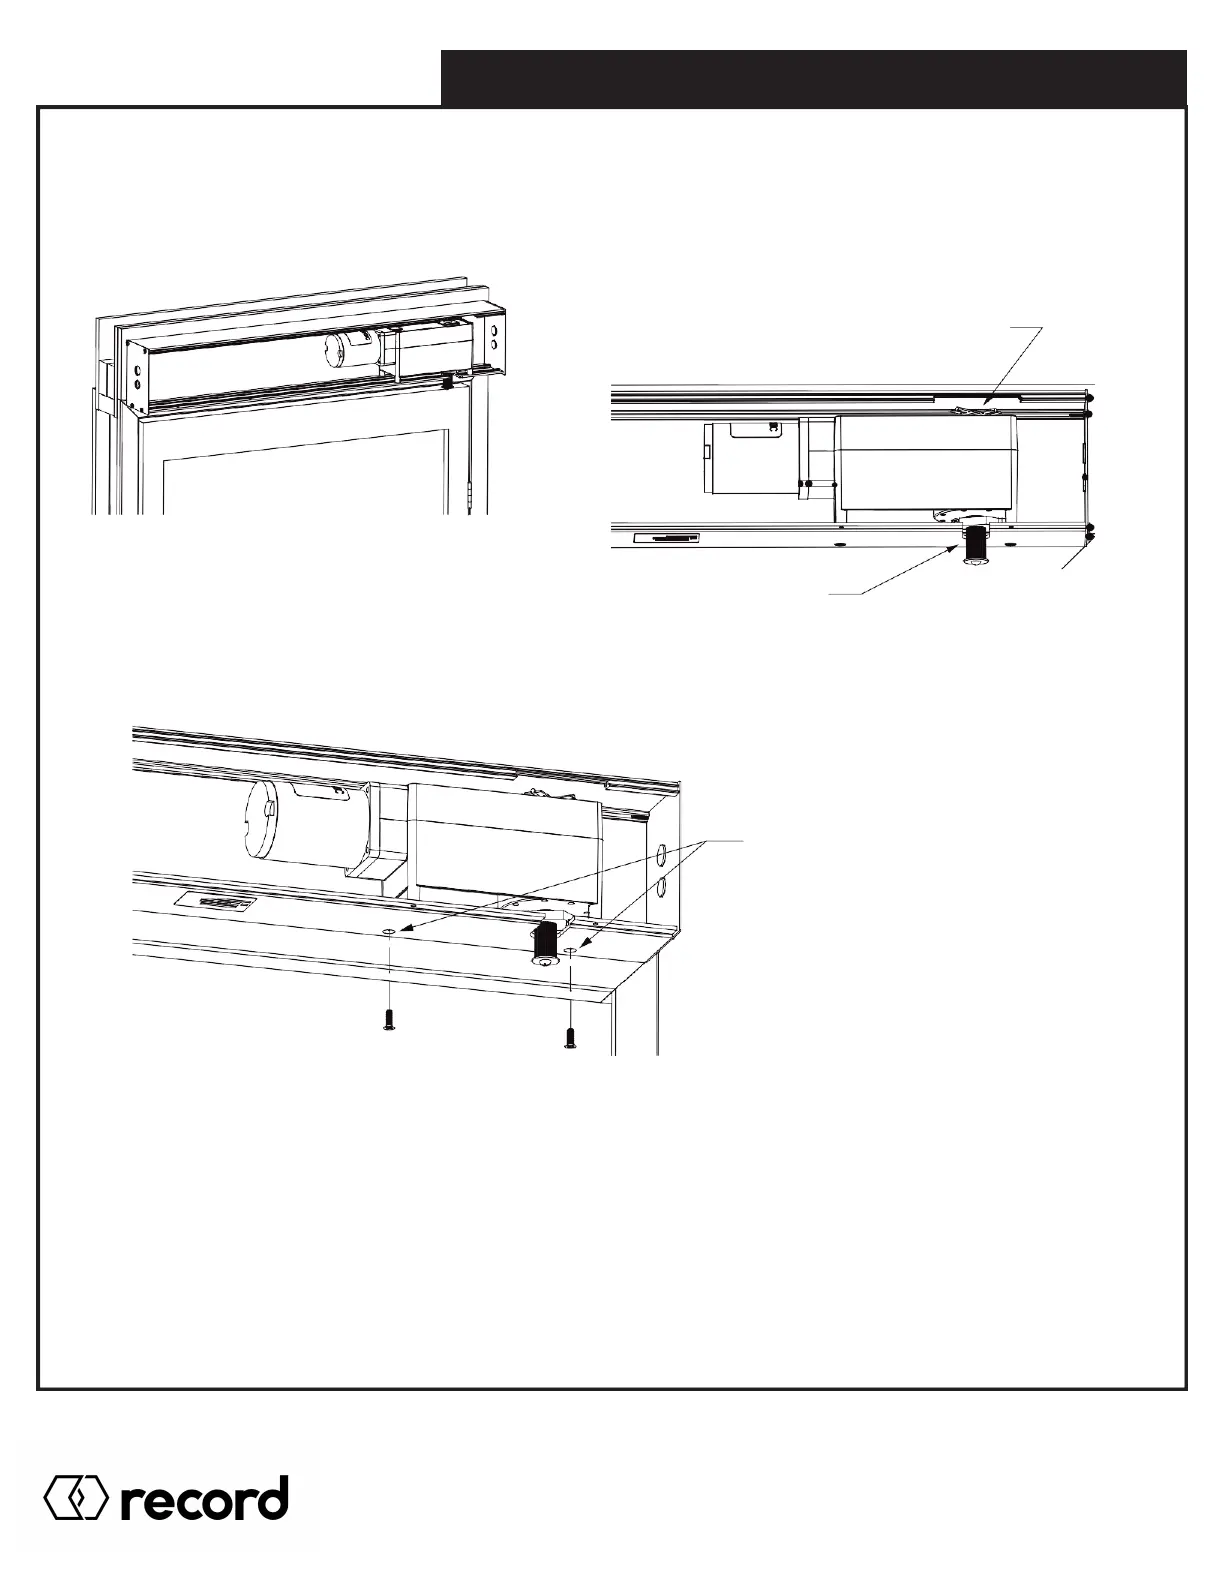
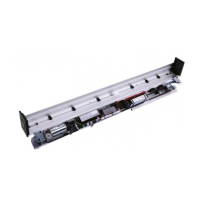
2.4 Gearbox Installation
STEP 1
Place the gearbox into the header, according to the handlings shown in Section 1.4. The output shaft of the gearbox
(spindle) must fit in the corresponding slot at the bottom of the header.
HEADER BODY IS NOTCHED
OUT TO PROTECT REED
SWITCH AND LIMIT SWITCHES
DURING INSERTION
STEP 2
ALIGN SPINDLE TO HOLE
While holding the operator, line up the (2) two furthest feet of the bottom housing of the cast gearbox, with the corresponding
holes in the header. These holes will secure the gearbox onto the header.
LINE UP GEARBOX FEET HOLES TO
HEADER HOLES AND SCREW IN (2)
1/4"-20 x 3/4" FLAT QUAD
MACHINE SCREWS (ZINC PLATED),
PROVIDED IN OPERATOR
SCREW PACK
STEP 3
Screw one (1) Flat Quad Zinc Plated machine screw #1/4-20x3/4” into each indicated holes from above, to secure the
gearbox onto the header.
2.0 OPERATOR INSTALLATION
Pg. 19
HA8-SP Manual V. 7.0
Record Canada Inc.
Toll Free: 1-877-348-6837
info.ditec.ca@recorddoors.com
www.recorddoors.ca
Record USA Inc.
Toll Free: 1-866-901-4284
info.ditec.us@recorddoors.com
www.recorddoors.com