41
TRANSFER PHOTOS: TAC REMOVEABLE
USB-C DEVICE
If the photo functions in the GENERAL SETTINGS files
were enabled before flight, photos can now be
transferred from the TAC to a USB-C removeable
storage device.
NOTE: Videos currently can only
be saved and transferred via SD
card.
Insert a USB-C removeable storage device into the port
located at the top of the TAC.
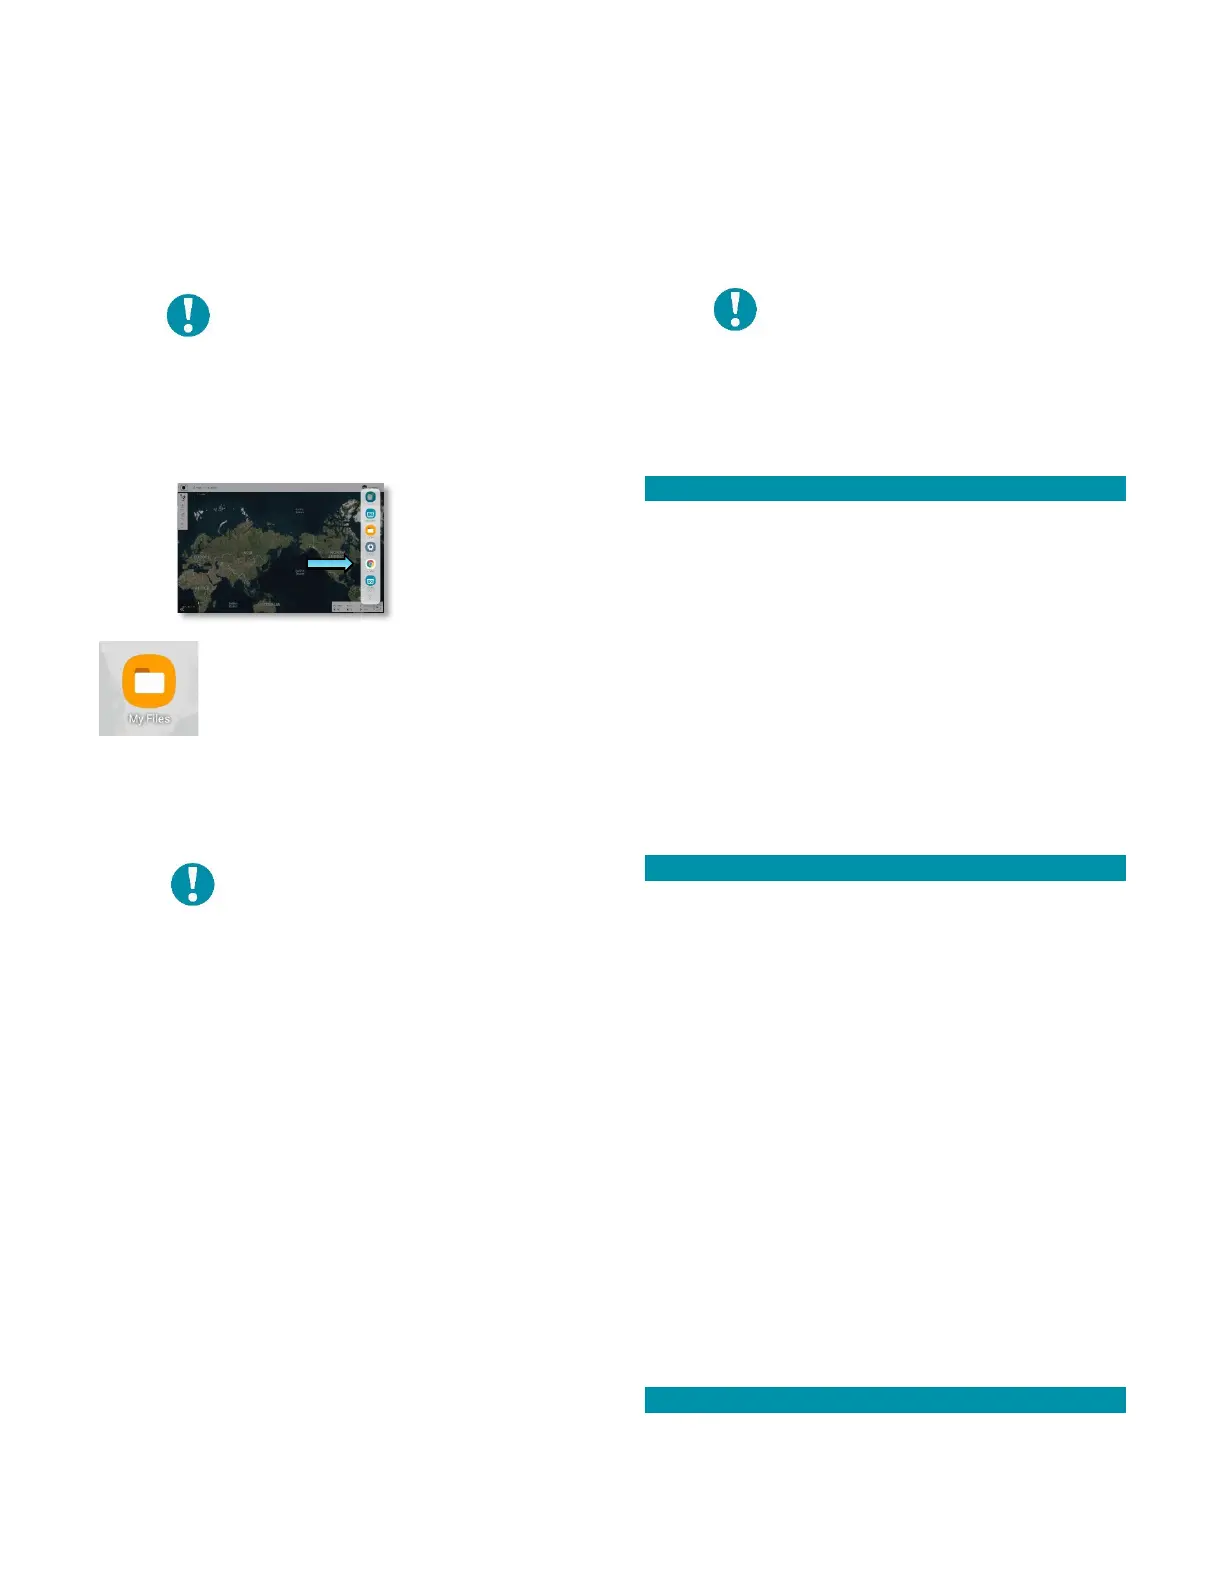
Access the vertical side-bar menu.
Touch the MY FILES icon. Follow the path
to the logs:
INTERNAL STORAGE > TEAL QGC > PHOTO
Press and hold the file(s) you want to transfer until a
checkmark next to the file(s) appears.
• You will be able to MOVE, SHARE, or COPY the
files.
NOTE: Selecting SHARE will
transfer the files to another
TAC.
Select MOVE.
Select USB STORAGE (this may show whatever name is
given to the storage device).
• You may need to scroll down or collapse the
file path to see this option.
Select MOVE HERE at the bottom right corner of the
TAC screen.
• A file with date, time, and orange “N” symbol
will appear when the transfer is completed.
Remove the USB-C storage device when finished.
TRANSFER PHOTOS: TAC PC
If the photo functions in the GENERAL SETTINGS files
were enabled before flight, photos can now be
transferred from the TAC to a PC via USB-C cable.
Transferring data this way requires switching the TAC
out of and back into KIOSK MODE.
NOTE: Videos currently can only
be saved and transferred via SD
card.
SYSTEM REQUIREMENTS:
• Windows 10 or Ubuntu Linux; Mac is NOT
supported.
EXIT KIOSK MODE on the TAC
Press and hold the tablet power button (not the TAC
battery pack) for 1-2 seconds until 3 system icons
appear: POWER OFF, RESTART, and EXIT TEAL SECURE.
Select EXIT TEAL SECURE.
Enter the password teamteal (all lowercase, no spaces,
no special characters) in the dialog box at the bottom
of the screen.
• Although there will be no indication of this
operation being successful, the TAC is now no
longer in kiosk mode and you will be allowed
to complete the transfer.
TRANSFER MEDIA from the TAC to a PC
Plug in a USB-C cable into your computer.
Plug the other end of the USB-C cable into the port
located at the top of the TAC.
• A prompt will appear at the bottom of the
screen.
• Select ALLOW.
On your computer, open a file browser such as
EXPLORER.
Find and follow the file path to the media:
SAMSUNG ANDROID > TABLET > TEALQGC > PHOTO
• The photos will have a .jpg file extension and
will be labeled IMG.
• Each photo file will be labeled with either EO
or IR.
Move or copy the media files from the directory above
to the desired location on the PC.
ENTER KIOSK MODE on the TAC