21
MISSION PLANNING
This screen is used to plan autonomous missions and
save or upload them to the drone during mission
planning or while in the field. Here you can set takeoff
and return to launch commands, waypoints, rally
points, geofences, and survey patterns.
WAYPOINT: Program a location in 3D space to which a
vehicle is programmed to fly during a mission. When a
mission is defined in the PLAN SCREEN, these
waypoints can be individually defined and edited, and
parameters associated with them can be viewed.
RALLY POINT: Pre-program a secondary landing
position, or a loiter/holding position. This can be added
as a part of a survey mission or used when manually
flying.
NOTE: When programming a rally
point, be aware that the drone will
either fly to
point, whichever is closer to the drone
when the RTL is initiated.
GEOFENCE: Create an optional inclusive or exclusive
perimeter that can be embedded within a mission that
will automatically cause the drone to RTL if breached.
NOTE: Additional Geofences can be
separately configured as safety
parameters and are created in the
SAFETY SETTINGS under VEHICLE
SETUP.
Once a mission is planned and uploaded to the drone,
use the FLY SCREEN and Mission Flight Mode to fly the
mission.
Follow along with our instructional video, Planning a
Time-Based Mission: Teal Teal 2 Drone on our website
at: https://tealdrones.com/support/video/
PROGRAMMING A SURVEY MISSION
Touch the Teal logo menu icon in the
Main Toolbar.
Select PLAN.
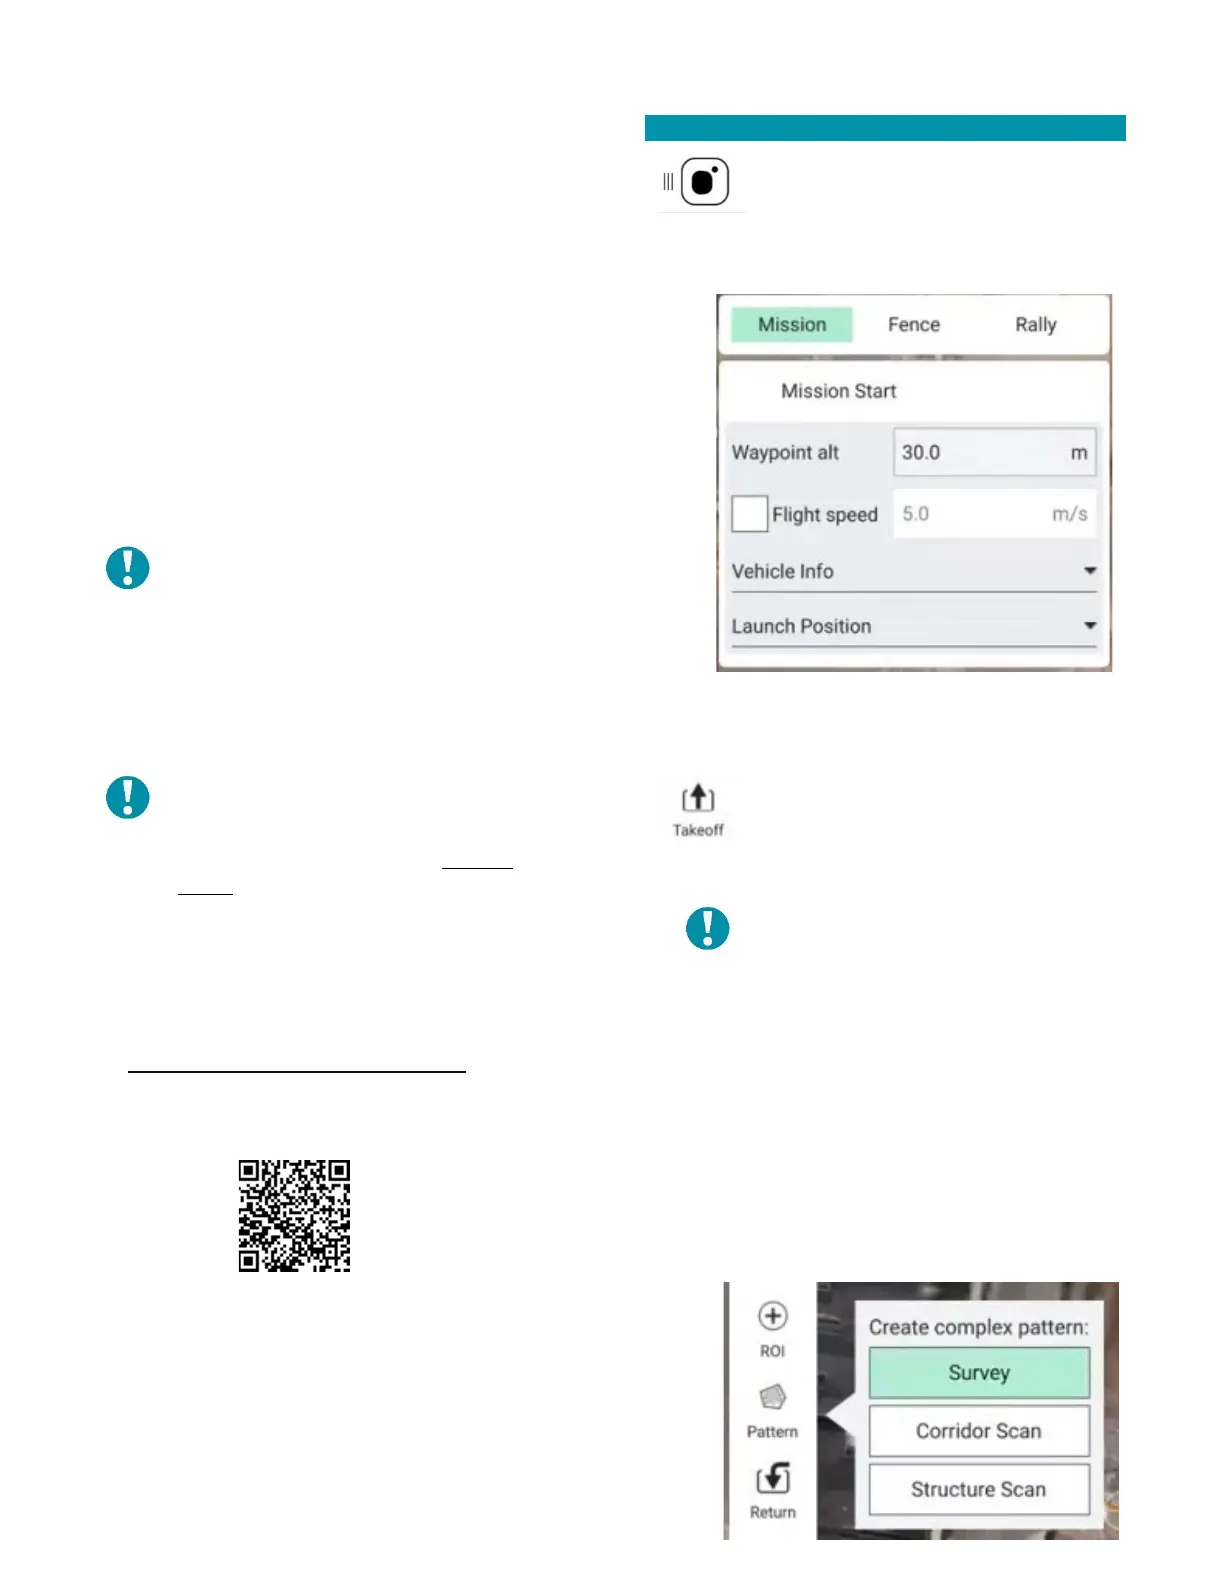
A MISSION PLAN window will appear.
• Set the map to the desired mission area.
• Configure the altitude and flight speed. 30 m
AGL and 3 m/s is a good baseline.
Select TAKEOFF in the menu to the left.
• Add the take off point by
touching the estimated location on the
map.
NOTE: Once GPS is acquired in the
field, the takeoff point will shift to
where the drone is physically located.
This can be mitigated by either having
a set takeoff point, or by adjusting the
takeoff point before flight.
Select WAYPOINT.
• Add a waypoint by touching the desired
location on the map.
• Configure the gimbal position.
Select PATTERN then SURVEY to create a survey area
and pattern.