71
FIELD MAINTENANCE &
SCHEDULE
FIELD REPLACEABLE PARTS
Field replaceable parts are easily replaced in the field.
Use the tools provided in the Field Spares Kit to replace
and repair parts.
This manual does not cover repairs, upgrades, or
software updates that cannot be performed in the
field. Attempting repairs, upgrades, or software
updates not covered in this manual may void
conditions and terms of the warranty.
MAINTENANCE SCHEDULE
AFTER 10 FLIGHT HOURS OR AS NEEDED
1. Clear and format the SD Card media.
2. Clean all sensors and the vehicle with a damp
cloth and a can of air.
3. Fully discharge all batteries and charge back to
full capacity.
4. Verify the gimbal and camera connectors are
securely seated.
5. Update the Teal 2 and the TAC software.
6. Delete and re-download offline maps to get
latest versions.
7. Clear flight logs from the Teal 2.
AFTER 150 FLIGHTS OR AS NEEDED
1. Replace propellers every 30 hours of flight.
2. Replace arm.
3. Retire battery pack after 150
charge/discharge cycles.
ROTOR ARM REPLACEMENT
Replace the entire arm when the rotor arms are
damaged or worn. The spare arms are prewired with
the motor installed and only need to be locked into
place and secured with a single Torx T8 screw per arm.
The Torx T8 screwdriver is included in the Field Repair
Kit. Use the included Torx T8 screwdriver to replace the
arms.
Arms are keyed as clockwise (CW) and counter
clockwise (CCW) on the airframe. The CW and CCW
arms are not interchangeable.
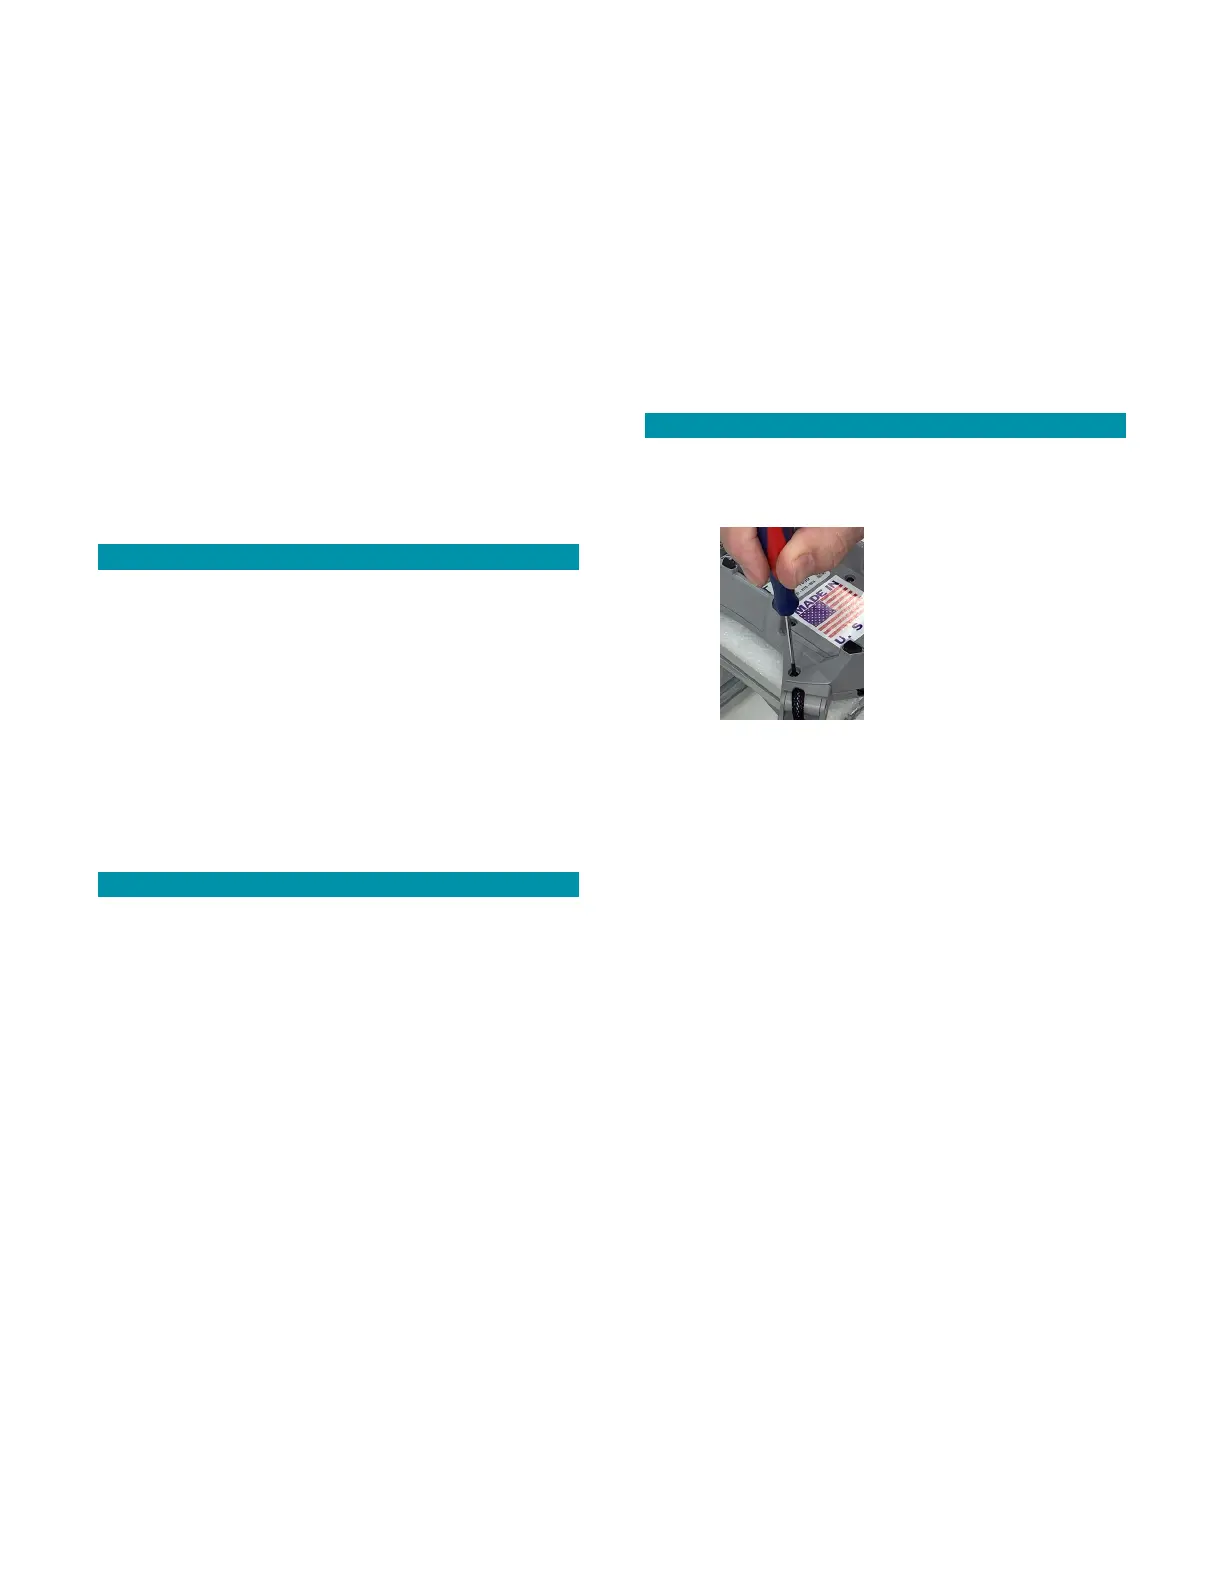
ARM REPLACEMENT INSTRUCTIONS
1. Place the drone on its back on a table or
workspace. Hang the antenna off the edge of
the table to prevent damage.
2. Remove the single T8 Torx screw on the motor
arm with the T8 Torx screwdriver.
3. Set the screw aside for re-use.
4. Pull the arm straight out of the socket.
5. Insert the new arm into the airframe. Push
firmly until the screw holes on the arm and
frame align.
6. Use the Torx T8 screwdriver to tighten the
screw and secure the arm into place.
1. Test the motor to ensure it functions properly
for the next flight.