56
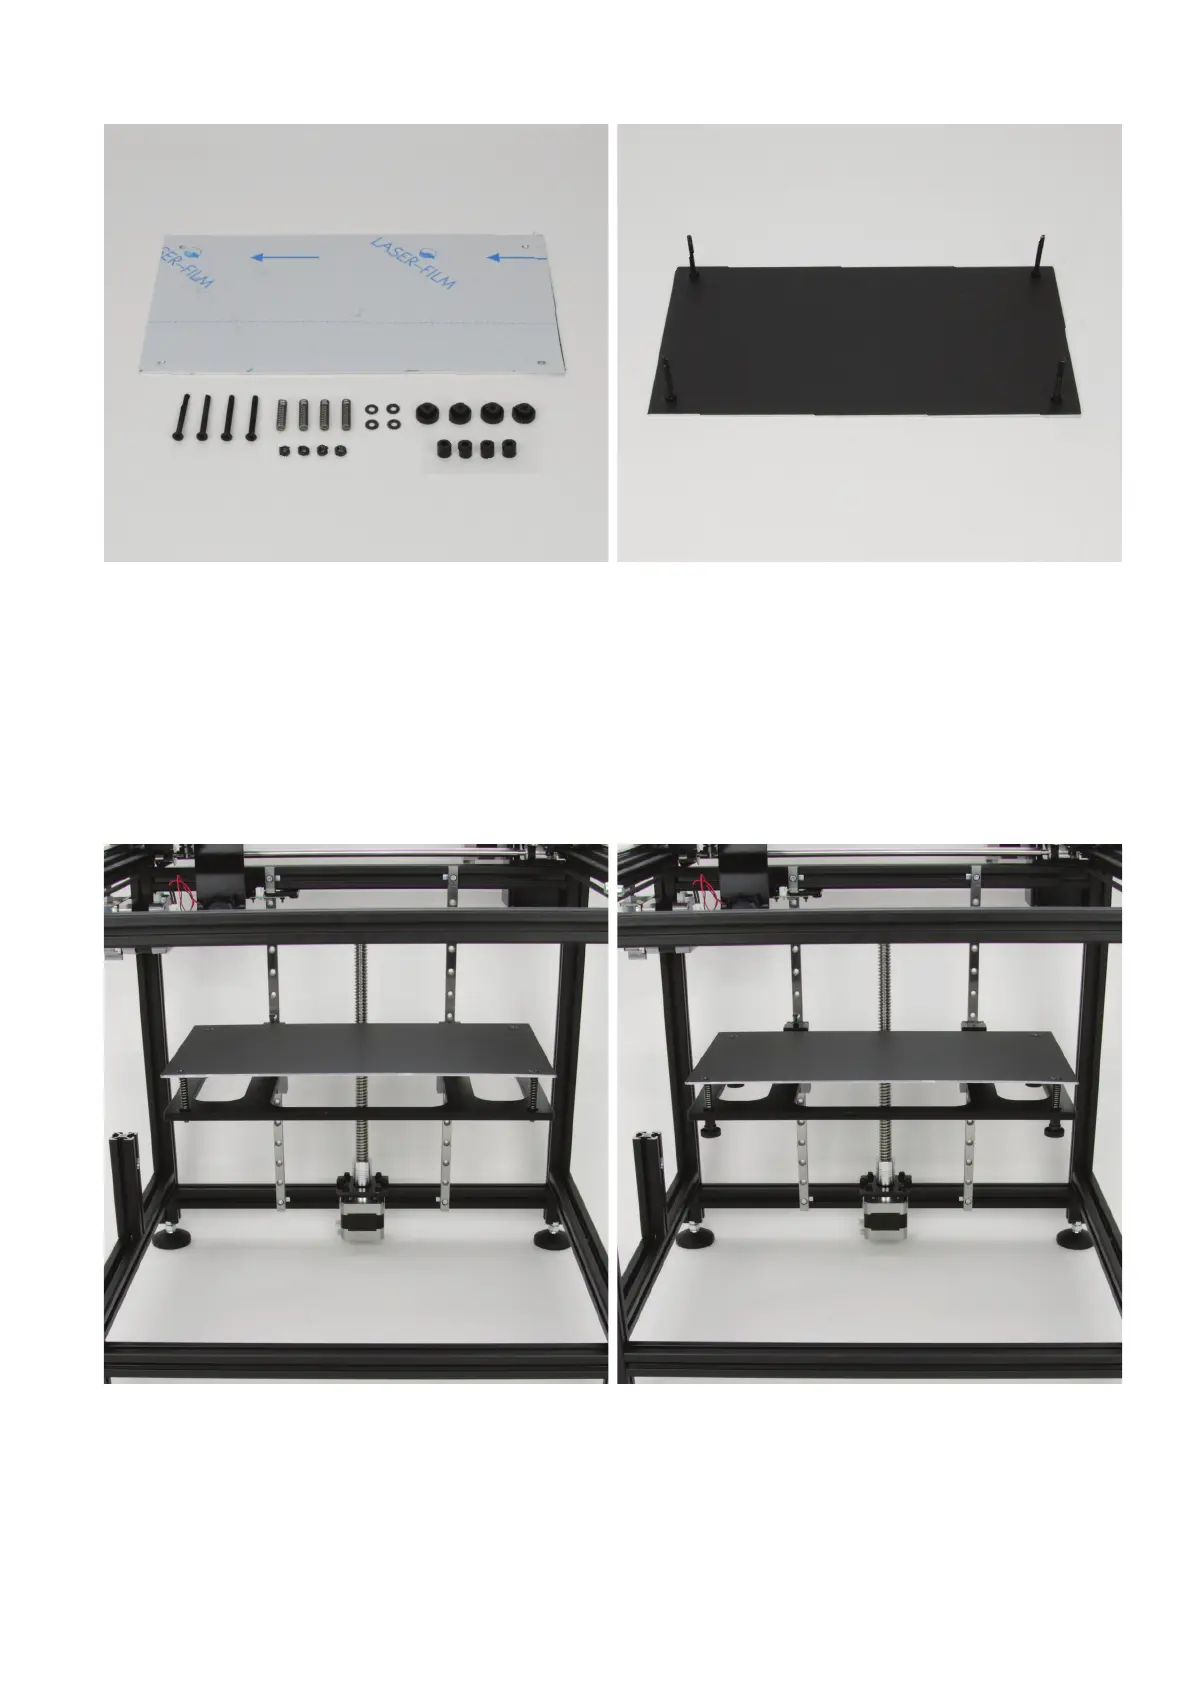
Installationoftheprintingplate
1x printing plate
4x countersunk head screw M4x40 black
4xpressurespringforprintingtable(length24mm)
4x nut M4 black
4xwasher(diameterinside/outside4.3/12mm)black
4xknurlednut,black(plastic)
4xspacer7mm(diameterinside4.2mm)
Removethelmfromtheprintingplaterst.
Attach the 4 recessed-head screws to the printing plate with the 4
washer and the 4 nuts. The screws must be pushed in from the side
with the countersunk bores.
Tighten the nuts.
Insert one screw at a time and guide them through the bores in the
undertable.
The sequence is as follows:
Printingplatewiththeattachedscrew-pressurespring-undert-
able - spacer - knurled nut
Push the plate from above, push one spacer each onto the respective
screw from below and secure them with a knurled nut.
When all 4 screws have been threaded in and secured, tighten the 4
knurled nuts evenly.