101
b)InsertingtheFilamentviathePrinterMenu
Beforeinserting,removingorchangingthelament,thecorrespondingextrudermustbeheatedupsothatthelamentcanbeinsertedintoor
removed from the extruder cleanly.
Donottouchthehotextrudernozzlewheninserting,removingorchangingthelament!Dangerofburns!
Alwayswaitfortheextrudertemperaturetobereachedatlamentchangeandlettheextruderheatforapprox.another
minute,sincetheextrudermaybedamagedotherwise.
Whenheating,theremaybeslightdevelopmentofsmokeorsteam.Thisisnormal.Pleaseensurethecorrespondingven-
tilation.
Moveallaxesintothehomeposition
First, move all axes into the home positions via the function "Autohome". Use the description from chapter 15 as reference. Calibration".
Move all axes into a certain position
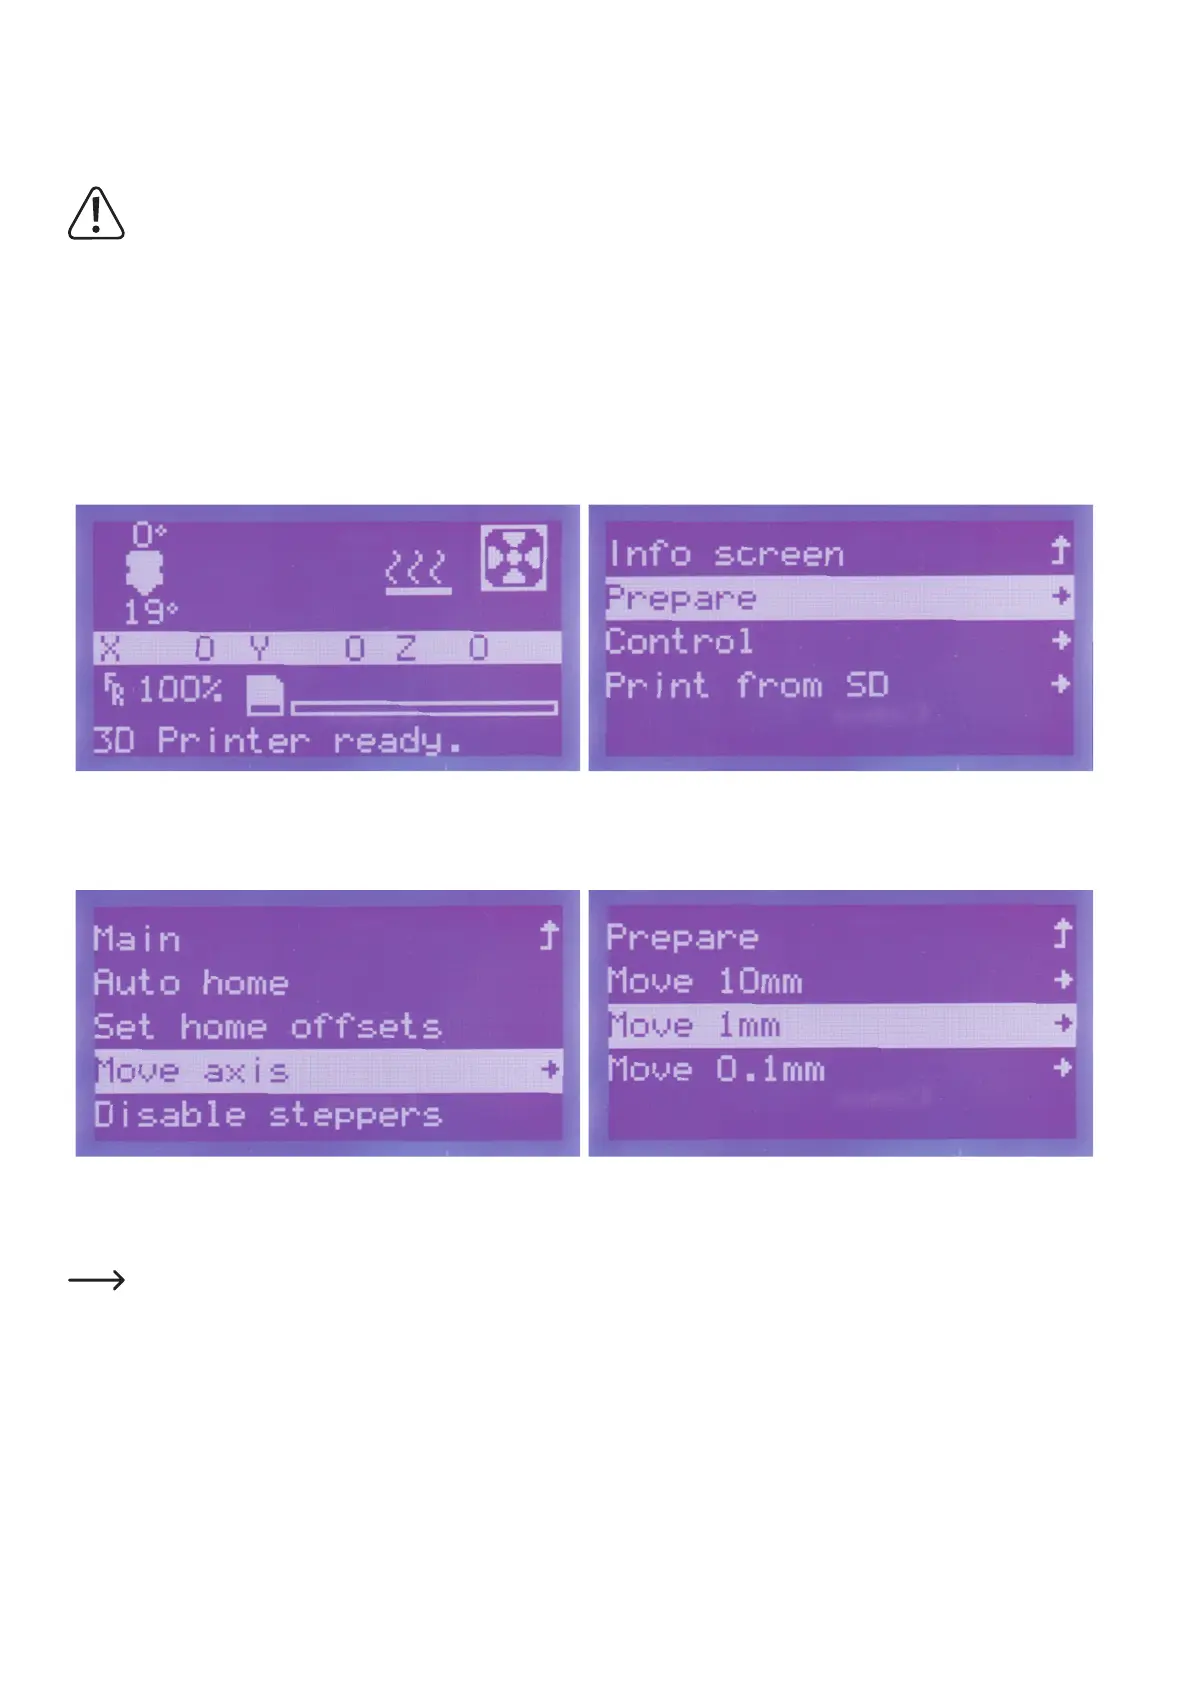
Pushbuttonfortheoperatingknob(10)inthemainmenu. Turntheoperatingknob(10)untilyouhaveselectedthemenuitem
"Prepare"andpushthebuttonoftheoperatingknob(10).
Turntheoperatingknob(10)untilyouhaveselectedthemenuitem
"Move axis"andpushthebuttonoftheoperatingknob(10).
Turntheoperatingknob(10)untilyouhaveselectedthemenuitem
"Move 1 mm"andpushthebuttonoftheoperatingknob(10).
Thefollowingpositionvaluesonthenextpagedonotneedtobeobservedprecisely.Theyonlyservetoletthelamentleavethe
extruder cleanly and hit the printing plate.