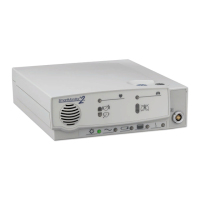
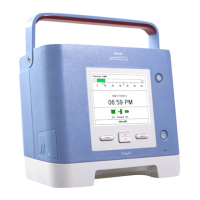
Portable Operation of the SmartMonitor 2
51
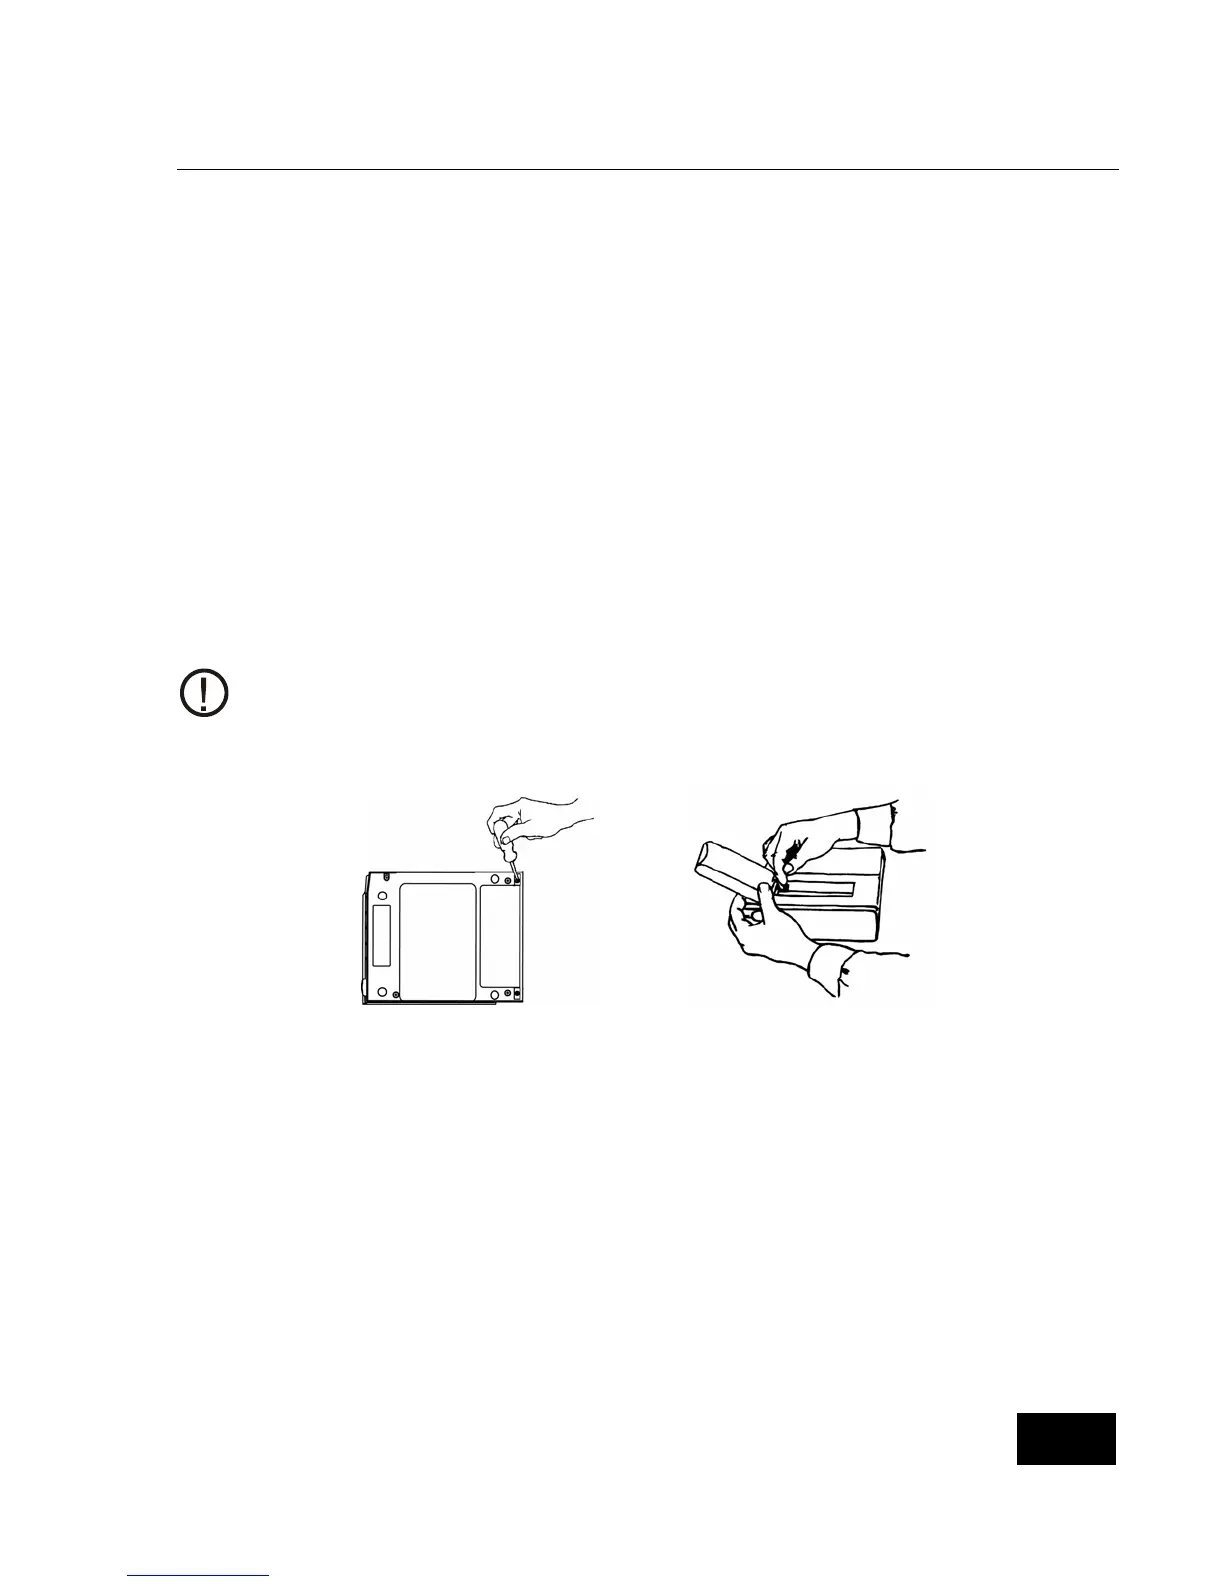
Battery Installation Instructions
1. Turn the monitors’ power off using the correct Power-off procedure, and unplug the external power
supply from the SmartMonitor 2.
2. Loosen (counter clock-wise) both screws from the battery pack cover and remove the cover. See
figure 1.
3. The battery pack is held in place by Velcro strips. To remove the battery pack, pull firmly upward
when lifting battery pack out. Disconnect the battery pack by pressing the latch on the black
connector, which is located in the upper left corner. Safely dispose of all old battery packs in
accordance with your area’s environmental laws.
4. Insert the connector of the new battery pack into the plug located in the upper left corner. It can only
be inserted one way. See figure 2. Place the battery pack in the battery compartment. Secure the
battery pack in the proper position by aligning the Velcro on the battery pack to the Velcro in the
battery compartment.
5. Close the battery pack cover and fasten with the screws. See figure 1. Connect the external power
supply to the SmartMonitor 2 and insure that it is plugged into a functional AC wall outlet for a
minimum of 6 hours. There is no need to power on the SmartMonitor 2 to charge the battery pack.
The expected battery life is 2 years.
Figure 1 Figure 2