Caring for the SmartMonitor 2
60
2: Cleaning the unit
Warning: Never clean the monitor while the monitor is in use or the battery charger is plugged into an
electrical outlet. Never immerse the unit in water. Do not clean the monitor with rubbing alcohol.
After the above procedures have been completed, remove the battery and open the unit in an
ESD protected (grounded, static free) area. *
Using de-ionized compressed air/gas duster suitable for use on electronics, blow out all of the
remains of any insect contamination.
Close the unit and re-install the screws and battery pack.
Use a clean cloth with an unscented, alcohol-free dishwashing detergent or 3% Hydrogen
Peroxide solution to clean the outside of the monitor.
If necessary, return the unit to Respironics for repair.
• Units under warranty will not be charged for labor / re-certification, but will be charged for any
damaged or repaired components.
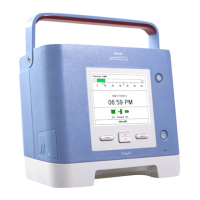
Performing a Functional Self-Test
The SmartMonitor 2 functional self-test checks that all the features of the unit are functioning properly.
You should perform a functional self-test at least once a week or according to the instructions given by
the health care professional. You should also perform the test:
After a lead wire is changed
After the patient cable is changed
To perform the functional self-test, follow the steps listed below.
Insert the patient cable into the socket
located on the front of the monitor.
Connect the lead wires to the patient
cable. Insert the white lead wire into
the opening labeled RA. Insert the
black lead wire into the opening
labeled LA.
!
L
A
R
A
4
0
0
5
R
L
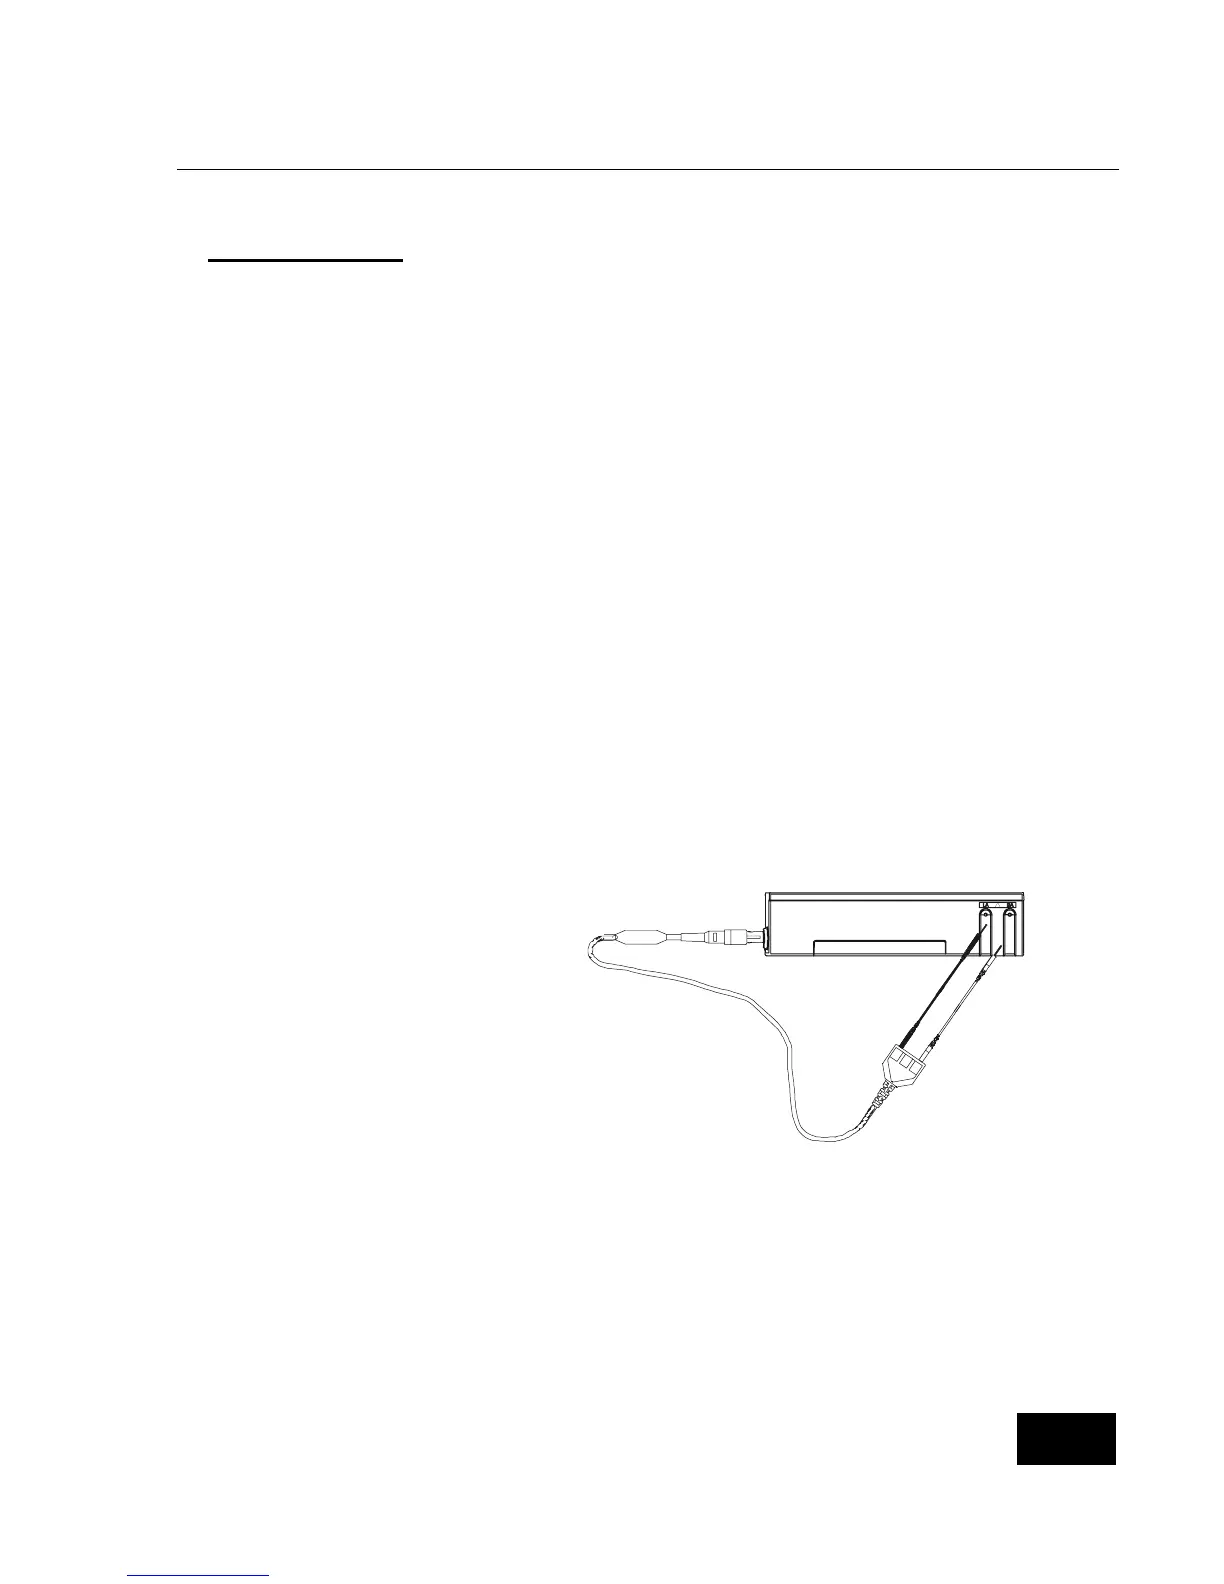
Connect the lead wires to the functional self-test socket on the side panel of the SmartMonitor 2.
Insert the white lead wire into the RA opening and then the black lead wire into the LA opening.
Turn on the monitor. You hear a short beep and the lights on the front come on briefly then go off.
After all the alarm lights go out, the green power and charger lights remain on and the green heart
and respiration lights are blinking.
The heart and respiration lights continue to blink for about 30 seconds.
When the green lights stop blinking, the red low heart light will come on within about 7 seconds and
the alarm beeps once every second.
Next, the red apnea light comes on (the amount of time before the red apnea light comes on is
determined by the Apnea Delay parameter selected at the time the monitor was set-up) and the low