Home Setup
33
Home Setup
This section is an overview of the steps you should follow to set up the SmartMonitor 2 in the patient's
home. Read the entire manual prior to relying upon this section (alone) to set up a SmartMonitor 2.
Ensure Memory has been cleared prior to delivery to new patient.
Review use of the SmartMonitor 2 and its accessories with the caregiver(s). Be sure to demonstrate
the Functional Self-Test. Encourage the use of this test at least weekly and whenever lead wires, or
patient cables are changed.
Stress the importance of electrode positioning, belt snugness, clean electrodes, and clean skin.
Leave your emergency phone number(s) and procedures with the caregiver(s).
Step 1: Set the SmartMonitor 2 on a Clean, Flat Surface.
Be sure the speaker is not blocked.
To avoid interference, be sure that no other electrical appliances are within three feet of the monitor,
patient and patient leads.
Make sure the monitor is close enough to connect to the baby comfortably.
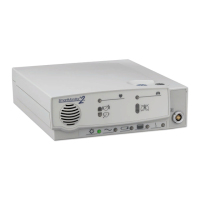
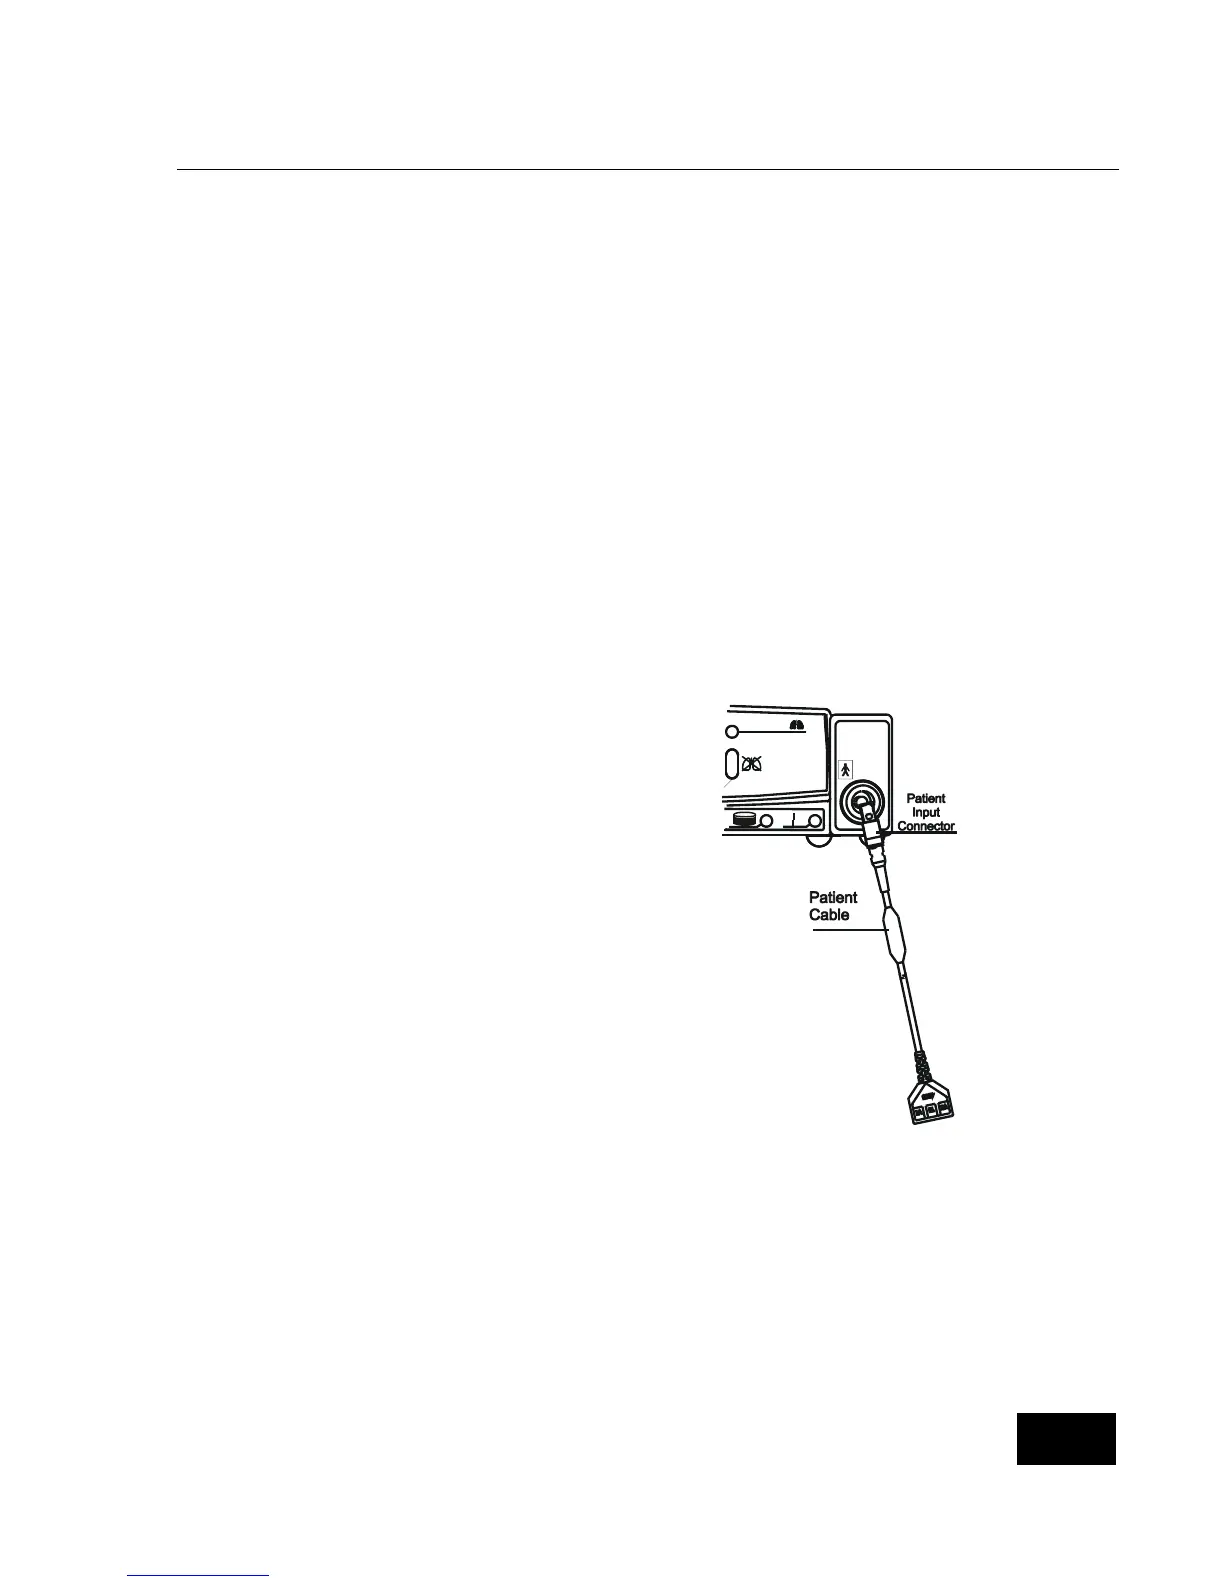
Step 2: Connect the Patient Cable to the SmartMonitor 2.
Insert the round end of the patient cable into the
bottom round connector found on the front of the
SmartMonitor 2.
Line up the notch on the connector and push until you
feel the connector snap into place.
To remove the patent cable, grasp the patient cable at
the base of the patient input connector and gentle pull
back. Do not grasp and pull the patient cable to
remove from the SmartMonitor 2.