4. Read the entire license agreement carefully. If you accept its terms, click [I accept the
agreement], and then click [Next >].
5. Click [Connected with USB cable], and then click [Next >].
6. Check again that the power of the printer is off, and then click [Next >].
Check that the dialog box below appears.
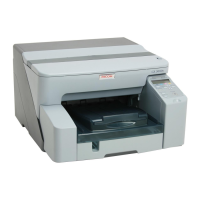
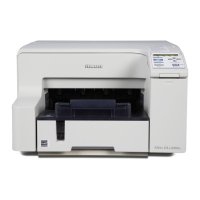
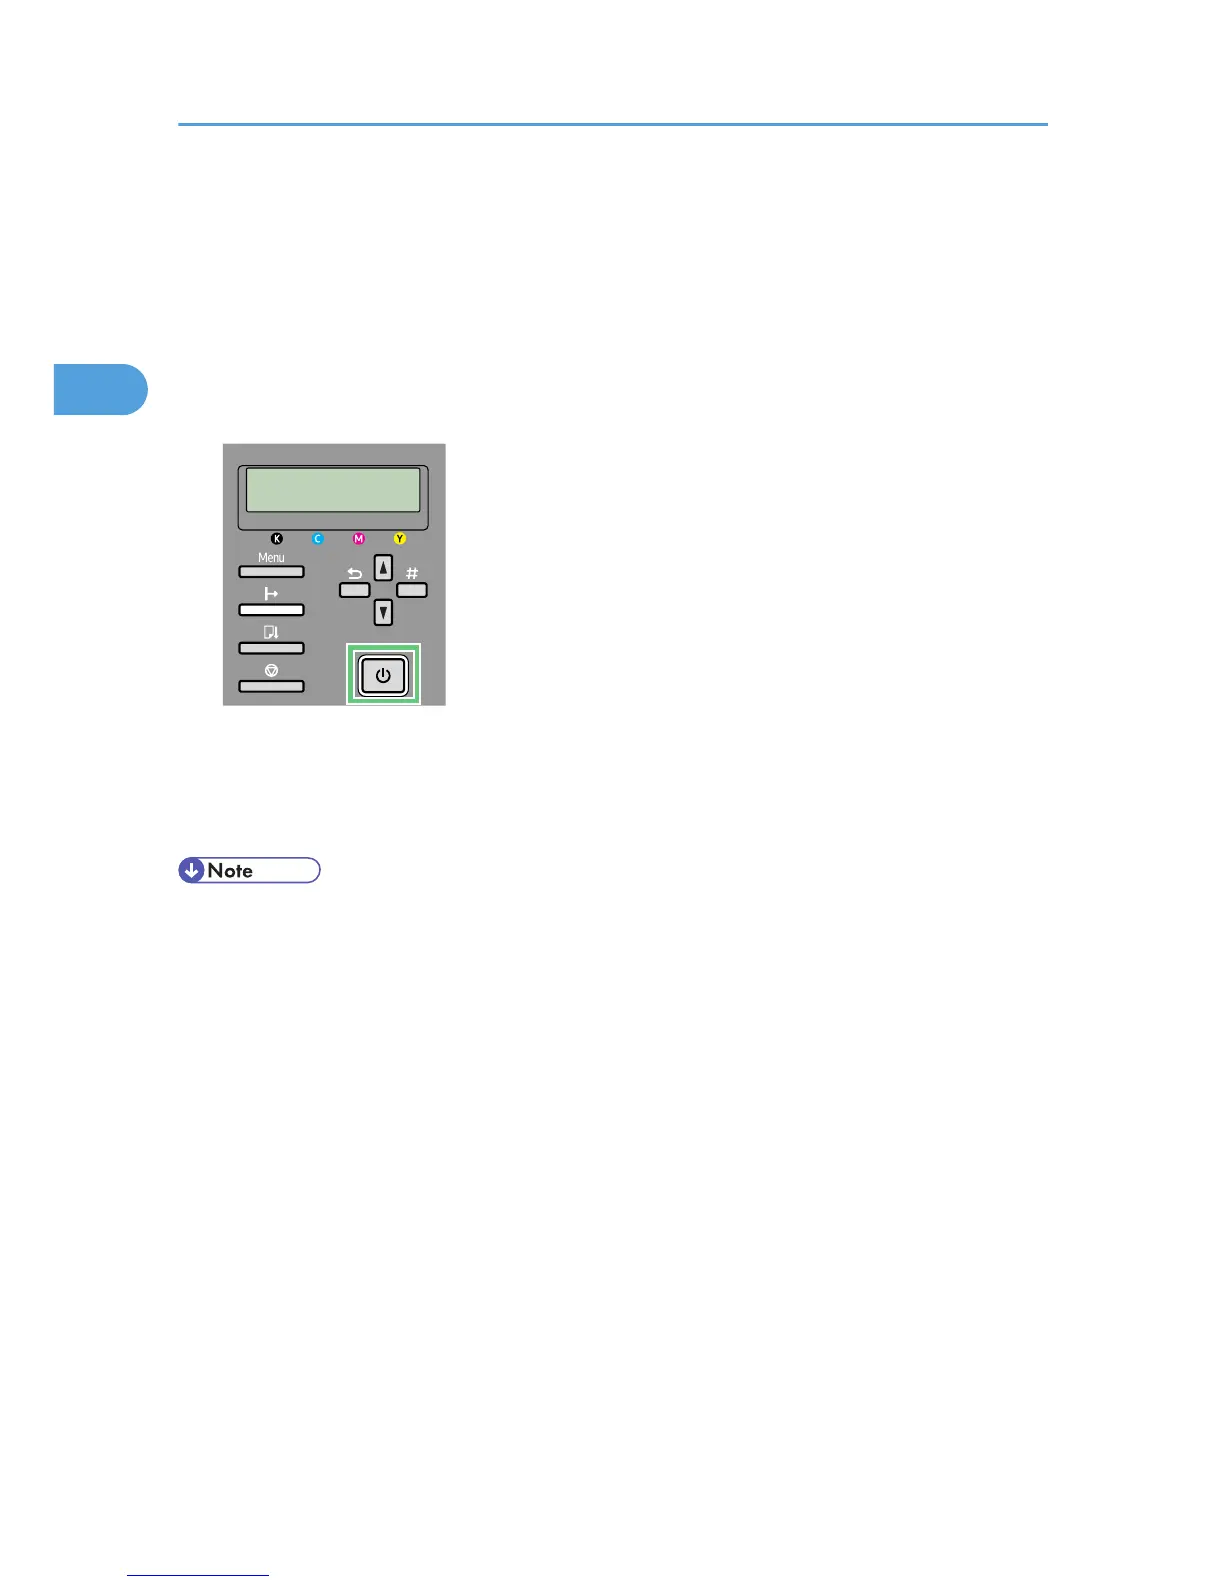
7. Make sure that the computer and printer are properly connected, and then press the [Power]
key.
Installation starts.
8. Select whether or not to open the Status monitor automatically, and then click [Next >].
9. Check the installation result, and then click [Finish].
• You cannot select [Connected with USB cable] under Windows NT 4.0.
• If
the message “Digital Signature Not Found” or the [Found New Hardware Wizard] or [Hardware
Installation] dialog box appears:
• Click [Yes], [Continue Anyway] or [Install this driver software anyway] to continue the installation.
• If the message prompting you to restart the computer appears, restart the computer.
• Confirm the printer driver is correctly installed by checking that the [Power] key of the printer is lit and
performing a test print.
• To perform a test print, open the printer properties dialog box, click [Print Test Page] on the
[Maintenance] tab.
• To specify a USB port for sharing the printer on a server running Windows Firewall, add the port to
Windows Firewall before using Status Monitor.
1. On Windows Firewall dialog box, click the [Exception] tab, and then select the [File and Print
Sharing] check box.
2. Click [Add Port...], make sure [TCP] is selected, and then enter “55665” in [Port number].
2. Preparing for Printing
70

 Loading...