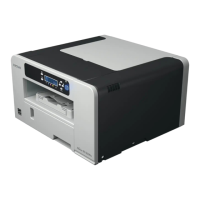
• Only administrators can perform this installation. Log on as a member of the Administrators group.
Notes on the Installation
• Ignore the Windows security warning if it appears during installation and continue with the
installation.
• If the "Add New Hardware Wizard" appears, click [Cancel], and then turn the machine off.
1. Insert the CD-ROM in the CD-ROM drive.
Quit all other applications currently running.
2. Select a language for the interface, and then click [OK].
3. Click [Quick Install for USB].
4. Read the entire license agreement carefully. If you accept its terms, click [I accept the
agreement.], and then click [Next >].
5. Select the model of printer you want to use, and then click [Next >].
6. Check that the power of the machine is off, and then click [Next >].
Installation starts.
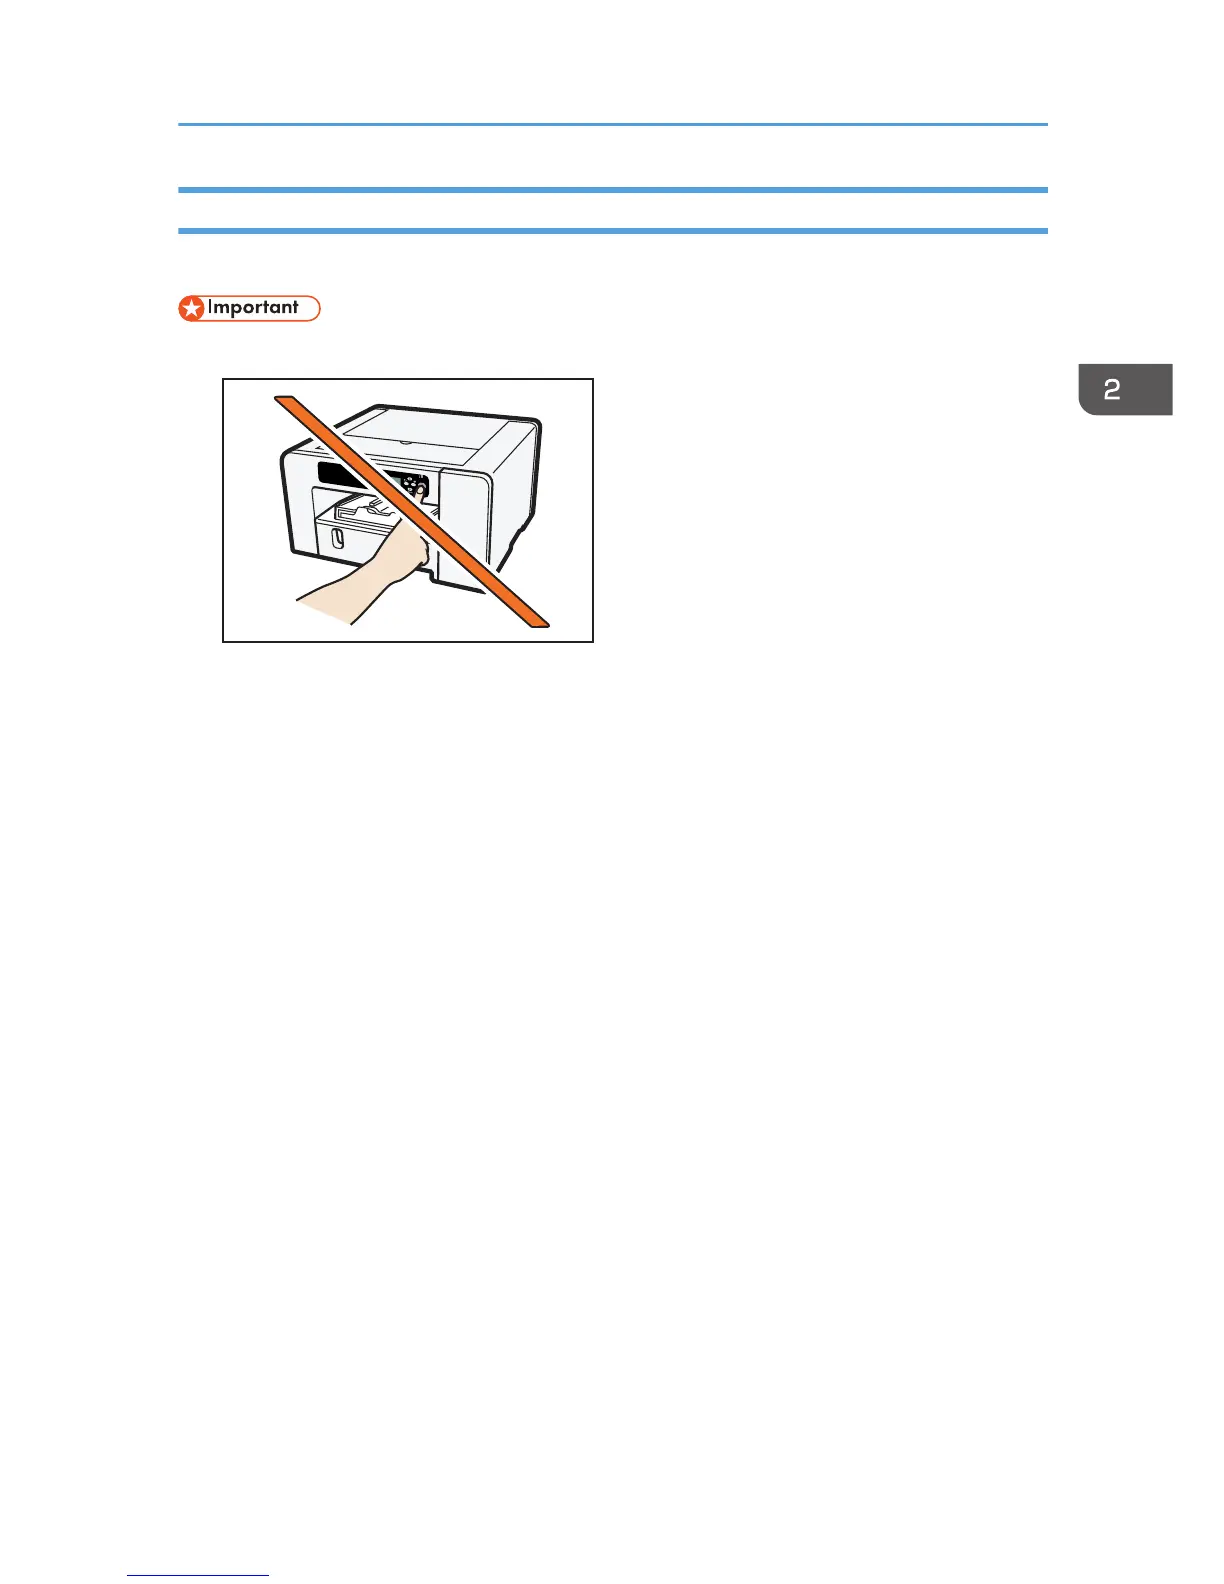
7. Make sure that the computer and machine are properly connected, and then press the
[Power] key.
8. Click [Yes] to specify the machine as the default printer.
9. If you want to make initial settings for the printer, click [Set Now].
10. Make initial settings, and then click [OK].
11. Select whether or not to open the Status Monitor automatically, and then click [Next >].
Connecting the Computer and Installing the Software (USB Connection)
53
 Loading...