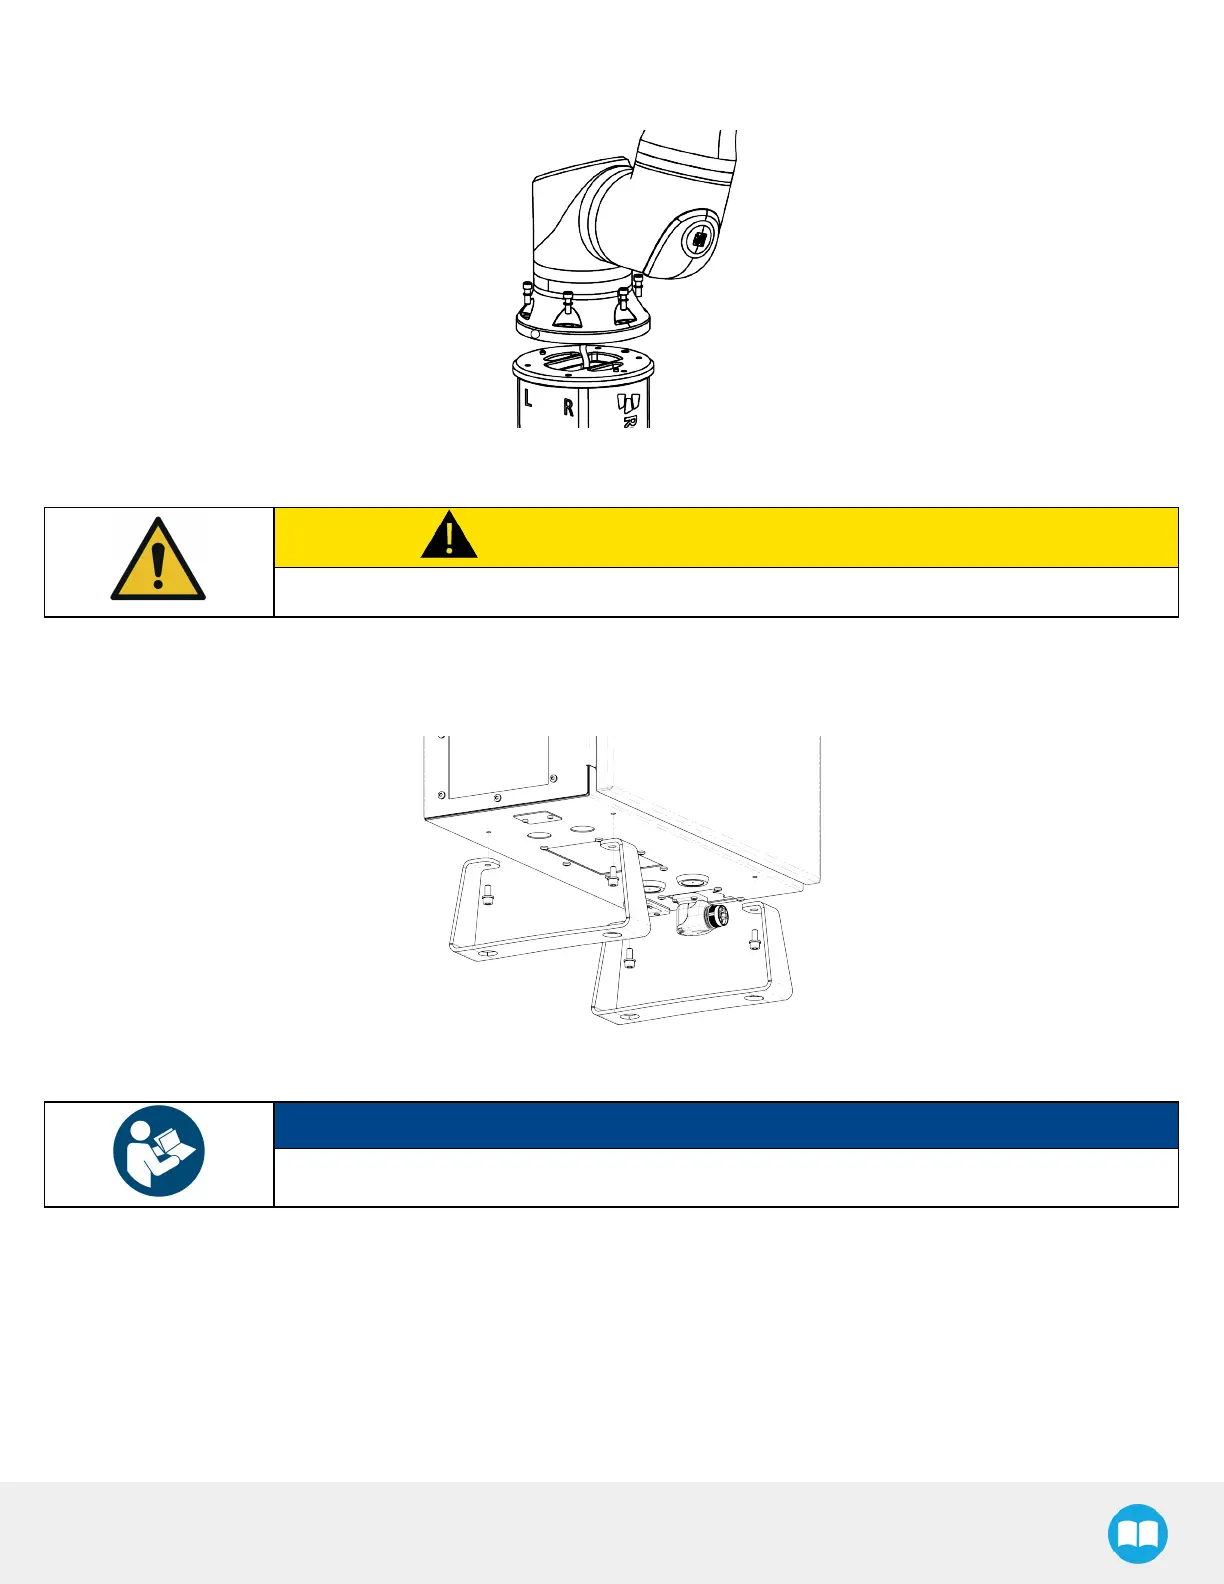
5. Use the two (2)dowel pins to position the robot so that the hole that waspreviously plugged is oriented towards the “L”
and “ R” decals on the pedestal (aisle side).
6. Secure the robot base using the six (6) M10 x 30 screwsand the six (6) serrated Belleville washers; tighten to the torque
specified by UR(please refer to the UR20 user manual).
CAUTION
Make sure that the convex part of the washer is at the bolt end of the assembly.
ControlBoxInstallation
1. Use a 5 mm hex key to remove the four (4) screwssecuring the two (2)legs of the URcontrol box.
2. Disconnect the URteach pendant connector and remove it from the URcontrol box.
NOTICE
Follow the instructions for the replacement of the teach pendant in the service manual of the UR20.
3. Remove the two (2) M8 x 20 hex cap screws securing the control box support plate to the base of the Solution using the 13
mm socket supplied.
32