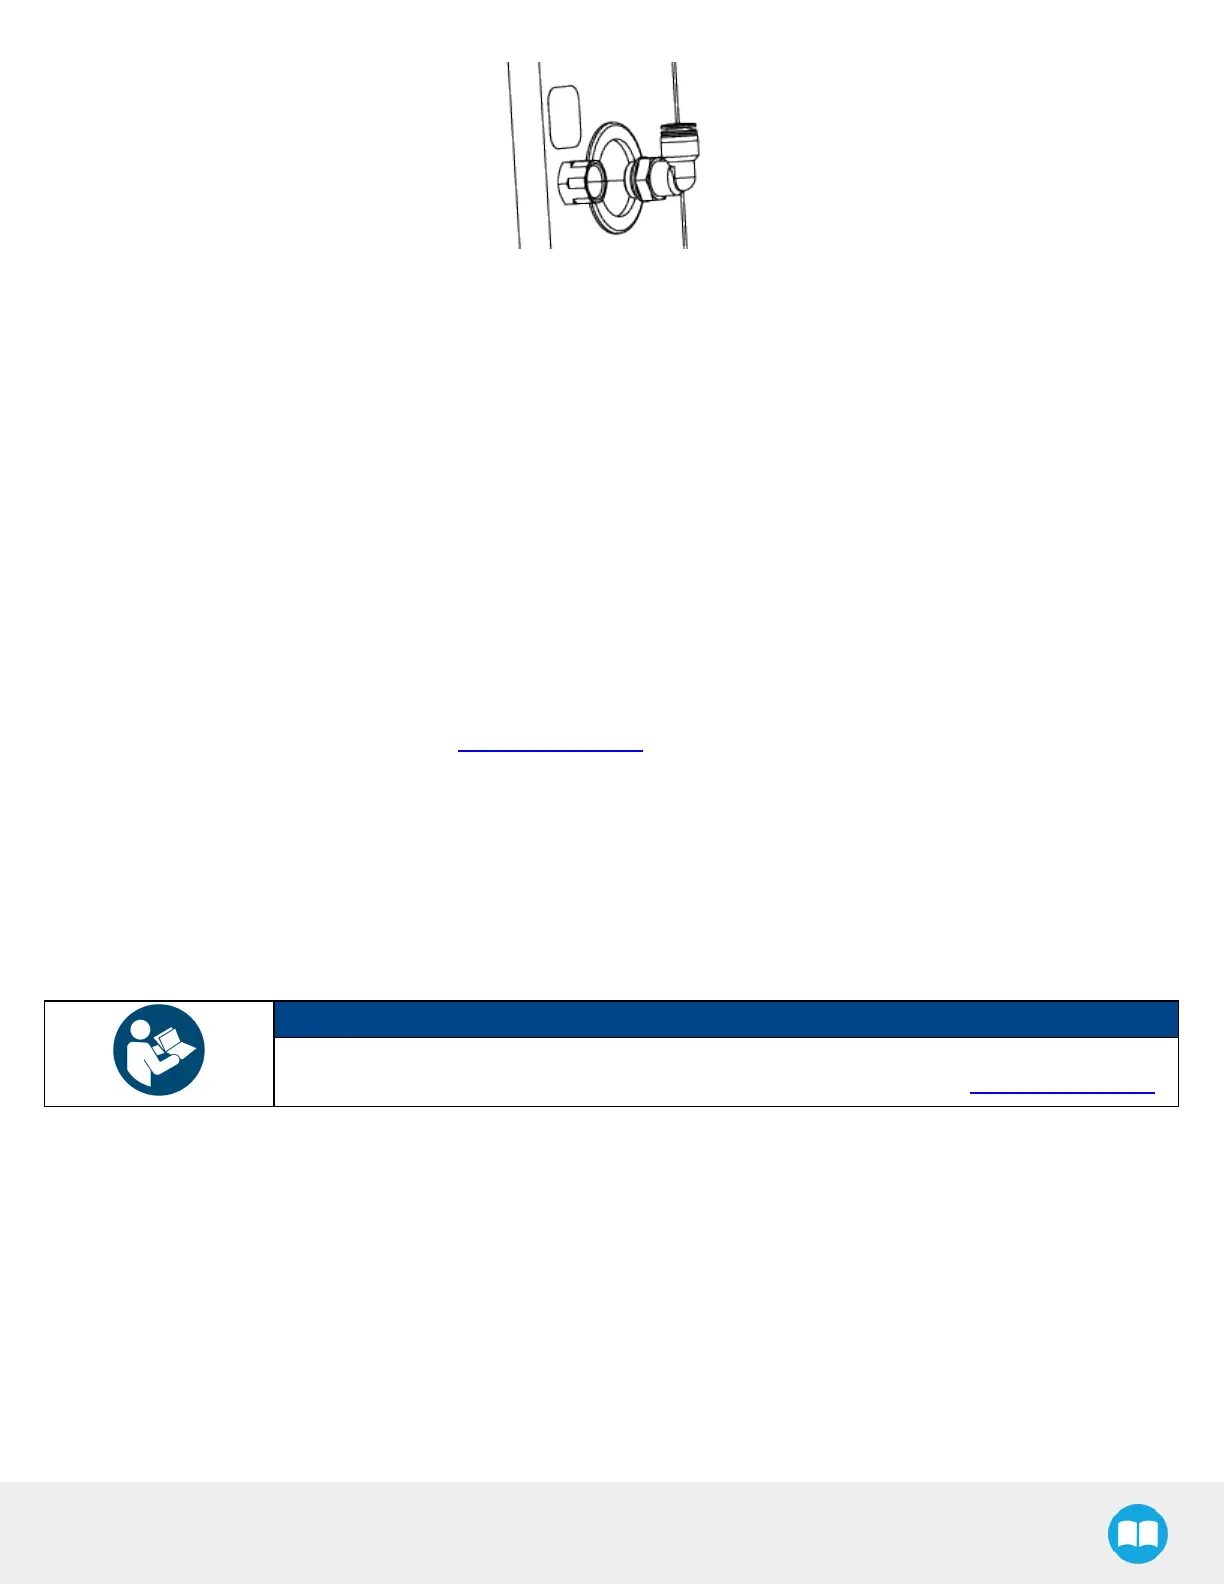
6. Remove the plug at the end of the 12 mm air tube providing pneumatic pressure to the vacuum generation unit.
7. Insert the end of the 12 mm air tube into the elbow fitting.
8. Push the air tube until it stops.
9. Using a 13 mm wrench, remove the two (2)M8 x 20 hex head cap screws from the URcontrol box support plate.
10. Tilt back the URcontrol box support plate and open the URcontrol box.
11. Remove the grommet on the pedestal.
12. Run the open end of the M12-12 pin I/O cable through the opening and down into the cable compartment.
13. Route the M12-12 pin I/O cable inside the URcontrol box.
14. Plug the hole on the pedestal using the pre-perforated grommet attached to the I/O cable.
15. Tuck any excesscable inside the pedestal.
16. To complete the electrical connection of the PowerPick20 Vacuum Gripper, please refer to section Electrical Installation of
the PowerPick20 user manual available at support.robotiq.com.
TCPand Centerof Mass
1. In the PolyScope interface, go to Installation > General.
2. Expand the TCPdropdown menu, then select Payload.
3. Enter the appropriate center of massand TCPof the gripper.
NOTICE
The TCPand center of massof the PowerPick20 Vacuum Gripper can be found at section Tool
Center Point and Center of Massof the PowerPick20 user manual available at support.robotiq.com.
Cable Management System
Cable Management with GenericGripper
If the PowerPick20 Vacuum Gripper is not part of the scope of delivery along with the PE20, the following components are
provided for the cable management of another generic gripper.
l
3x cable clips + 0.5 m hook and loop (VELCRO®)fastener
l
1x cable clip + 1 m hook and loop (VELCRO®)fastener
46