figure above.
c. If applicable, rotate all cable clipsso that the plastic mount is facing up; thiswill ensure the good positioning of the tubing.
1. Tubing Installation
a. Remove the four (4)plugsat the ends of the tubing.
b. Remove the two (2)blanking plugs from the fittings labeled P1- and P2- on top of the PowerPick20 vacuum
generation unit.
CAUTION
If necessary, remove the two (2)1/2 in grommets on top of the bracket to free more space.
If doing so, make sure to reinstall the grommetsbefore connecting the tube.
c. Connect the end of the 12 mm double air tube labeled BASE SIDE to the fittingslabeled P1- and P2-.
d. Push the air tube until it stops.
e. Find the metallic mark on the tubing that is closest to the vacuum generation unit (there are four (4)metallic marks
in total on the tubing).
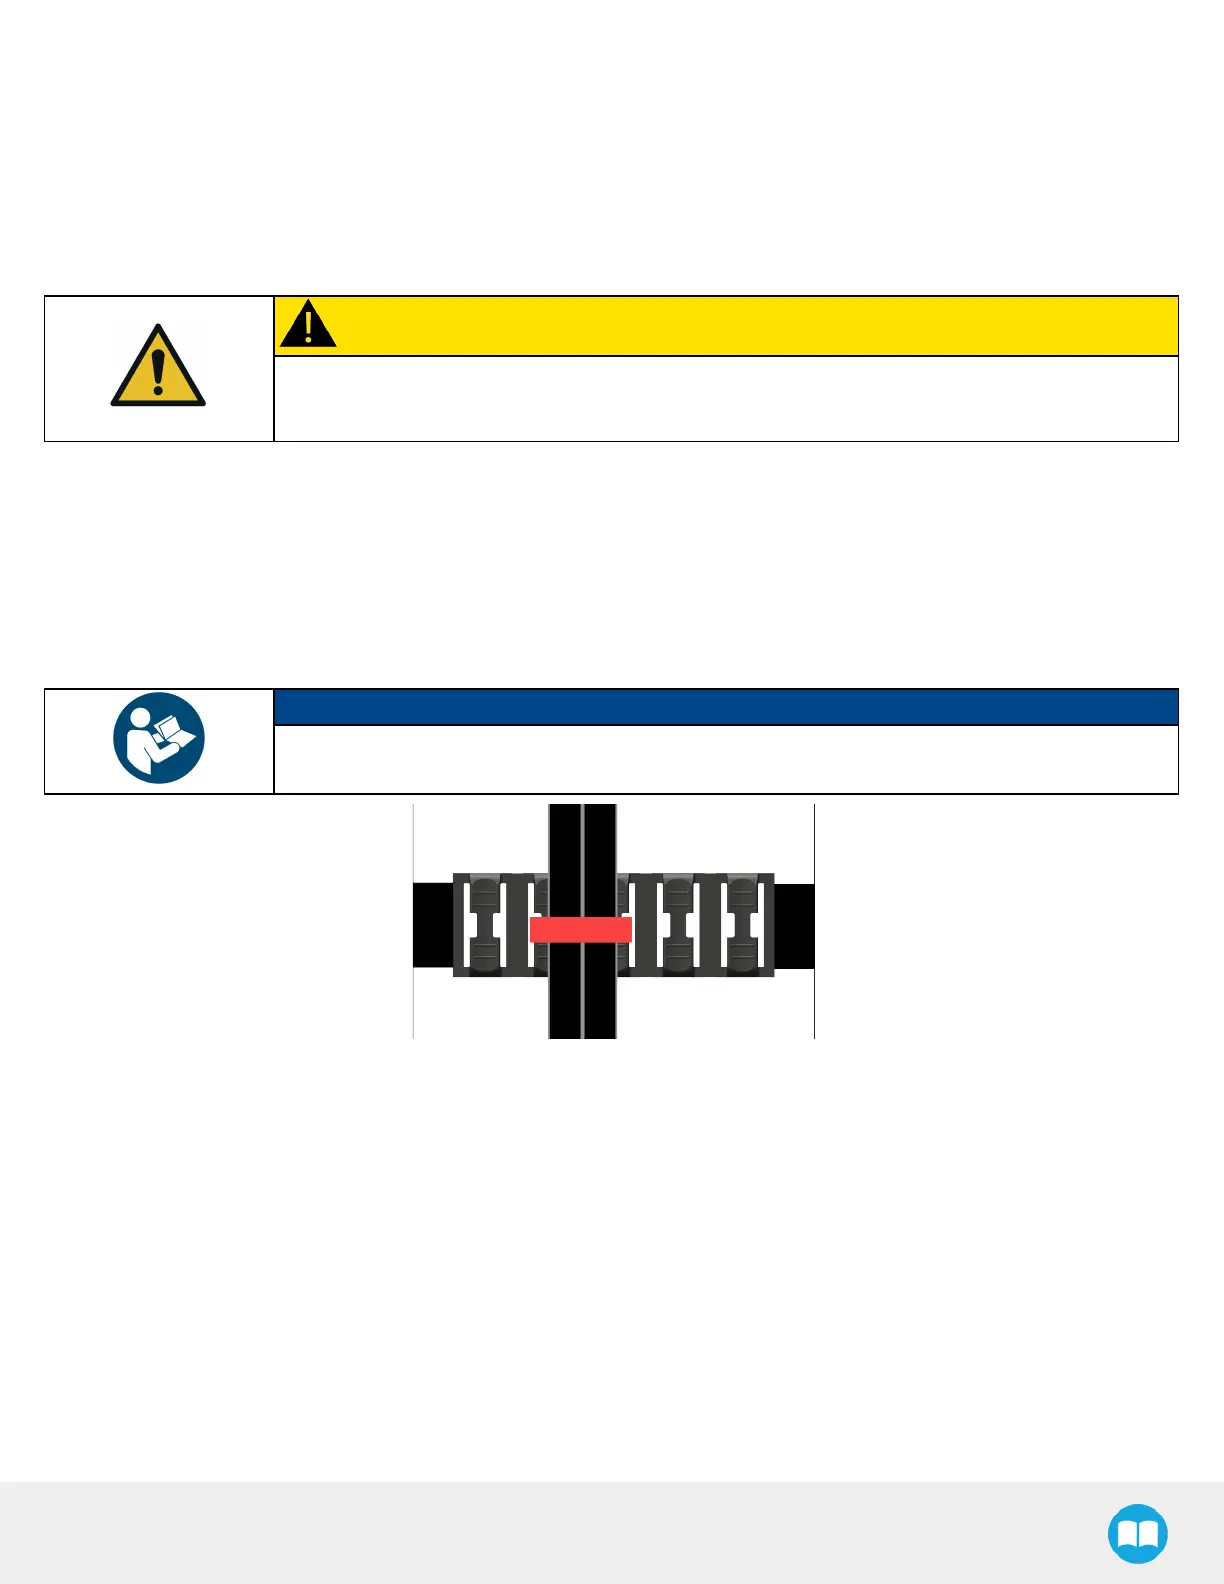
f. At the metallic mark, tightly attach the tubing to the cable clip using a cable tie (red component in the figure
below).
NOTICE
The cable tie should go through 2 hoops, and the tubing should be laying flat approximately at the
center of the plastic mount.
g. Attach the tubing to a cable clip at every metallic mark, up to the wrist.
h. Connect the end of the 12 mm double air tube labeled TOOL SIDE to the pneumatic elbow fittingsof the
PowerPick20 Vacuum Gripper’s manifold at the end of the robot arm.
i. Push the air tube until it stops.
48