Roche Diagnostics
Operator’s Manual · Version 3.1 D-49
Cedex Bio System 11 Troubleshooting
Detailed procedures
Changing the low voltage fuses
a To change a low voltage fuse
1
Shut down the system and switch off the instrument.
2
Using a screwdriver size 2 or 3, remove the fuse indicated in the alarm message.
o Insert the screwdriver in the slot and turn anticlockwise until the holder
disengages.
o Remove the holder with the fuse.
3
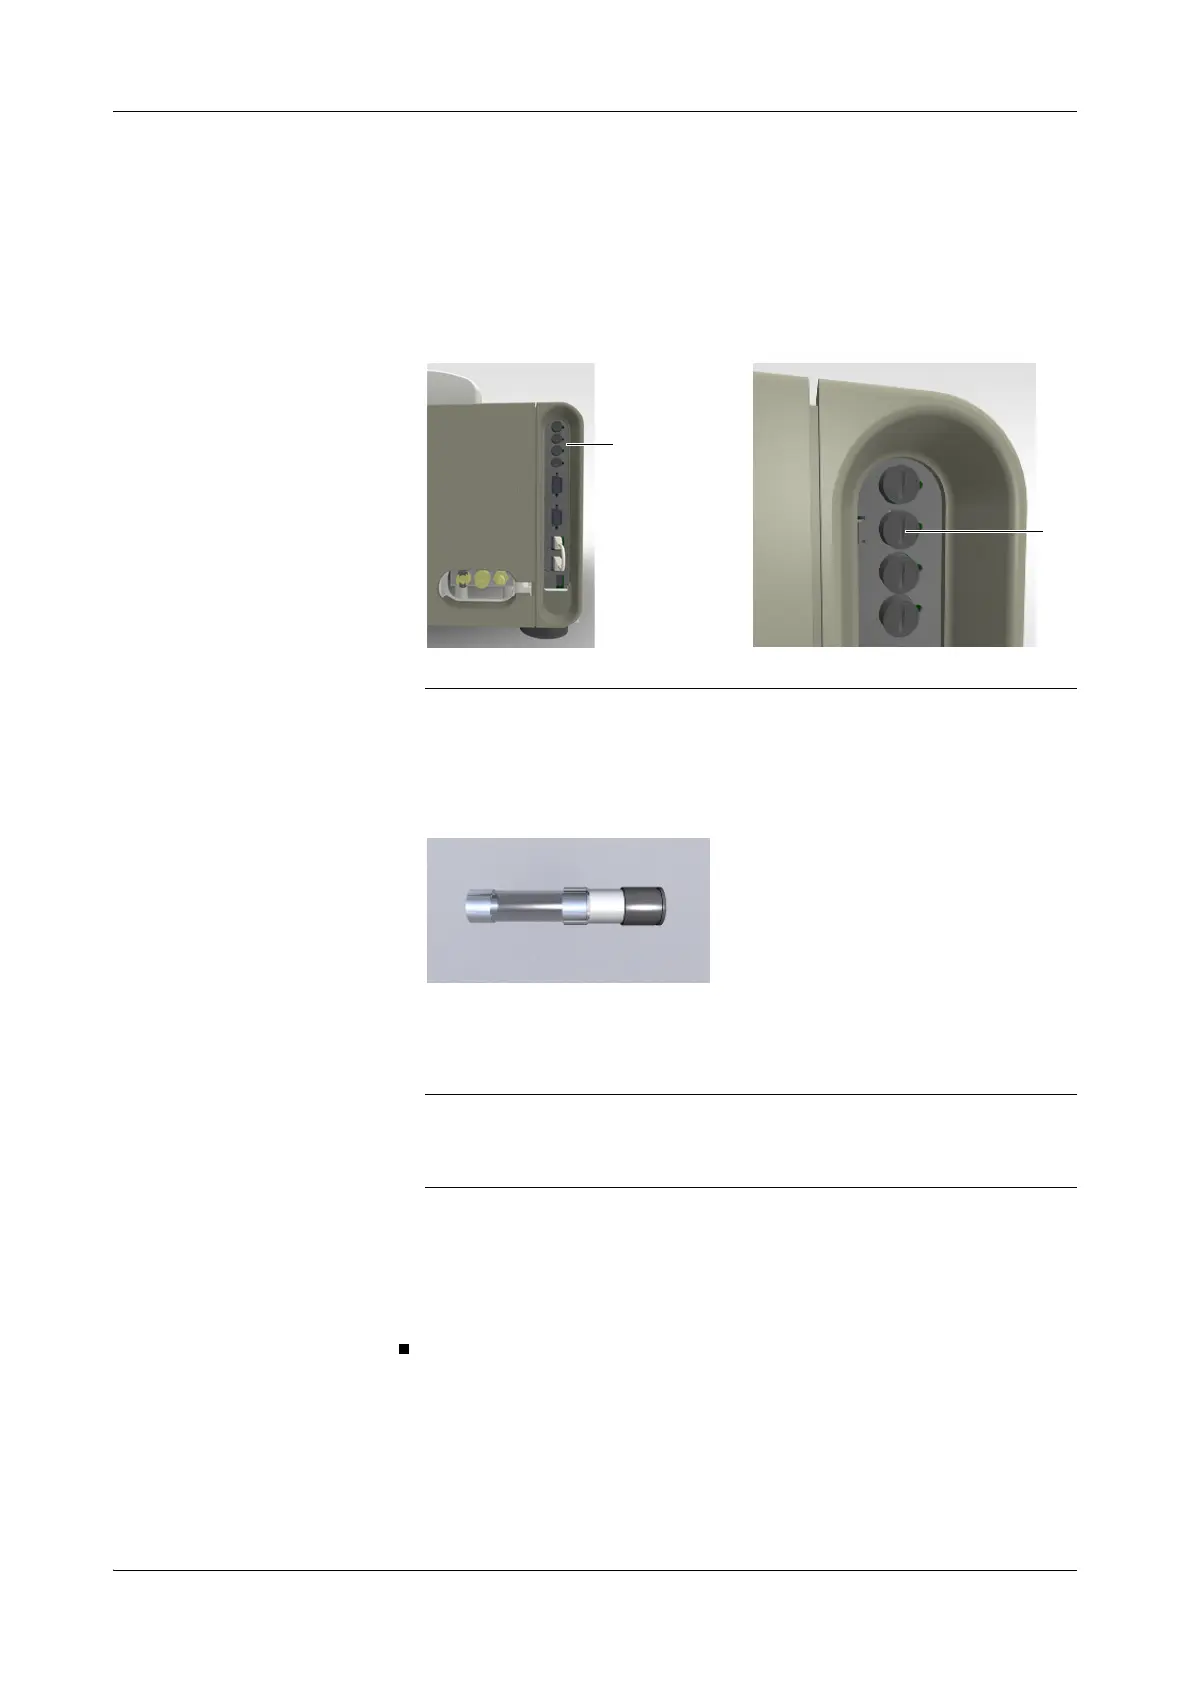
Remove the fuse from its holder.
4
Insert the new fuse in the holder.
5
Insert the holder in the socket.
6
Using the screwdriver, lock the holder in position by pressing it in and turning
the screwdriver clockwise until the slot is vertical.
7
Switch on the instrument.
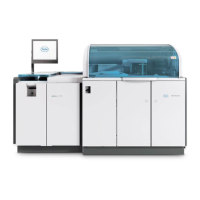
A Low voltage fuses B Slot in low voltage fuse holder
Figure D-6
Damage to the analyzer due to use of wrong fuses
Always replace fuses with new ones of the same type and specifications.
See Technical specifications on page A-65.