17
© Rodenstock GmbH
Status: September 2023
4.2.2 Positioning the customer and the camera carriage
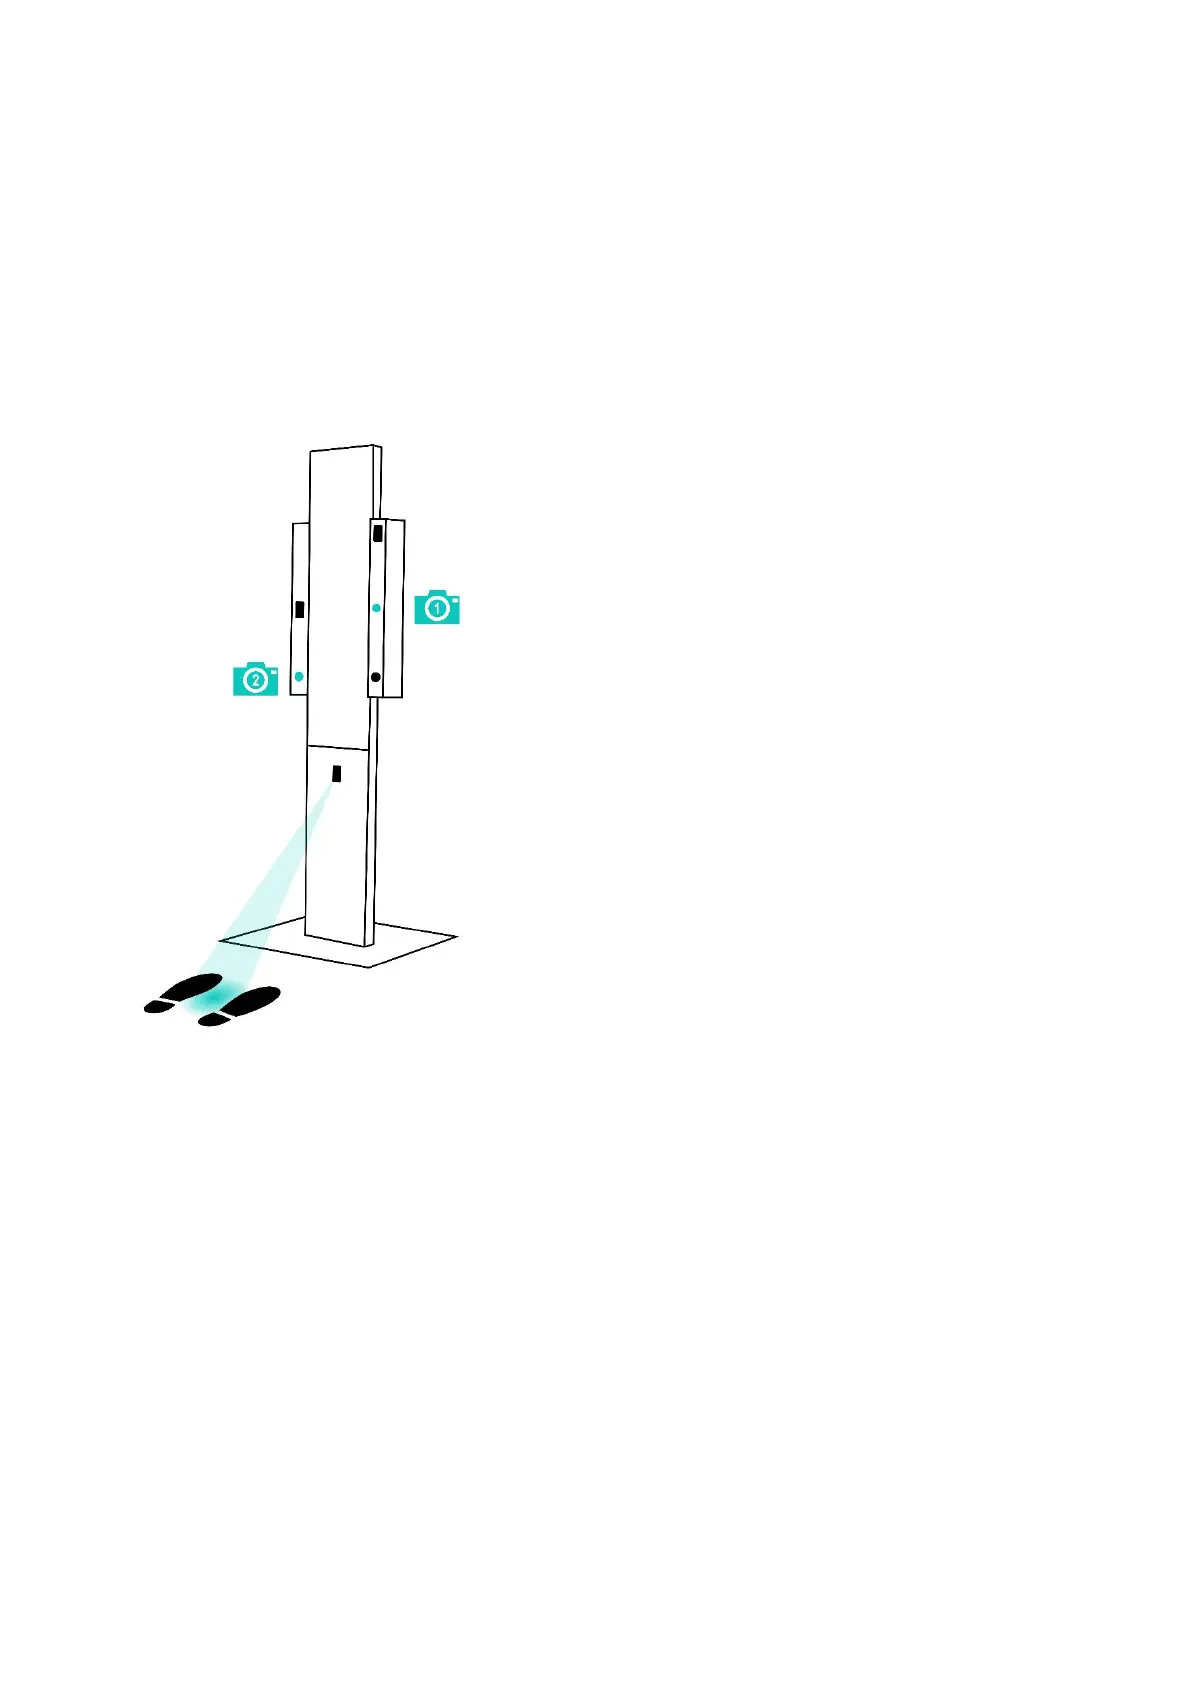
As soon as you are in the recording mode of the ImpressionIST® 4+ measurement module (Figure 4 2), a light
circle is projected onto the floor for optimal positioning. Ask your client to stand shoulder-width apart over the light
circle, as shown schematically in Figure 4 1, and instruct your client to adopt as natural a habitual head and body
posture as possible.
Now ask your client to look at the root of his nose in the mirror image.
Position the camera carriage so that the upper camera (camera 1) is at about eye level with your customer. To do
this, reach into the bottom of the camera carriage at the side with one hand and pull or push the carriage to the
desired height.
Whether the customer is positioned at the correct distance in front of the ImpressionIST® 4+ is shown in the live
view of the camera images.
If the live images are framed in green, the customer is at the correct distance from the device (Figure 4 2).
If, on the other hand, the live images are framed in orange, the customer is standing too far away (Figure 4 4). If
they are framed in red, the customer is standing too close to the device (Figure 4 3).
An additional explanation is provided by the colored graphics next to the live images.



 To Next Page