19
© Rodenstock GmbH
Status: September 2023
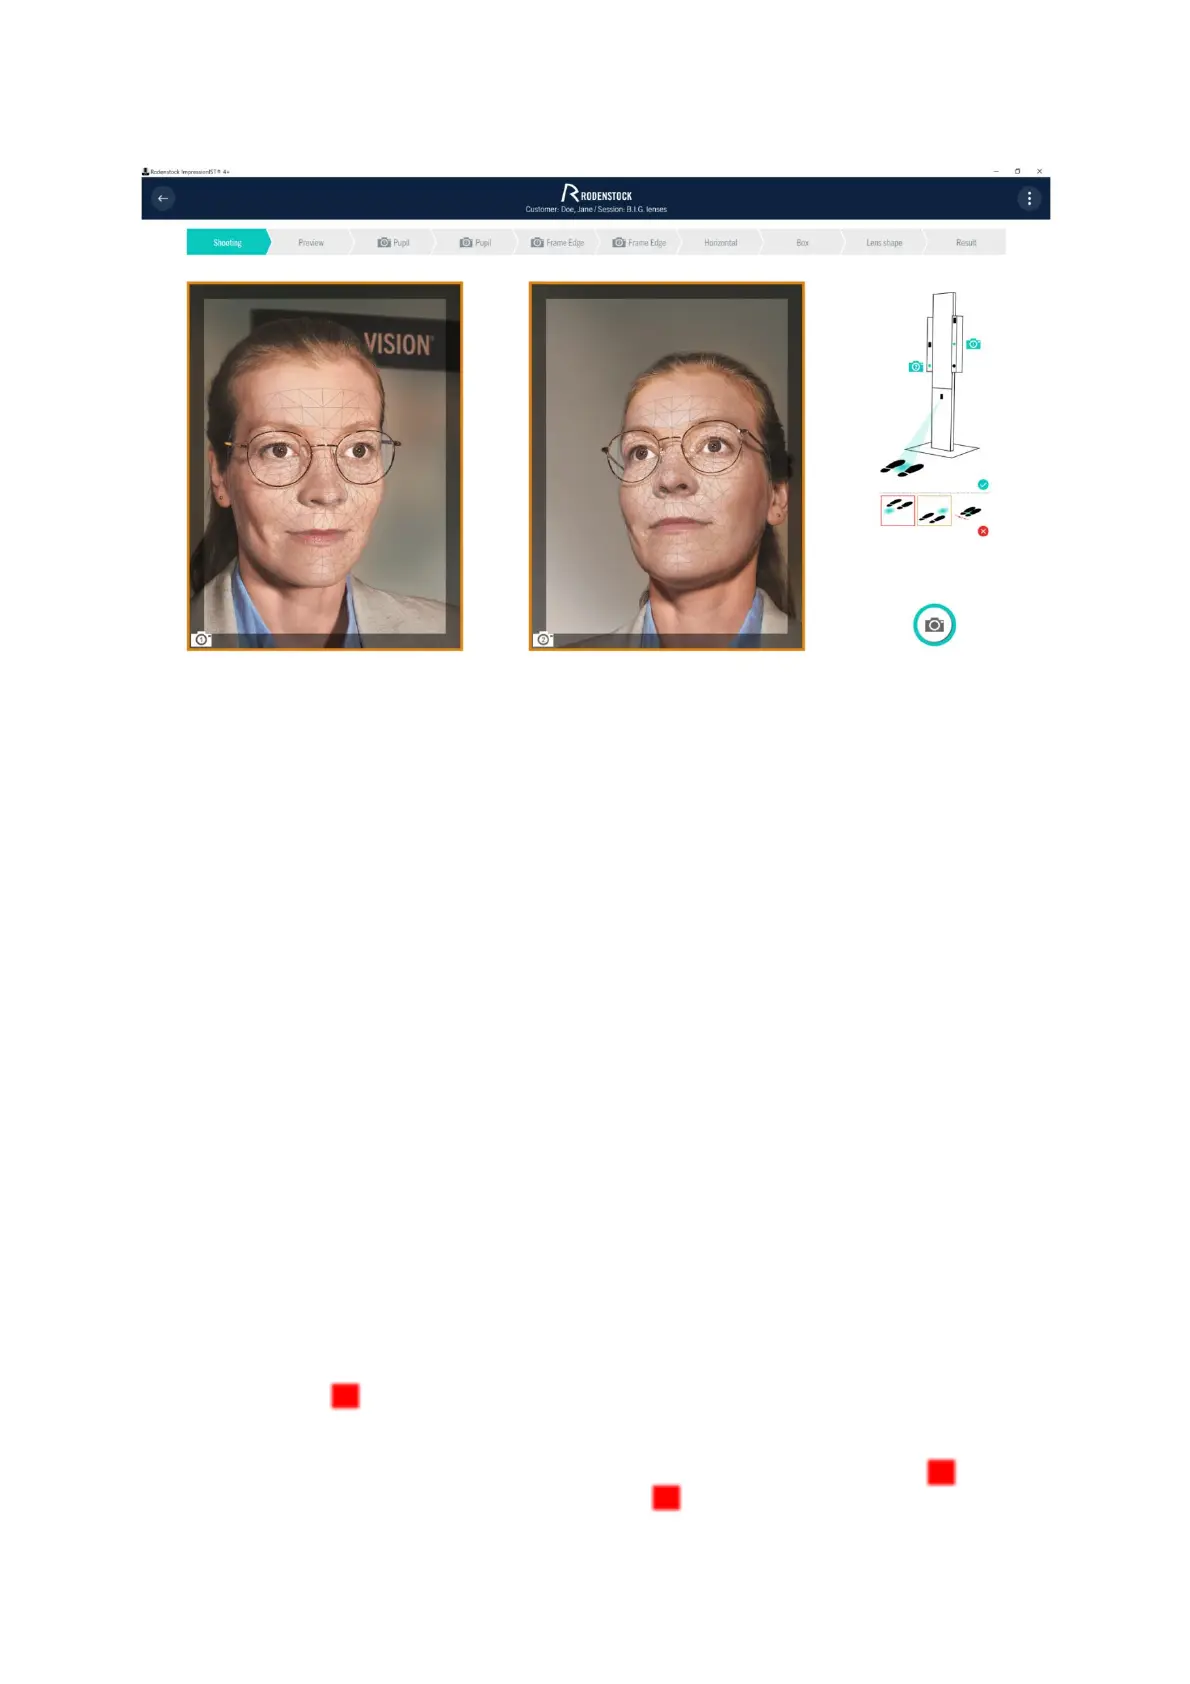
Figure 4-4: Live images framed orange - customer standing too far away
− The live images displayed are transmitted by one camera each. Make sure that the customer's eye area
including the middle part of the glasses is positioned approximately in the center of both images and,
above all, that it is completely visible.
− If, in individual cases, you have difficulty seeing both of your customer's eyes clearly (this could be the
case with larger noses or sports glasses), the customer should turn his head slightly (2° - 5°) to the left
while continuing to fix the root of his nose in the mirror image. The ImpressionIST® 4+ detects the head
torsion and calculates it out
− The customer's face is detected by the camera system. A mesh highlights the detected face. Only if the
face is detected correctly, the ImpressionIST® 4+ can take the correct exposure parameters.
− After some time, the live image view automatically switches to sleep mode. You can continue the
application by clicking.
4.2.3 Triggering the acquisition
Once you have positioned your customer correctly in both live images, press the icon to trigger the cameras (see
Figure 4 2). Alternatively, in the Windows application, the recording can also be triggered by pressing the [Enter]
key.
• On a presenter connected to the PC via Bluetooth (for PowerPoint presentations), image capture can be
triggered analogously to the keyboard by pressing the "next slide" button
4.3 Preview
After the exposure, the measuring module automatically switches to the preview of the acquired images (Figure 4
5). In the preview, you can check the acquired images and make settings for evaluation.
Once the exposure has been taken, the images are saved and you can exit the evaluation module at any time by
clicking the Back arrow. Since the images and previous evaluations are saved immediately, the evaluation
can be continued later or on another device.
Once you have made all the settings, you can start the evaluation using the Forward arrow button.
Alternatively, the evaluation can also be started via the "Pupil 1" button or the key combination [Shift + right
arrow key].



 To Next Page