113
Sampling procedure
Sampling
6.
Use the INPUT knob to adjust the level of the input from the
external source.
The CURRENT display and NEXT display will operate as level
meters.
fig.07-003.e
926a
* When connection cables with resistors are used, the volume level of
equipment connected to the inputs may be low. If this happens, use
connection cables that do not contain resistors, such as those from the
Roland PCS series.
* The level meter shows the level after the signal has passed through the
effects (compressor, multi-effects, reverb) and the mastering effect. If
you want to see the actual input level, turn off all effects and the
mastering effect (p. 62).
7.
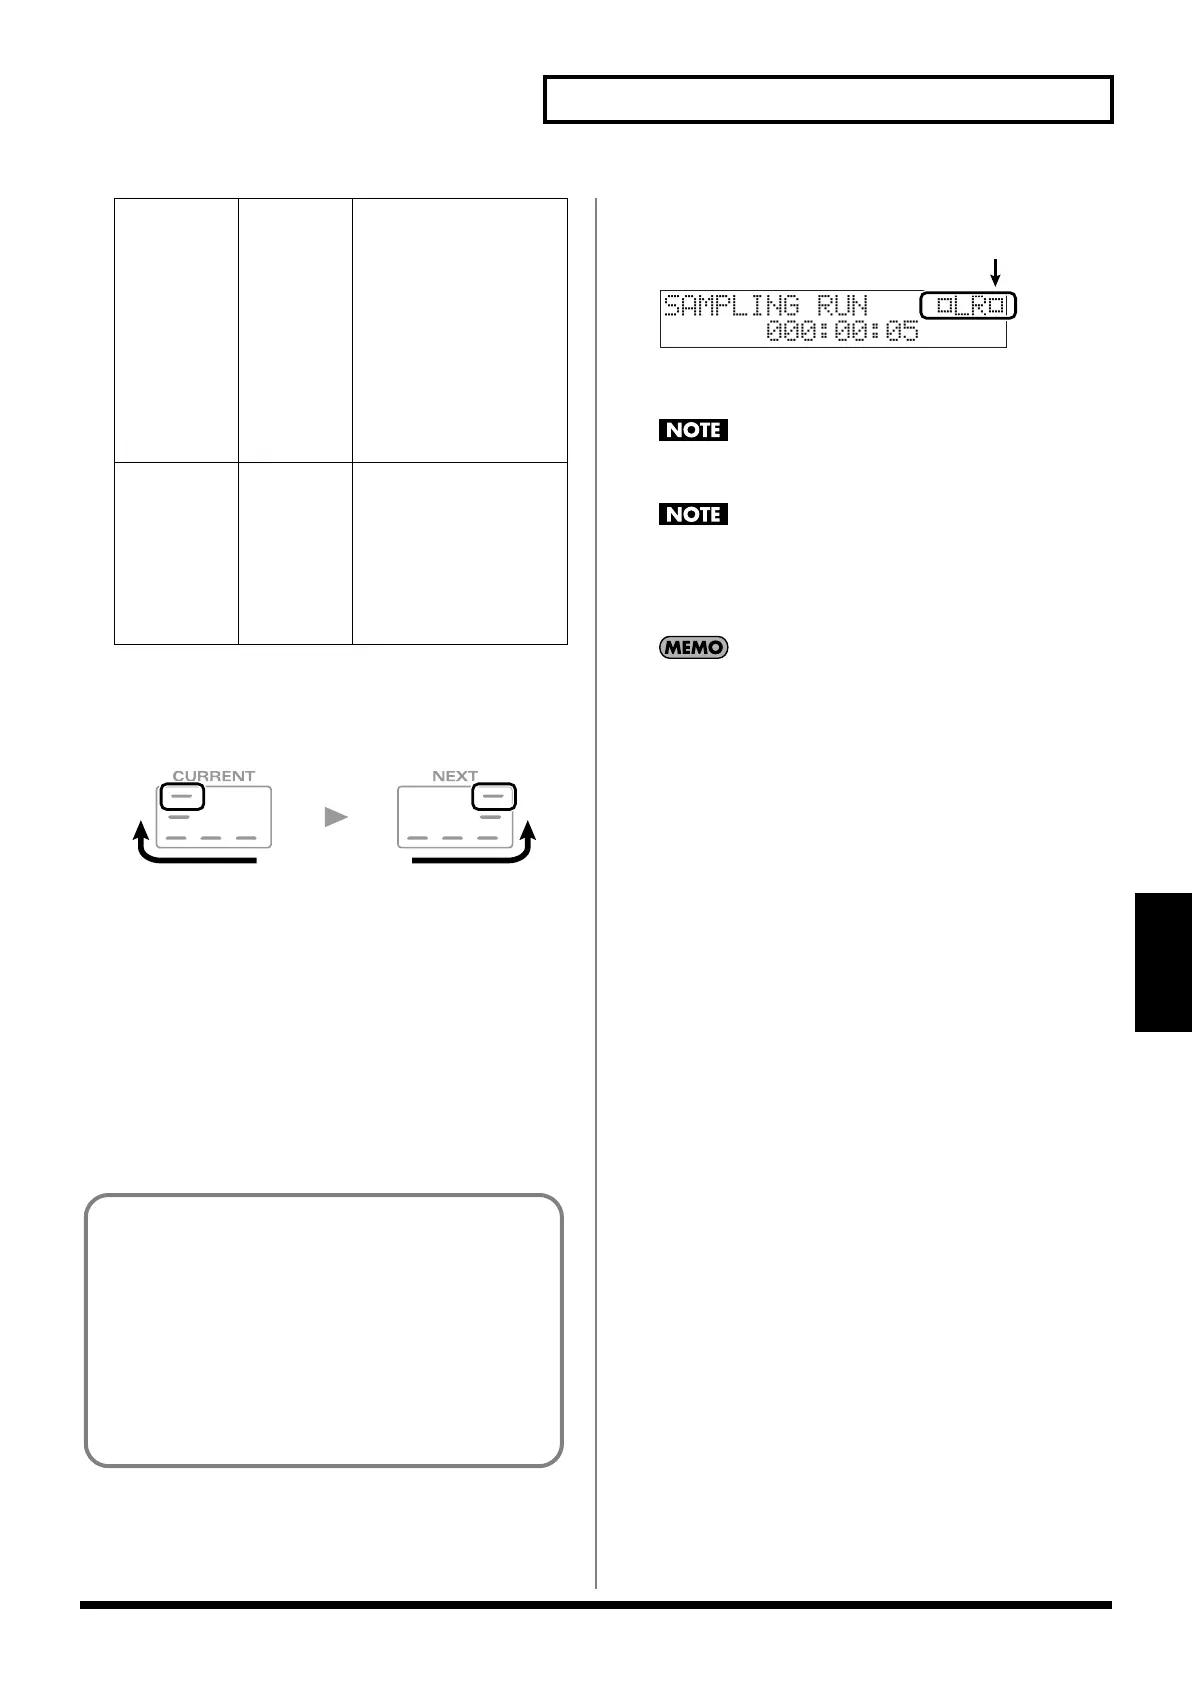
Press SAMPLING [START/STOP] to begin sampling/re-
sampling.
fig.07-004.e
* The clip indicator in the upper right of the screen will light if the input
level is too high.
No further sampling is possible if the free memory reaches 0%
(p. 124).
If you’re not using a CompactFlash card, you won’t be able to
save a sample that’s greater than 16 MB (approximately 180
seconds of mono sound, or approximately 90 seconds of stereo
sound).
If you selected Solo or Solo with FX, a count will occur before
sampling begins.
8.
Press SAMPLING [START/STOP] to stop sampling.
The rest of the procedure will depend on the sampling method
you’ve selected.
Gap Time 500,
1000,
1500,
2000 ms
Length of silence at which
the sample will be divided
Whenever there is a si-
lent region longer than
the specified time, the
sample will be divided
at that point, and the
next sample number will
be assigned to the sound
that follows.
* This parameter is valid
only when you are using
Auto Divide Sampling.
Trim Sw
(Trim Switch)
OFF,
ON
If this is turned on, the
Start point and End point
settings (p. 97) will be auto-
matically adjusted after
sampling is performed, so
any silent portions at the
beginning or end of the
sampled sound are exclud-
ed.
Adjust the input level until it is as high as you can get it without
causing the top level indicator to light.
Input level from LINE IN L Input level from LINE IN R
LowLow
HighHigh
Cautions when using a microphone
Howling could be produced depending on the location of
microphones relative to speakers. This can be remedied by:
1. Changing the orientation of the microphone(s).
2. Relocating microphone(s) at a greater distance from
speakers.
3. Lowering volume levels.
* If you use a microphone, connect the ground terminal to an
electrical ground (p. 16).
MC-808_r_e.book 113 ページ 2007年7月17日 火曜日 午後5時1分
 Loading...