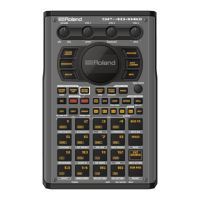
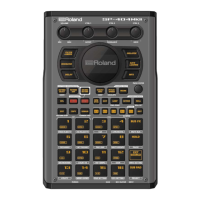
Combining Samples to Create a Pattern (PATTERN SEQUENCER)
61
HOLD
STEP
Sets the step length used for sample playback.
* This is enabled when MODE is “HOLD STEP”.
[CTRL 2] knob
Press the [VALUE] knob at this time to select the scale.
Hold down the [VALUE] knob while turning this knob to select the note (root) for
Specifies the dynamics (velocity) of the sample.
[SHIFT] button +
[CTRL 1] knob
Sets the pattern’s tempo.
[SHIFT] button +
[CTRL 2] knob
You can set how much to slide the timing of the upbeats (the strength of the
shuffle feel). A setting of “0” results in no shuffle.
Settings in the range of +10–16 generally give a pleasant shuffle feel.
[SHIFT] button +
[CTRL 3] knob
Sets the timing at which the sample starts playing back.
If this is set to a value other than 0%, the step cannot be split (sub steps cannot
[REMAIN] button
This selects the input mode for TR-REC.
The sample plays in each step.
HOLD STEP
The steps play back joined at the length specified by the [CTRL 1] knob.
Joining two steps gives the same results as using a tie.
When MODE is set to “HOLD STEP”, the GATE parameter for the sample is
automatically set to “ON”.
9.
Press pads [1]–[16] to select the step (timing) at which the sample plays back.
The sample is placed (input) into the step you selected using pads [1]–[16].
The pads light up corresponding to the steps that sound.
Press pads [1]–[16] to turn off the pads corresponding to the steps you don’t want to sound.
10.
To input patterns beyond the first measure, use the [VALUE] knob to set the measure (BAR) value.
11.
When you are finished recording the pattern, press the [EXIT] button twice.
Press the [EXIT] button once to finish recording. The recorded pattern is automatically saved to the pad.
Press twice to stop pattern playback.
Functions you can use during TR-REC input
You can use the controllers in combination during TR-REC input to perform the following operations.
 Loading...