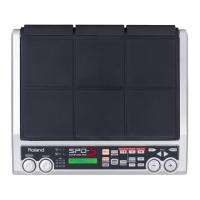
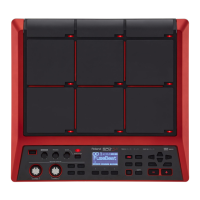
Panel Descriptions
12
Rear Panel (Connecting Your Equipment)
COMPUTER connector
You can connect your computer
here via a USB cable (p. 19).
The included software lets you
import audio les (p. 40) or
sample the sounds played by
your computer (p. 29).
USB MEMORY connector
You can connect a USB ash drive
(sold separately) here (p. 18). This
allows you to import audio les (p.
39), or save SPD-SX waves and
settings to your USB ash drive (p.
66).
DC IN jack
Connect the included AC adaptor here.
To prevent the inadvertent
disruption of power to your
unit (should the plug be
pulled out accidentally),
and to avoid applying
undue stress to the DC IN
jack, anchor the power cord
using the cord hook, as
shown in the illustration.
NOTE!
• To prevent malfunction and/or damage to speakers or other devices, always turn down the volume, and turn o the power
on all devices before making any connections.
• When connection cables with resistors are used, the volume level of equipment connected to the inputs (AUDIO IN jacks)
may be low. If this happens, use connection cables that do not contain resistors.
Security slot ( )
http://www.kensington.com/
MIDI connectors
MIDI devices can be
connected here (p. 67).
Place the AC adaptor so the side
with the indicator (see illustration)
faces upwards and the side
with textual information faces
downwards.
The indicator will light when you
plug the AC adaptor into an AC
outlet.