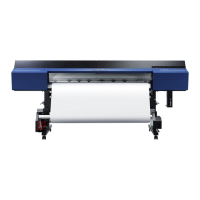
Seng the Base Point
Set the base point in order to determine the area on the loaded media in which to print (the output area).
The base point (
) indicates the right edge of the output area ( ). ( : Media feed direcon, : print-head
carriage movement direcon) You can print without seng the base point, but seng the output area enables
you to use media without being wasteful and also to print on the targeted locaon.
Make this seng for each individual page. When the prinng of one page nishes, the base point returns to its
default value.
MEMO
• Note that the le and right posions are not restored to their defaults for test paerns.
• If you are using the media take-up unit (sold separately), do not press [▲] aer you nish seng up the media. Pressing [▲] will
cause the machine to make an emergency stop in order to protect the motor.
Procedure
1. Press [◀] while the following screen is displayed.
The cung carriage comes out over the platen.
2. Press [◀], [▶], [▲] or [▼] to move the center of the blade to the posion that you want to set as the base point.
Only the cung carriage moves.
• : Output area
• : Base point (right edge of the output area)
3. Once the posion has been decided, press [FUNCTION] to display the screen shown below.
4. Press [ENTER] to conrm your entry.
When the screen displays the character "B" together with the printable width at the locaon (as shown in
the following gure), seng is completed.
Adjusting the Output-start Location
2. Optimizing Work Efficiency 193

 Loading...