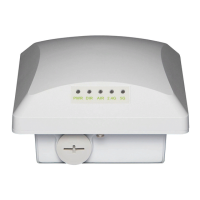
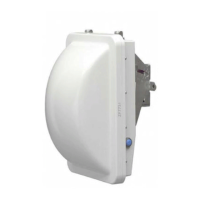
14
Installing the Wireless Bridge
Preparing for Installation
Use Power Over Ethernet
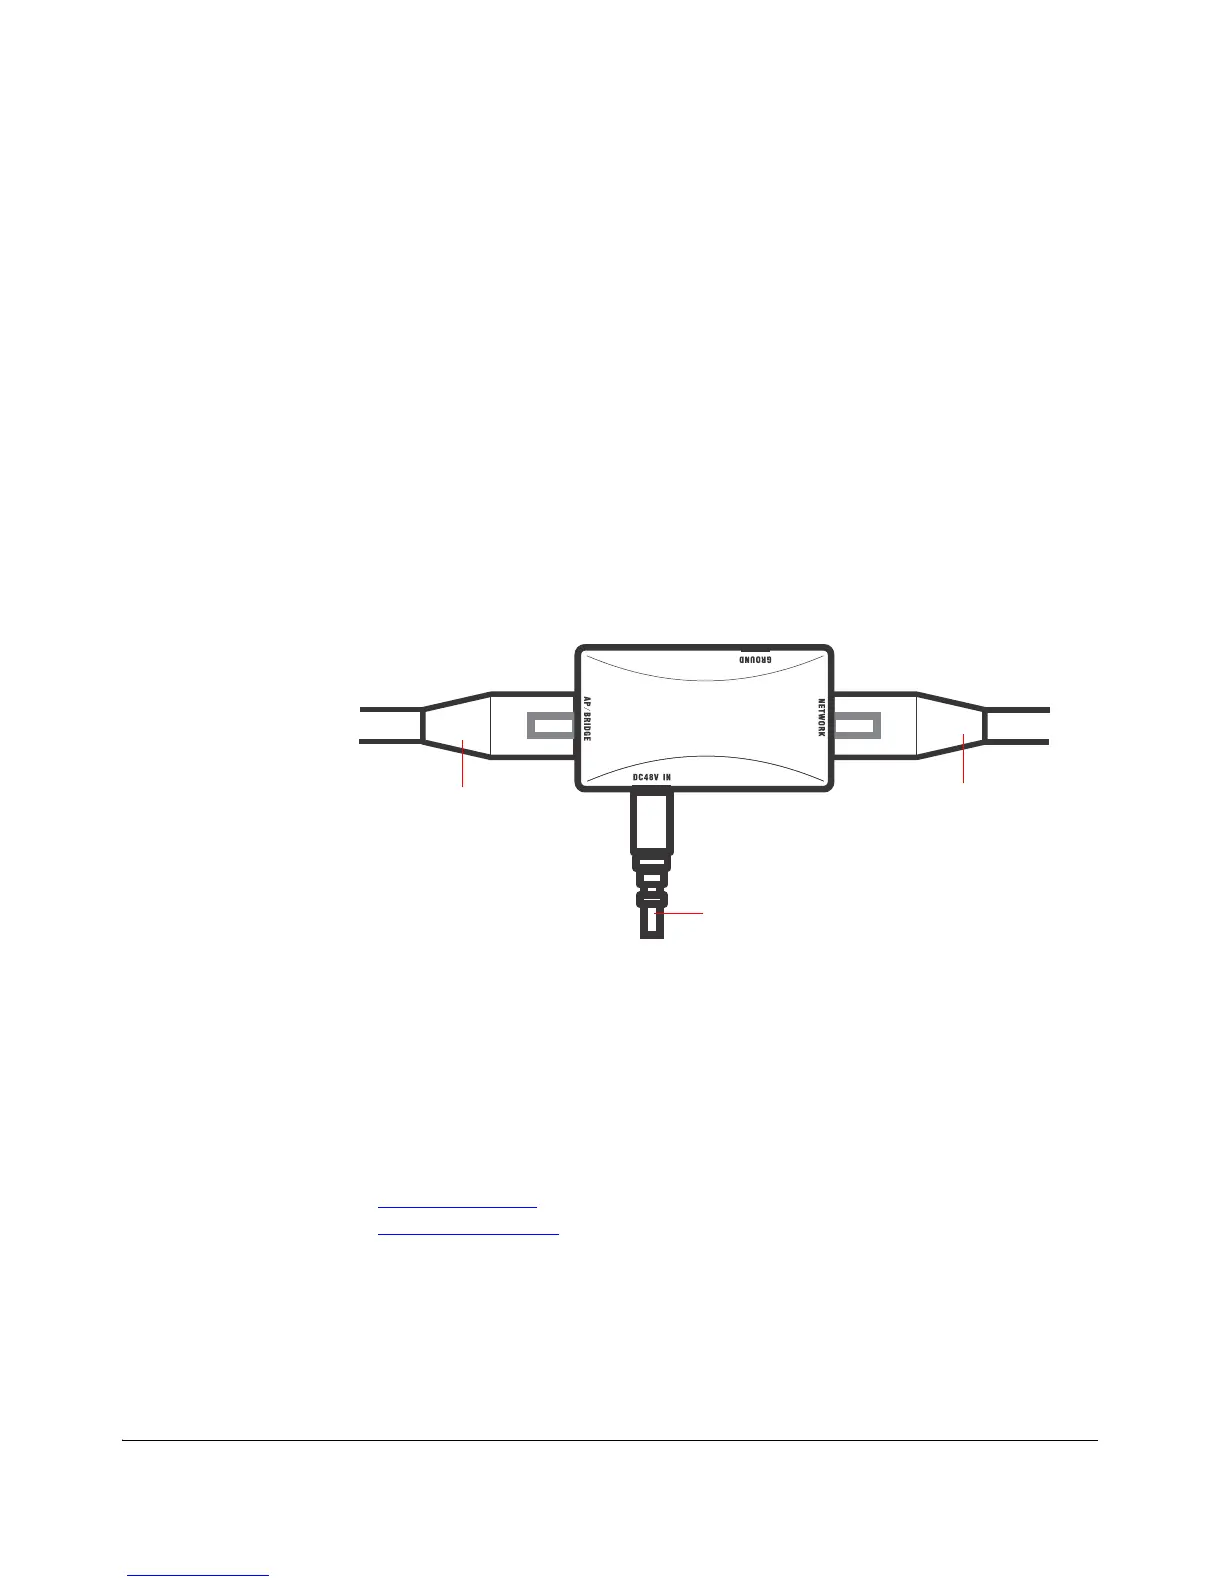
1. Take out the PoE injector and the power adapter from the Wireless Bridge
package.
2. Obtain two Ethernet cables.
3. Connect one end of one Ethernet cable to the AP/BRIDGE port on the PoE
injector, and then connect the other end to the RJ45 port on the ZoneFlex 7731.
4. Connect one end of the other Ethernet cable to the NETWORK port on the PoE
injector.
5. Connect the power jack to the DC 48V IN connector on the PoE injector, and then
plug the power adapter into a power source. The single LED on the PoE injector
turns red.
6. Check the power LED on the ZoneFlex 7731 to ensure power is being supplied to
the bridge.
Figure 6. Connect the Ethernet cables and power adapter to the PoE injector
You have completed connecting the Wireless Bridge to a PoE power source.
Step 2: Auto Provision the Root and Non-Root Bridges
The first configuration task (after you have supplied power) involves provisioning one
ZoneFlex 7731 as the Root Bridge and the others as Non-Root Bridges. Two methods
are available:
■ Auto Provisioning
■ Manual Provisioning
Auto Provisioning
When in factory default state, you can designate one ZoneFlex 7731 as a Root Bridge
and another as a Non-Root Bridge by simply providing power to both units and
connecting them directly to each other with an Ethernet cable. This Auto Provisioning
process chooses the device with the lower MAC address and provisions it as the Root
 Loading...